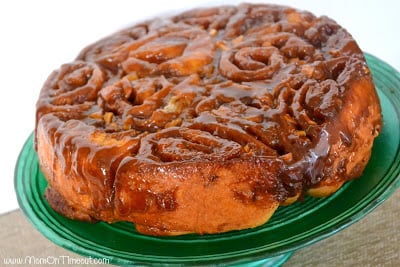
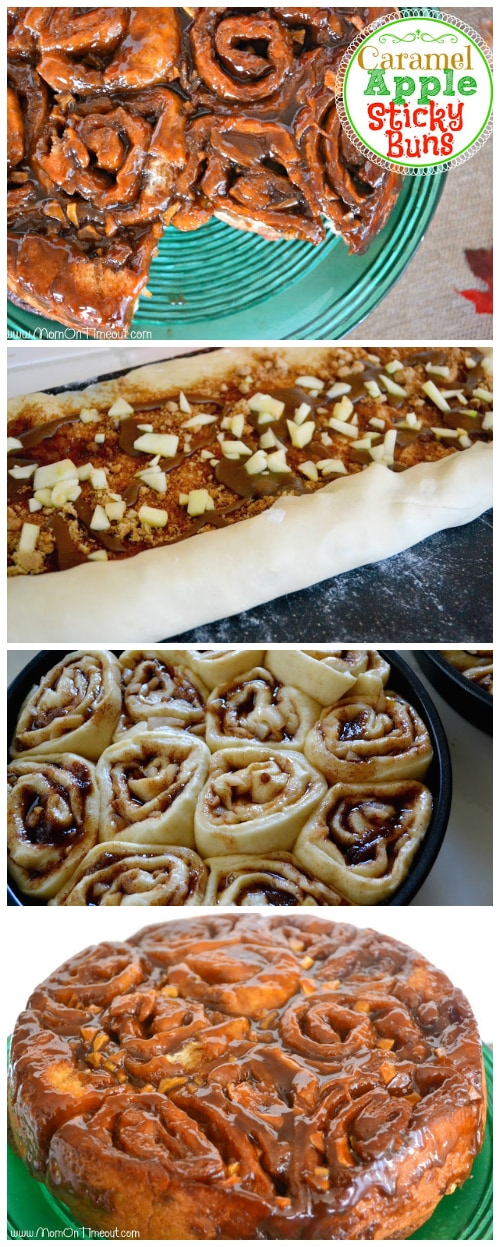
Caramel Apple Sticky Buns combine the great flavors of caramel and apple inside a sticky, sweet bun!

This weekend we took our first trip up to Apple Hill for the season. For those of you who don’t live in Northern California – Apple Hill is THE destination for picking apples, drinking cider, and visiting pumpkin patches. We try to get up there twice during September and October with the boys because we always have such a special time. Reece went fishing for the first time at the pond at High Hill and he LOVED it! We drank loads of fresh apple cider and roamed the hills at Denver Dan’s picking apples. We even went on a train ride! We stopped for lunch at Apple Ridge and the boys took a hike while I searched for pinecones. We’re hoping to go back again in a few weeks and really stock up on apples for the winter.
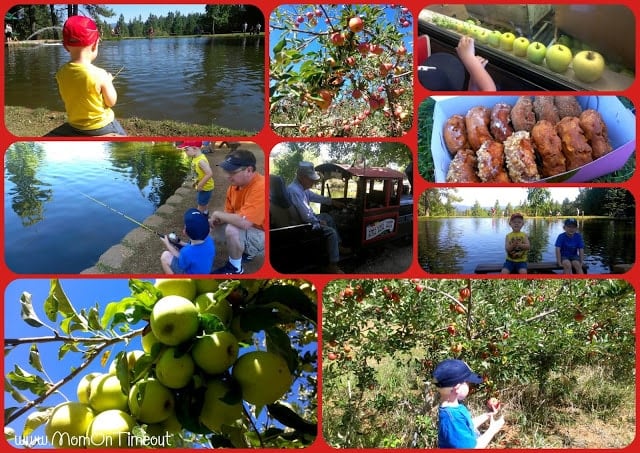
The timing was just perfect for a quick trip to Apple Hill because this week’s featured ingredient for Iron Chef Mom is APPLES! The party started today so head on over to Cheerios and Lattes to link up and vote for your favorite Apple creations!
This recipe yields 24 Caramel Apply Sticky Buns – enough for your family to devour and still have a pan to give away 🙂
Ingredients:
Sticky Buns:
2/3 c Heavy Cream
2/3 c water {or apple juice or cider}
4 Tbls sugar
4 1/2 tsp active dry yeast
4 1/2 c flour, divided
2 eggs
2 tsp salt
4 Tbls butter, melted
Sticky Buns Filling:
1 c brown sugar
2 Tbls cinnamon
1 tsp nutmeg {optional}
1 stick of butter, melted
3-4 apples {Granny Smith work great}
Caramel Sauce:
1 1/2 sticks of butter {12 Tbls}
2 1/4 c brown sugar
3 Tbls Heavy Cream
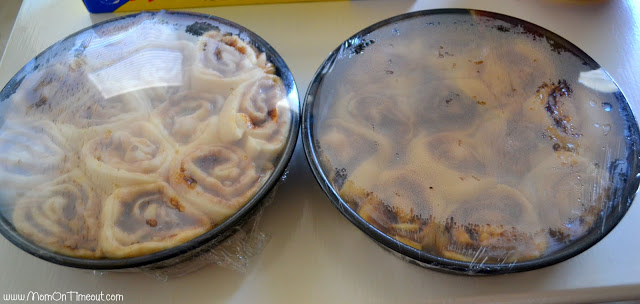
Note: I made this recipe two ways. One where I used apple cider in place of water and put apples in the caramel in the pan AND inside the buns. The other version I used water and only put apples inside the buns. The version with the apple cider was the favorite at our house BUT it did not raise as much. BOTH were absolutely scrumptious!
Directions:
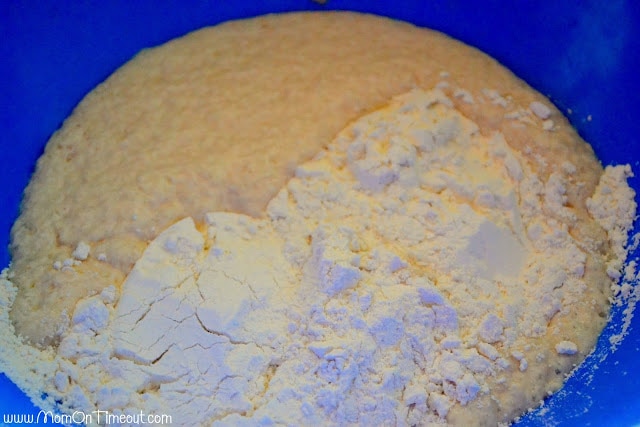
Heat cream, water {or juice}, and sugar to 110 degrees and then add yeast. Let sit until nice and foamy – usually around 10 minutes or so. Add in two cups of flour and use a mixer to combine until nice and smooth. {I used my stand mixer.} Once smooth, add eggs, melted butter, and remaining 2 1/2 c flour and beat until combined.
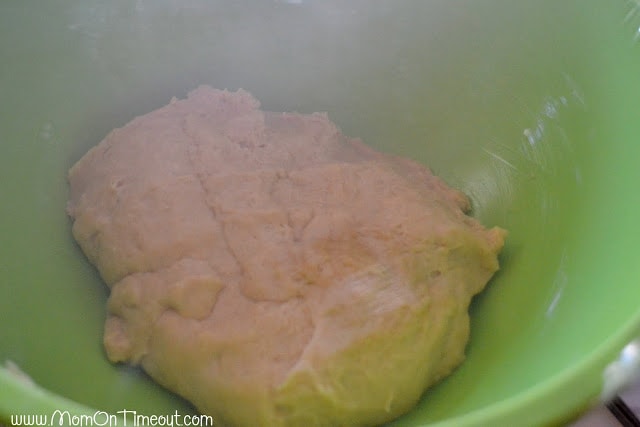
Transfer the dough to a buttered bowl and cover with plastic wrap. {I prefer plastic wrap to a towel because you can see how much the dough has risen without lifting the towel and releasing the heat.} Let the dough sit in a nice, warm place until doubled in size – about 1 hour. I divided my dough into two bowls at this point so it would be easier to work with later.
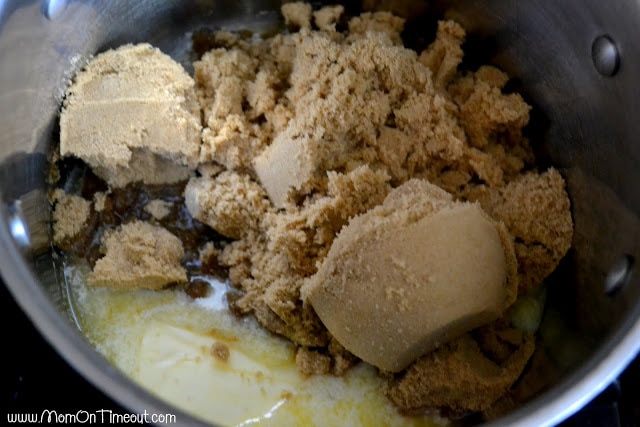
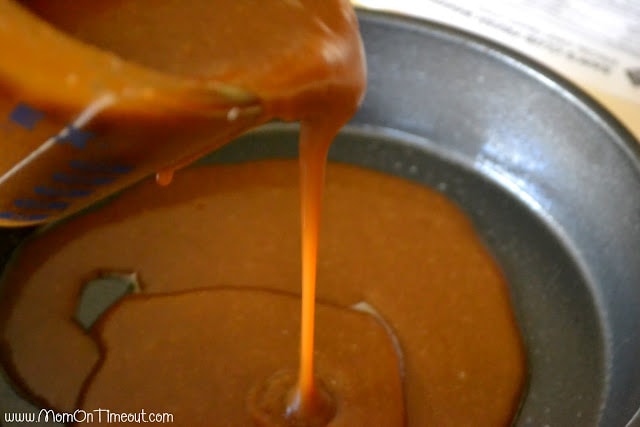
Let’s make the caramel sauce. Homemade caramel sauce is the BEST. You will have to overcome the desire to eat this stuff by the spoonful – your sticky buns need it! Place the butter and brown sugar in a heavy-bottomed pot. Why a heavy pot? Keeps the sugar from burning!
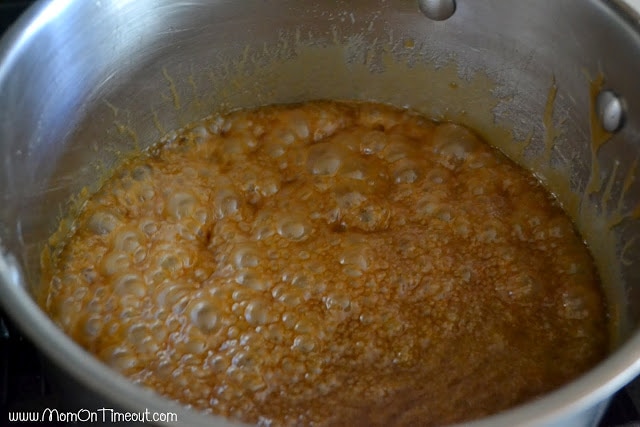
Let it go for a few minutes before stirring. Stir vigorously to keep the sugar from burning. Once the sugar is completely dissolved add in the cream. Let the mixture come up to a boil without stirring over medium heat. You can swirl the pan once or twice to keep the mixture from sticking. Let it boil for 1-2 minutes and then turn off the heat and walk away.
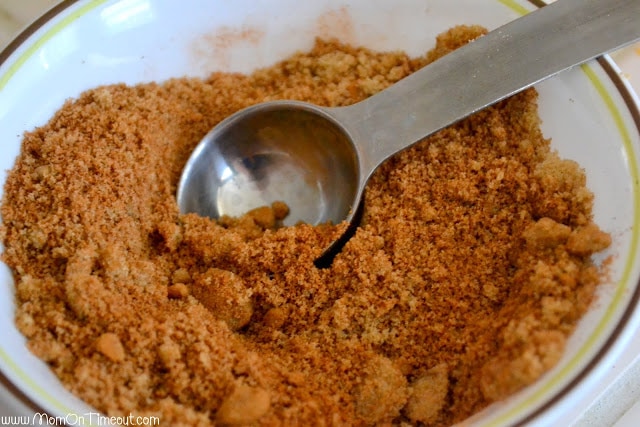
Now it’s time to prep for the rolls. Grease two 9-inch round baking pans. Combine the brown sugar and cinnamon in a small bowl and melt the butter.
Peel and dice the apples. If you want to put apples on the bottom of the pan, dice up four. If you just want to put them inside the buns, peel three. I also read somewhere tha it’s a good idea to use different types of apples when baking so I used two Granny Smiths and Galas. At least I think they were Galas…the boys picked them at Apple Hill 🙂

Fill the bottoms of both greased round baking pans with caramel sauce. Use about 1/4 of the caramel sauce for each pan leaving half of the caramel sauce remaining. You want just enough to cover the surface. If your caramel has thickened on you, just heat it up again to make it nice and runny.
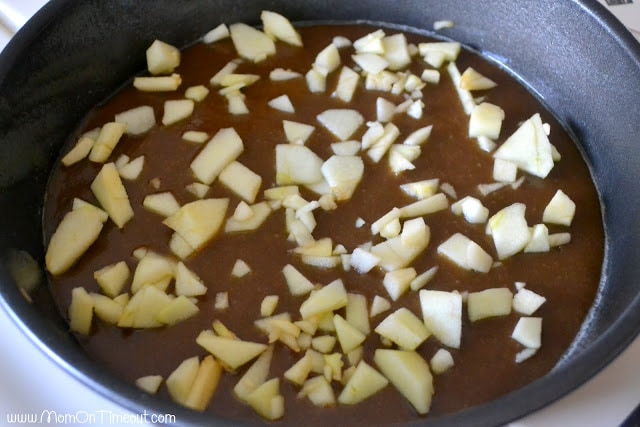
If you want apples on the tops of your sticky buns sprinkle some apples onto the caramel sauce now. I did one with apples on top and one without. My hubby and boys both preferred the one with more apples.
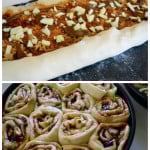
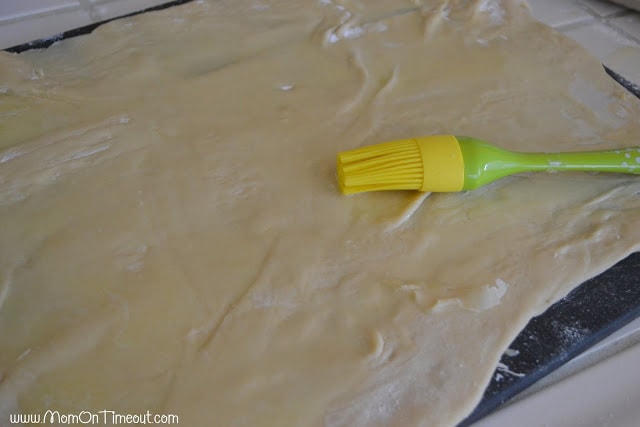
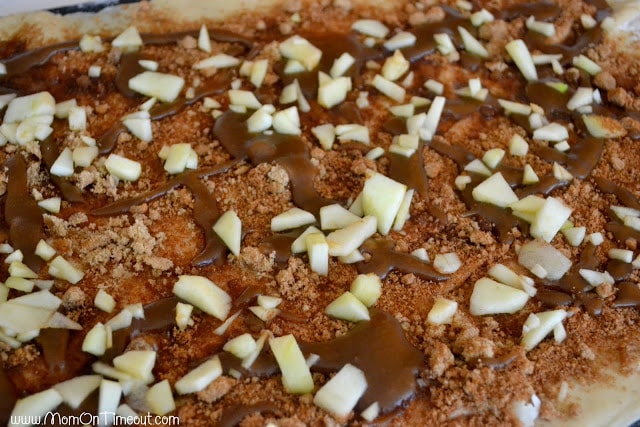
Now it’s time to make the Sticky Buns. Roll out half the dough onto a well-floured surface. Aim for a rectangle shape – it doesn’t have to be perfect! My cutting board measures 14×17 inches so that’s what I did but something smaller or larger will work fine too. Spread 4 Tbls melted butter onto the dough.
Sprinkle on half of the brown sugar/cinnamon mixture.
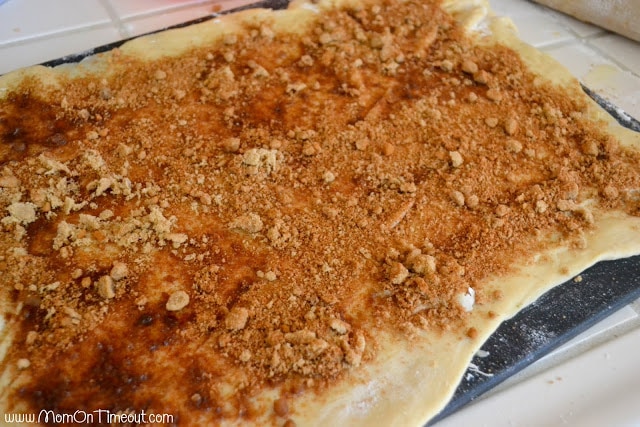
Drizzle half of the remaining caramel sauce {1/4 of the total amount of caramel sauce} on top. Now sprinkle the apples over the top. You can really add as many or few apples as you want here just make sure you have a nice fine dice.
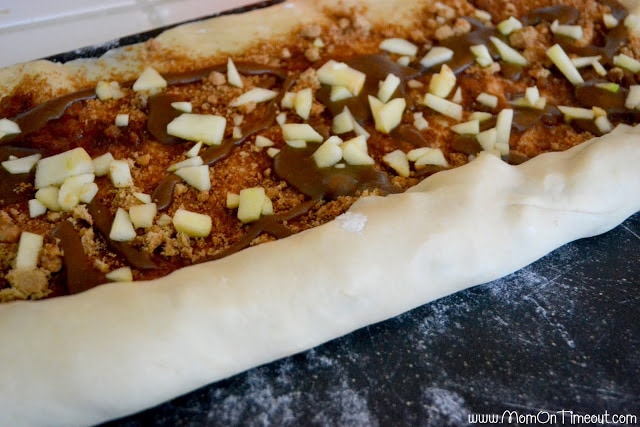
Roll ‘er up! Starting at one long edge, start rolling the dough into a log. I totally want to take a bit of this right now!
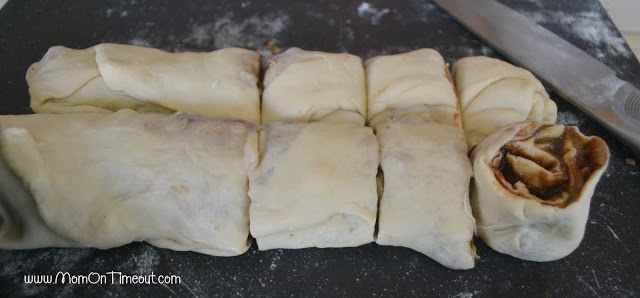
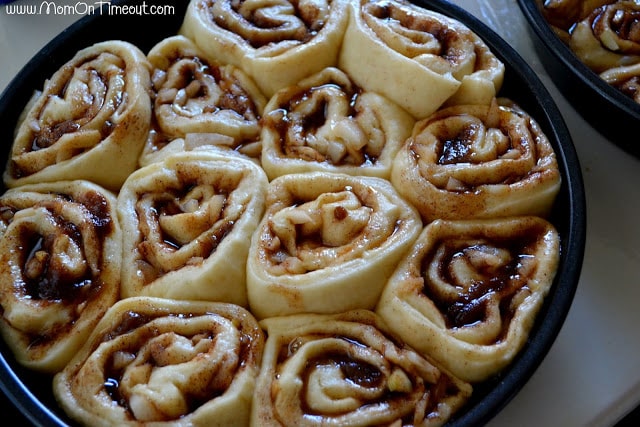
Cut the log in half and then make five more cuts so you end up with 12 buns.
Place those sweet little buns into the pan all snuggled up together and looking so yummy!
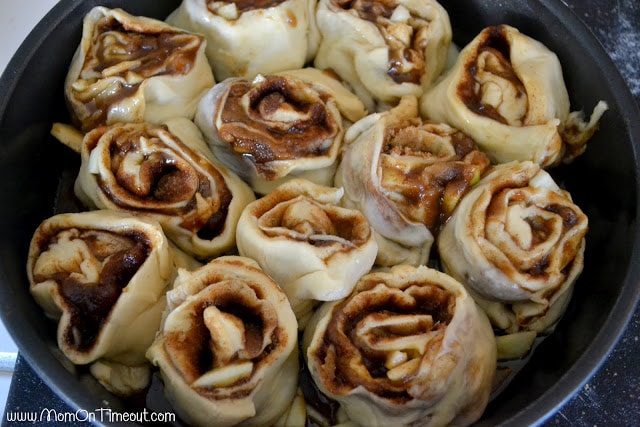
Cover with plastic wrap and let rise again for another 30 minutes or so. About halfway through, preheat the oven to 350 degrees.
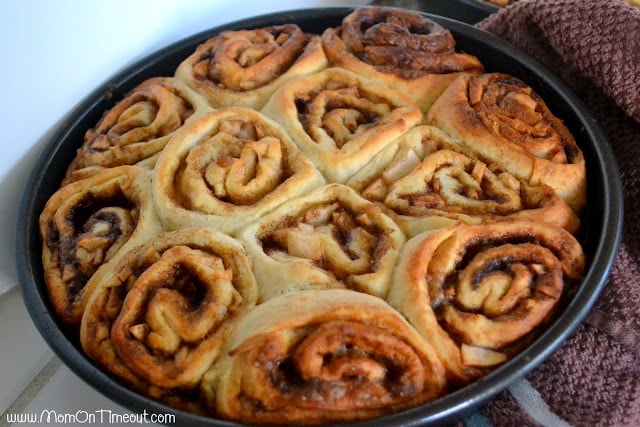
Place pans in preheated oven and bake for 30-35 minutes until nice and golden.
Let buns cool for abut five minutes.
Run a knife along the edge of the pan and place plate on top. Carefully invert the pan and plate so that the pan is upside down like so:
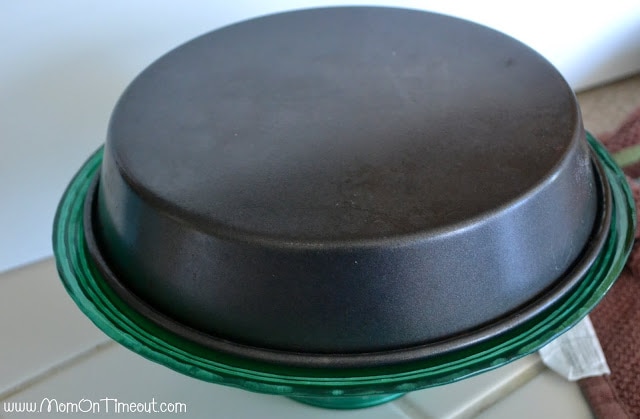
Use a knife to pull the pan off of the plate. Peek-a-boo!
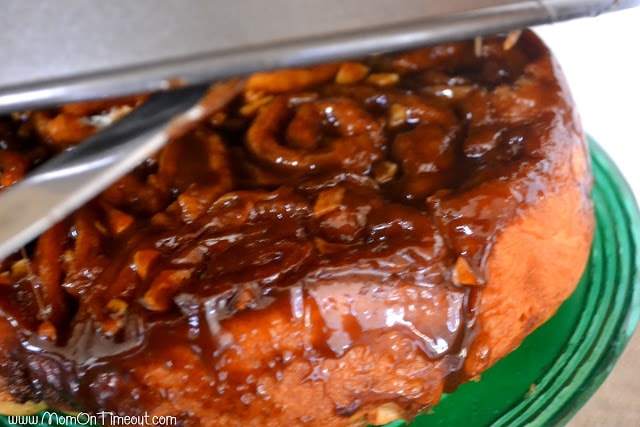
Voila! Caramel Apple Sticky Buns!
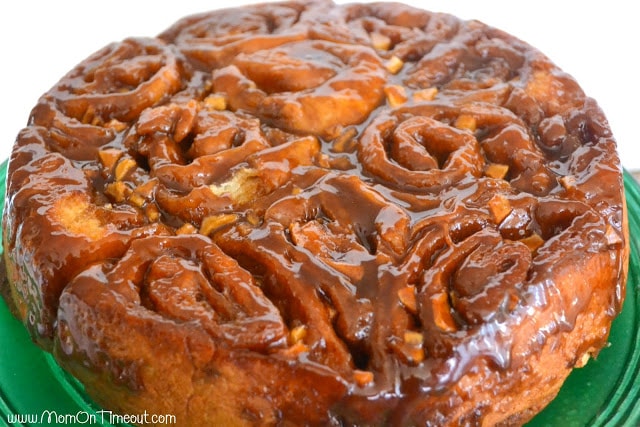
I couldn’t resist – I had to have one right away. Then the boys wandered in and well, let’s just say the sticky buns were a complete hit 🙂


More Caramel Apple Recipes
- Caramel Apple Oat Bars
- Easy Caramel Apple Dip
- Quick Caramel Apple Empanadas
- Caramel Apple Cinnamon Rolls
- Caramel Apple Cupcakes
How To Make Caramel Apple Sticky Buns
Caramel Apple Sticky Buns
Ingredients
Sticky Buns:
- 2/3 cup Heavy Cream
- 2/3 cup water {or apple juice or cider}
- 4 tbsp sugar
- 4 1/2 tsp active dry yeast
- 4 1/2 cup flour divided
- 2 eggs
- 2 tsp salt
- 4 tbsp butter melted
Sticky Buns Filling:
- 1 cup brown sugar
- 2 tbsp cinnamon
- 1 tsp nutmeg {optional}
- 1 stick of butter melted
- 3-4 apples {Granny Smith work great}
Caramel Sauce:
- 12 tbsp butter
- 2 1/4 cups brown sugar
- 3 tbsp Heavy Cream
Instructions
- Heat cream, water {or juice}, and sugar to 110 degrees and then add yeast. Let sit until nice and foamy - usually around 10 minutes or so. Add in two cups of flour and use a mixer to combine until nice and smooth. {I used my stand mixer.} Once smooth, add eggs, melted butter, and remaining 2 1/2 c flour and beat until combined.
- Transfer the dough to a buttered bowl and cover with plastic wrap. {I prefer plastic wrap to a towel because you can see how much the dough has risen without lifting the towel and releasing the heat.} Let the dough sit in a nice, warm place until doubled in size - about 1 hour. I divided my dough into two bowls at this point so it would be easier to work with later.
- Let's make the caramel sauce. Homemade caramel sauce is the BEST. You will have to overcome the desire to eat this stuff by the spoonful - your sticky buns need it! Place the butter and brown sugar in a heavy-bottomed pot. Why a heavy pot? Keeps the sugar from burning!
- Let it go for a few minutes before stirring. Once the sugar is completely dissovled, add in the cream. Let the mixture come up to a boil without stirring. Let it boil for 1-2 minutes and then turn off the heat and walk away.
- Now it's time to prep for the rolls. Grease two 9-inch round baking pans. Combine the brown sugar and cinnamon in a small bowl and melt the butter.
- Peel and dice the apples. If you want to put apples on the bottom of the pan, dice up four. If you just want to put them inside the buns, peel three. I also read somewhere tha it's a good idea to use different types of apples when baking so I used two Granny Smiths and Galas. At least I think they were Galas...the boys picked them at Apple Hill 🙂
- Fill the bottoms of both greased round baking pans with caramel sauce. Use about 1/4 of the caramel sauce for each pan leaving half of the caramel sauce remaining. You want just enough to cover the surface. If your caramel has thickened on you, just heat it up again to make it nice and runny.
- If you want apples on the tops of your sticky buns sprinkle some apples onto the caramel sauce now. I did one with apples on top and one without. My hubby and boys both preferred the one with more apples.
- Now it's time to make the Sticky Buns. Roll out half the dough onto a well-floured surface. Aim for a rectangle shape - it doesn't have to be perfect! My cutting board measures 14x17 inches so that's what I did but something smaller or larger will work fine too. Spread 4 Tbls melted butter onto the dough.
- Sprinkle on half of the brown sugar/cinnamon mixture.
- Drizzle half of the remaining caramel sauce {1/4 of the total amount of caramel sauce} on top. Now sprinkle the apples over the top. You can really add as many or few apples as you want here just make sure you have a nice fine dice.
- Roll 'er up! Starting at one long edge, start rolling the dough into a log. I totally want to take a bit of this right now!
- Cut the log in half and then make five more cuts so you end up with 12 buns.
- Place those sweet little buns into the pan all snuggled up together and looking so yummy!
- Cover with plastic wrap and let rise again for another 30 minutes or so. About halfway through, preheat the oven to 350 degrees.
- Place pans in preheated oven and bake for 30-35 minutes until nice and golden.
- Let buns cool for abut five minutes.
- Run a knife along the edge of the pan and place plate on top. Carefully invert the pan and plate so that the pan is upside down like so:
- Use a knife to pull the pan off of the plate. Peek-a-boo!
- Voila! Caramel Apple Sticky Buns!
Notes
Nutrition


Kerrie says
Hi Trish,
Can these be made in advance? To the point of preparing one day and then baking the next?
Thanks – can’t wait to try these!
Trish - Mom On Timeout says
I think so! I would just refrigerate the rolls overnight, bring to room temperature and then bake as directed. Let me know how they turn out!
Kerrie says
I will try that next time. The first batch is in the oven right now – almost done!
A couple of questions for you –
When you add the yeast do you just sprinkle it on ( which is what I normally do) or mix it?
My caramel sauce is sandy textured – not like liquid caramel. When I poured it in the pan – it did not spread out to cover the entire bottom.
THANKS!
Trish - Mom On Timeout says
Hi Kerrie! I usually just sprinkle it on, but sometimes I’ll use a fork and kind of swirl it in. The caramel should be liquid. Make sure you let the sugar dissolve completely before adding the cream. Hope that helps!
Chris says
Hi,trying this recipe this morning..Two items of query..1,noticed the 2 tsps of salt are not mentioned anywhere in the Step in making of the dough..I’m assuming it goes in after the 1st round of flour with the eggs and butter,then the remaining flour or you mixed the salt in with the flour before adding.2,are you using salted or unsalted Butter? I know that sometimes with very old recipes that they use unsalted butter,supposedly makes a nicer dough,abit lighter texture after baking.Always fun trying new recipes.I’m actually experimenting with the 2nd pan..1st ,yours with Apples in the middle.2nd,using an ApplePie(homemade) filling(omit the brush of butter,fthin layer of filling,brown sugar,cinnamon/nutmeg mixture and caramel sauce) .The heavy cream is what has peaked my interest.Should be a nice rich,flavour to the dough.Cheers.Thanks
Trish - Mom On Timeout says
Hi Chris! The salt is mixed in with the flour at the beginning. I used unsalted butter so if you are using salted butter I would omit the salt or at least reduce it. I like the changes you’re making – sounds delicious!
Chris says
Hi,very good recipe..The bread texture is good,will be a very nice compliment to all the other baking recipes I’ve collected..Yours with the Apples in the Middle were Outstanding..The experiment turned out nicely,worth the experiment for anyone else that feels like playing(Just make sure the Apples are broken down or mashed abit ,from chunks)..Ya,I put the salt in with the flour and used unsalted butter..Thanks for sharing your recipe..
Trish - Mom On Timeout says
Thanks Chris! I’m glad it turned out for you!
nicole says
Made a few adjustments, but these were really good. I made only about 2/3 of the caramel sauce and put some in the bottom of the pans and saved the rest to drizzle on top after they came out of the oven, I didn’t put any in the center. I also used whole milk, apple sauce and some extra water (my sauce was a bit thick) instead of the cream and water. I didn’t brush the dough with butter, but instead used more apple sauce and then sprinkled with the filling…. it was so good.
Trish - Mom On Timeout says
Sounds amazing Nicole! I would never have thought to use applesauce – very creative!
Amy says
These just came out of the oven,,, I couldn’t resist a taste already…. They are fabulous!! Wow, 10 stars!! The dough worked up beautiful, the only trouble I had was with the caramel sauce. I burnt the whole first batch and had to make a new one. I used a very heavy bottom pan and followed your directions to the letter, but I think I turned the heat up too high the first time ( the was no heat setting guidelines), I had it on med-high to get the boil for a min or two. What temp should this be cooked at? The next batch I made I had to thin with an extra few T of cream to get the right consistency to pour, and i cooked on low-med but it never quite boiled. When I turned out the rolls, they are coated nicely but the excess just flowed out of the pan almost like water. I used one 8×8 and one 9″ round cake pan. We’re my pans too small? I also only got 8 rolls per batch instead of the 12. This is an excellent recipe, they taste so good, now I just need more practice making the caramel sauce and it will be perfect!!! Any extra tips you can give me on that would be great! 🙂
Trish - Mom On Timeout says
Hi Amy! I’m so glad you’re enjoying the recipe! A couple of pointers which I just added to the post… Let the brown sugar and butter go for a few minutes before stirring. Then stir vigorously to keep the sugar from burning. Once the sugar is completely dissolved add in the cream. Let the mixture come up to a boil without stirring over medium heat. You can swirl the pan once or twice to keep the mixture from sticking. Let it boil for 1-2 minutes and then turn off the heat and walk away. The caramel shouldn’t “flow like water” – it should be pretty thick and kind of ozze into the rolls. As far as the number of rolls it makes, it would depend on how big you cut them and how much the dough rises. I hope this helps!
Amy says
Hi Trish,
Thank you so much for sharing your recipe, this is the best recipe for caramel apple sticky rolls I have seen! I am going to make these tomorrow but have a question on the dough. I noticed that you do not have a step to knead this yeast dough. Is this a no knead dough? Also, we like to eat these types of things throughout the day without having to warm them up first. Can you tell me, do they stay soft at room temp or will they/the dough harden up after baked and cooled for a day or so? Thanks so much!!!!
Trish - Mom On Timeout says
No kneading 🙂 Just follow the instructions about mixing and you’ll be fine. They will stay soft at room temp as long as you don’t overcook. Just get some plastic wrap over them so they don’t get stale. Enjoy!
Erin says
Oh my oh my these look good! They’d be so good for Thanksgiving or Christmas morning!
Jess @ Spool and Spoon says
Seriously, where has this recipe been all of my life? I need these and I need them now. Thank you so much for sharing!
Trish - Mom On Timeout says
Oh man they are good Jess! Hope you give them a try soon. Have a great week!
CraftFoxes says
This is the perfect recipe for fall. Thanks for sharing!
Trish - Mom On Timeout says
You are so welcome! Thanks so much for stopping by!