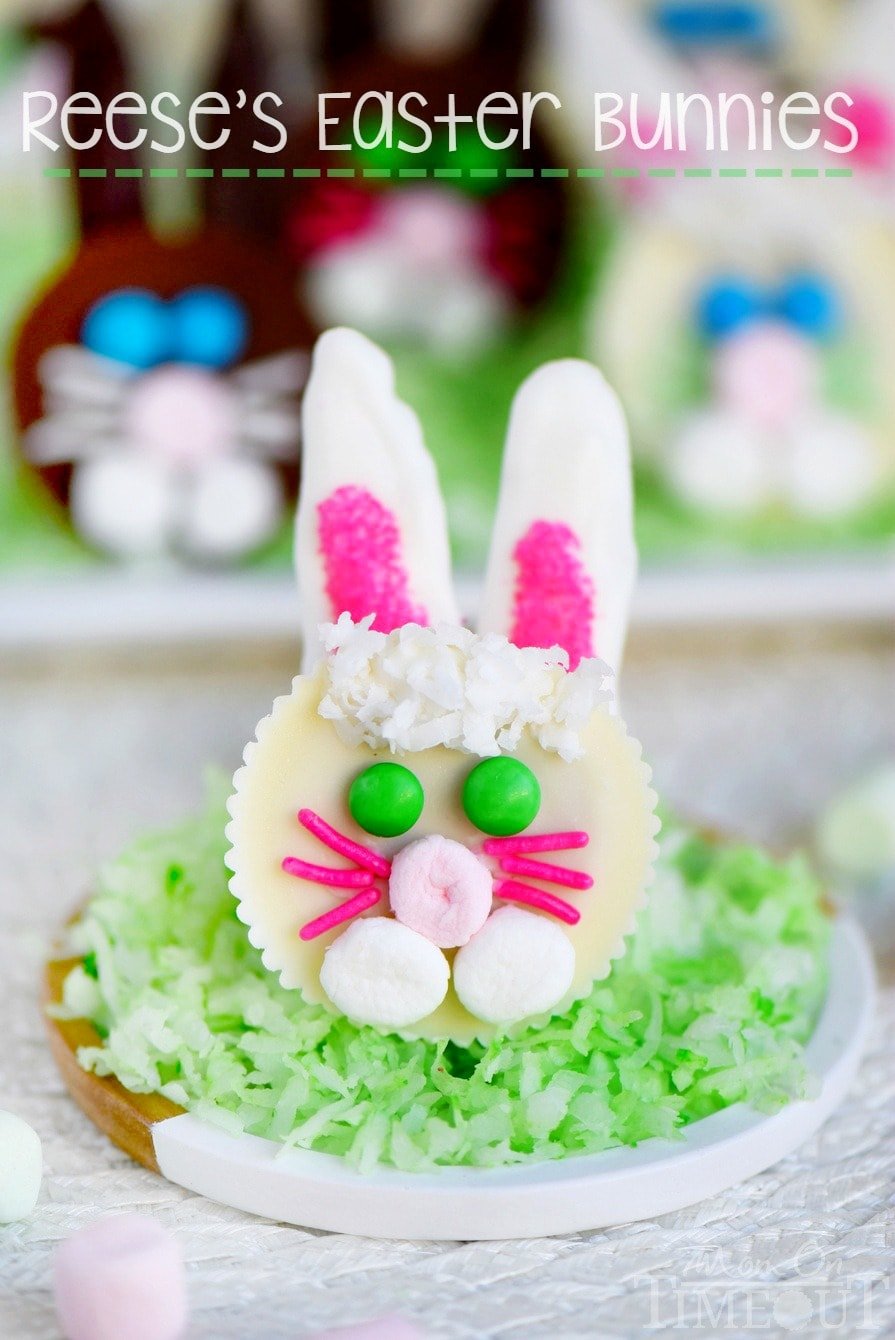
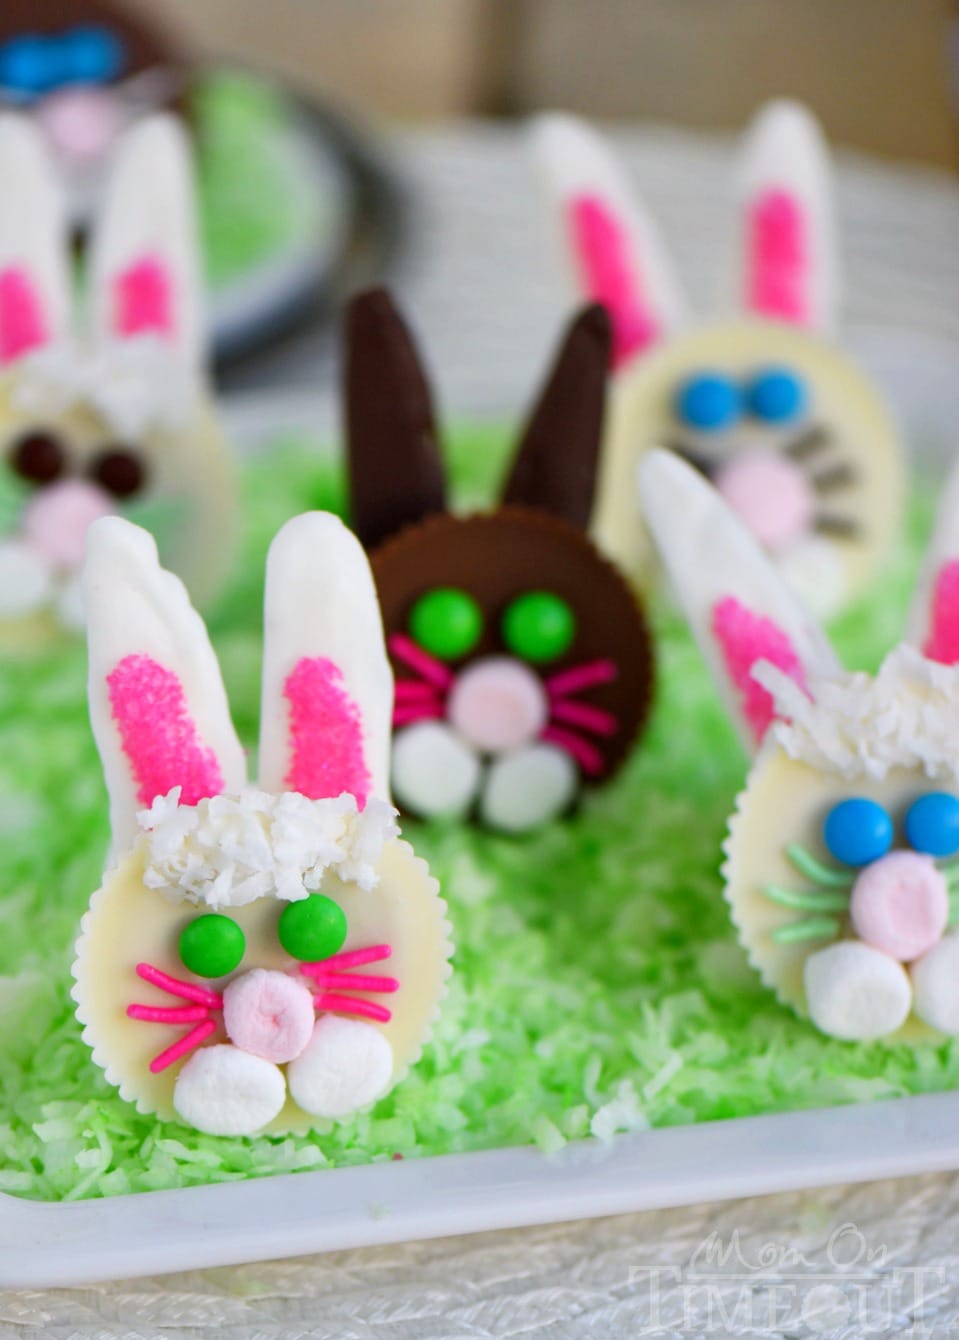
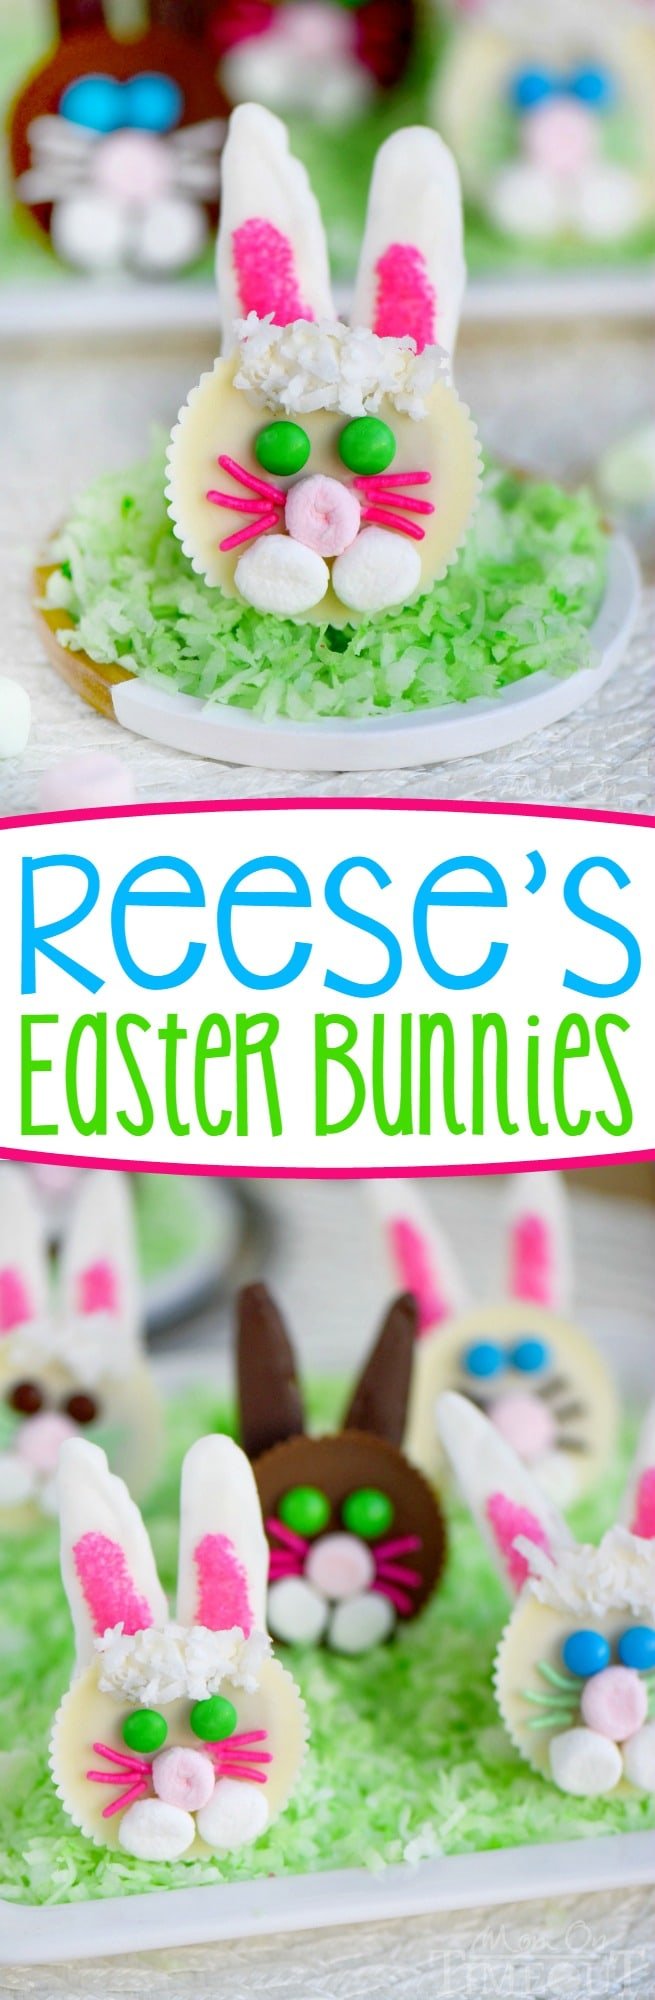
Nothing says Easter fun like these adorable Reese’s Easter Bunnies! My boys helped me make these tasty little treats and they are almost too cute to eat!
Let’s be friends! Sign up to get my new recipes in your inbox! Follow me on Facebook and Instagram too!
PIN IT NOW!
These little Reese’s Easter Bunnies have been hopping around in my brain for awhile now and they finally got out – just in time for Easter! These little guys (and gals!) would be so fun to make with the kids this Spring break. Bonus! They’re even more fun to eat 🙂 I used both white chocolate and regular Reese’s peanut butter cups for the bunnies so use whatever you like most.
I’m going to walk you through the steps on this one because while it looks as though there are a lot of moving parts, these bunnies come together rather quickly if you know what you’re doing.
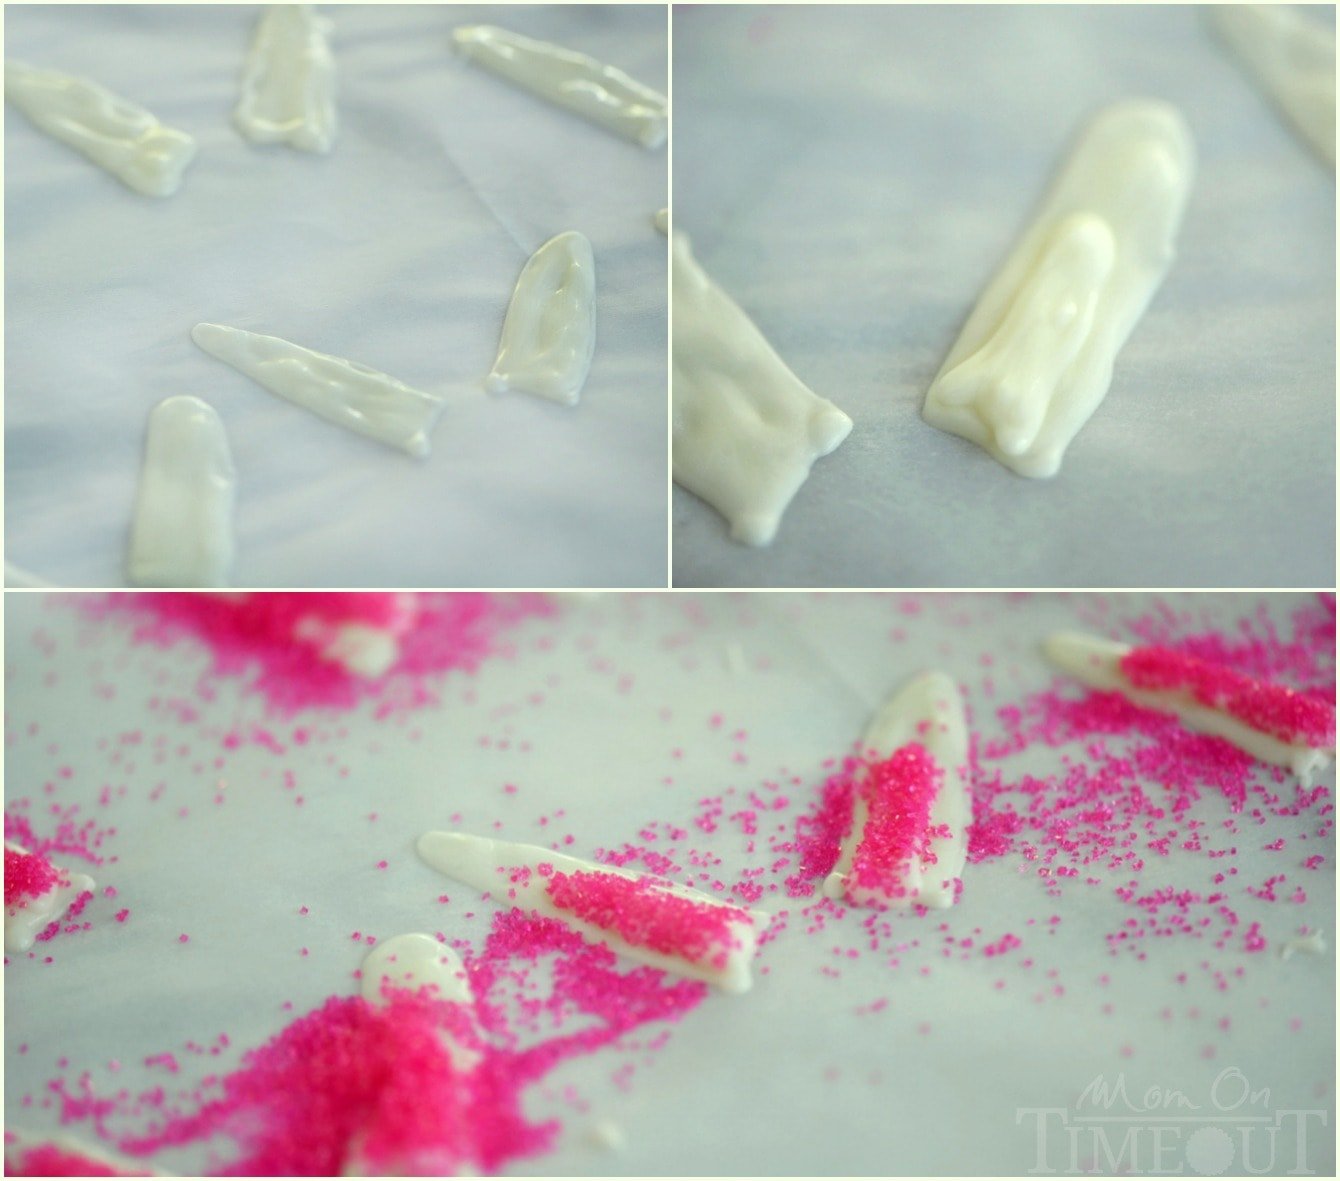
We’re going to start with the ears. The ears are the most complicated part of the entire bunny and that’s only because it’s a two step process. Step 1 is making the basic ear shape out of white candy coating. I did this by melting white (vanilla) candy coating and transferring it to a heavy-duty ziploc bag. You can actually melt the candy coating in the bag if you prefer.
Then, snip off one corner of the bag with scissors – just a little bit – and then pipe the shape of the ears onto the parchment paper. Do as many sets as you want Reese’s Easter Bunnies – plus one extra just in case…
Once the ears have hardened, it’s time to add the pink for the inside of the ear. Pipe on a small amount of candy coating just where you want the pink to go. Sprinkle on some pink sugar and let it dry. The ears are done! Now it’s time for the fun part!
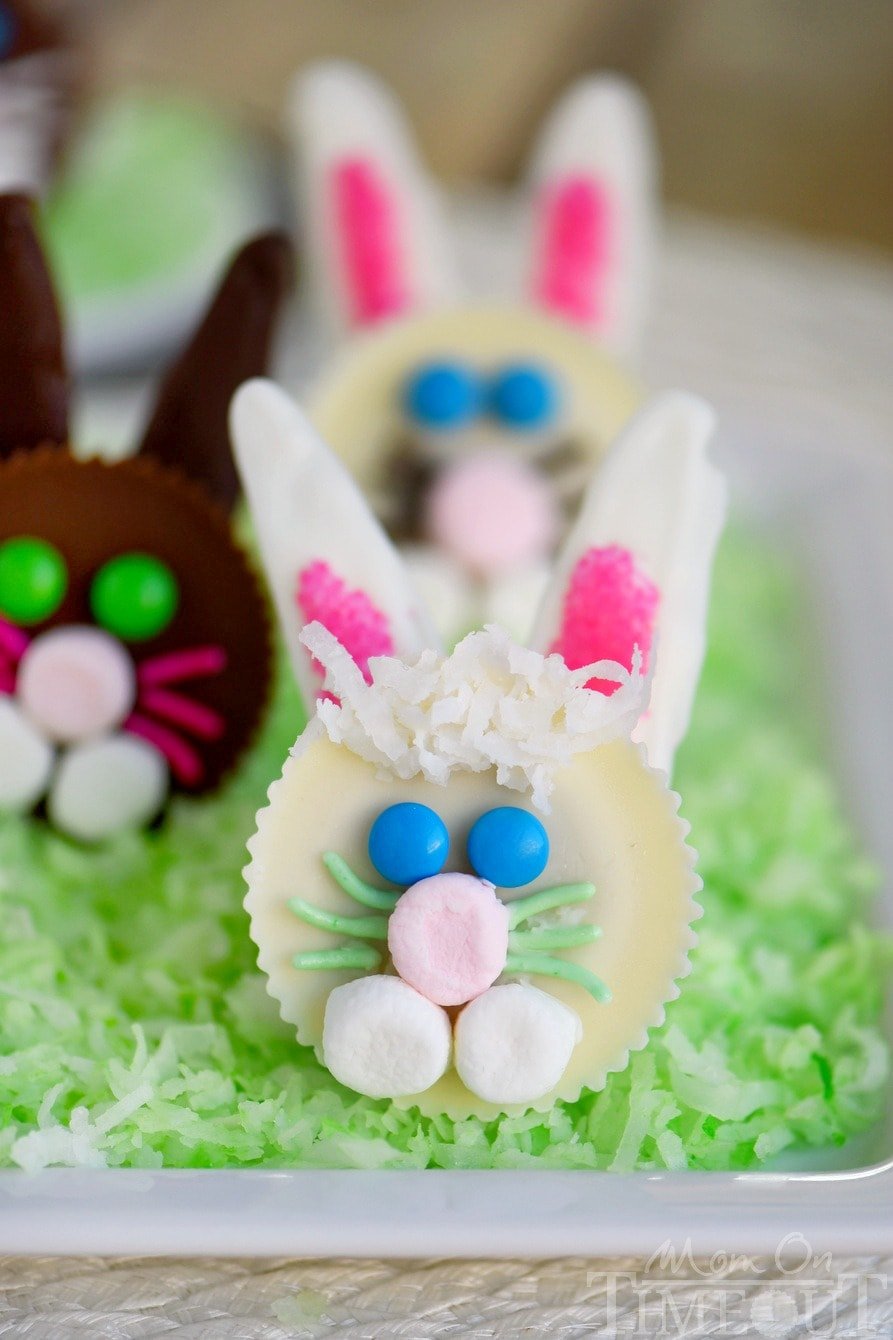
For each bunny you will need two mini M&M’s, one pink marshmallow, two white marshmallows, a bit of shredded coconut for the hair, and 6 sprinkles or jimmies (the color is your choice) for the whiskers.
Pipe on a small amount of melted candy coating to the bottom of each ear. Place the Reese’s peanut butter cup right on top. Let set up.
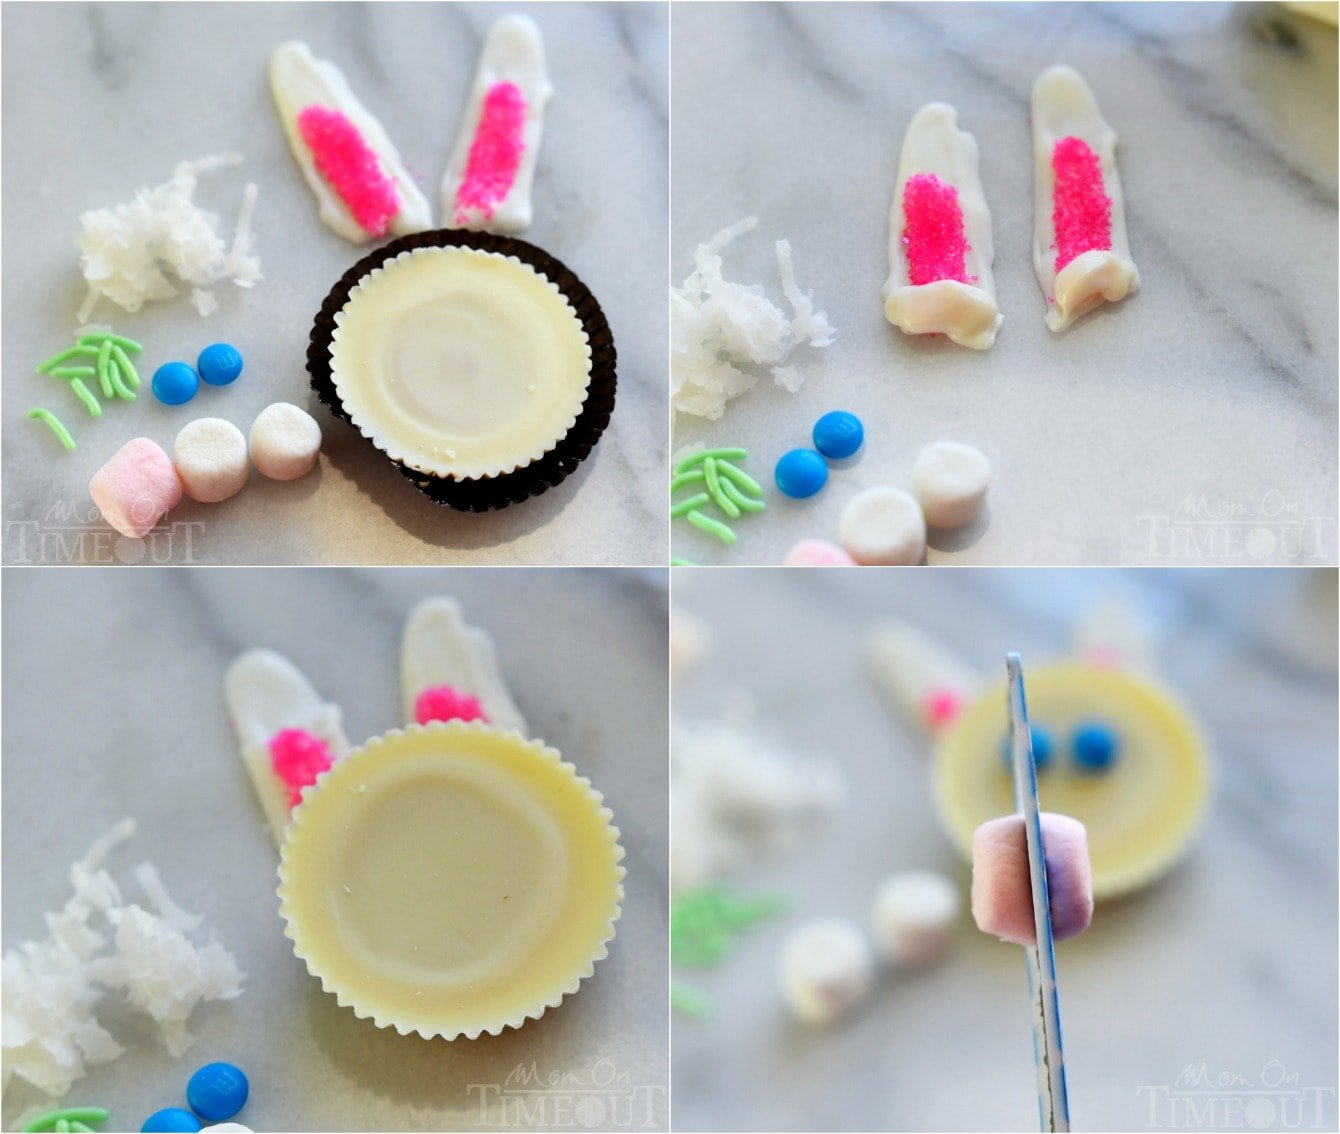
Now it’s time to “glue” on everything else. Cut the pink marshmallow in half and cut the bottom third off of each white marshmallow. The marshmallows will actually stick by themselves to the Reese’s but you can always use a little melted candy coating to make sure they’re on there good.
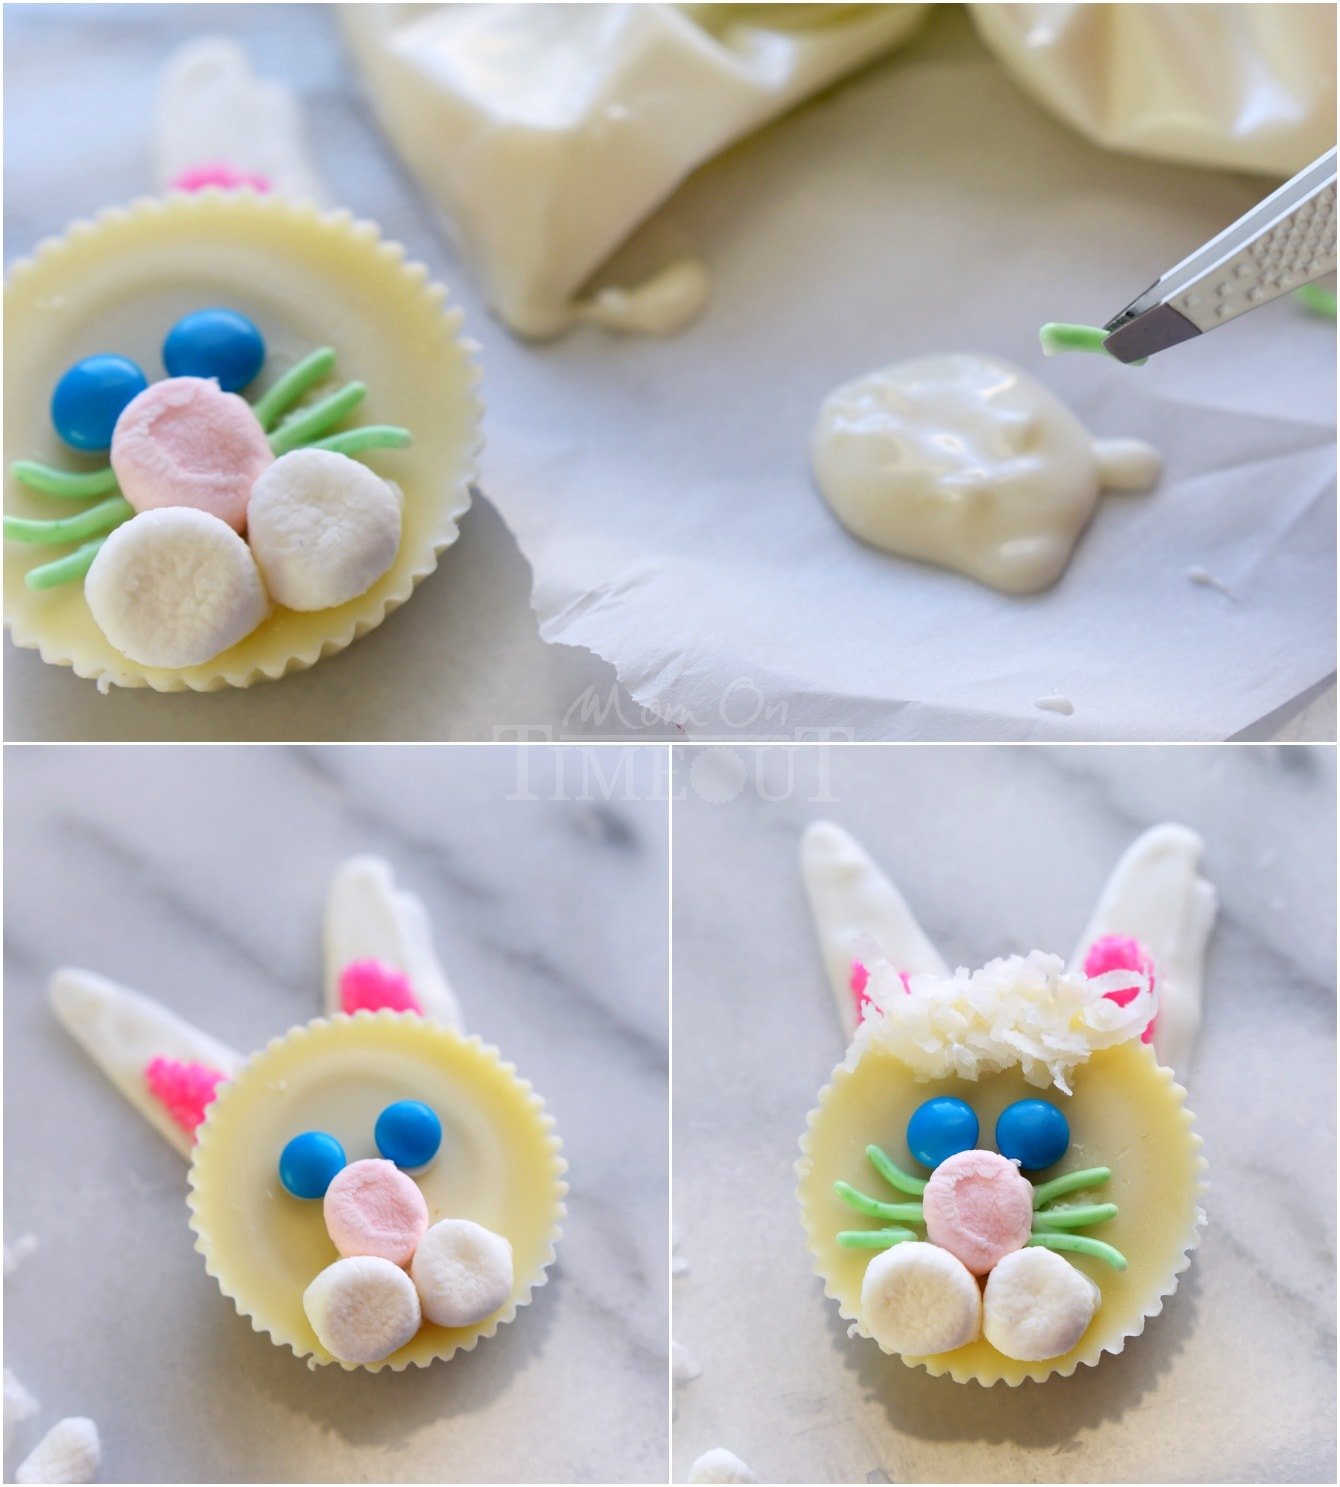
Squeeze out a little candy coating from the bag and dip the M&M’s and jimmies into it before placing on the Reese’s cup. The coconut hair is done in the same way. You only need a little bit!
Now, I normally don’t show set up shots but it took me a minute to figure out how to display the Reese’s Easter Bunnies standing up. You could always lay them down on a platter but I really like seeing their little ears sticking up.
This is how I did it. I dyed some coconut green (add coconut to a ziploc bag, drop in a few drops of green food color – I used this, and gave it a shake) and covered a plate with the coconut. I cleared out little areas and put down large marshmallows. These marshmallows more than adequately support the weight of the Reese’s Bunnies and the bonus is that they are totally edible – my boys LOVED this!
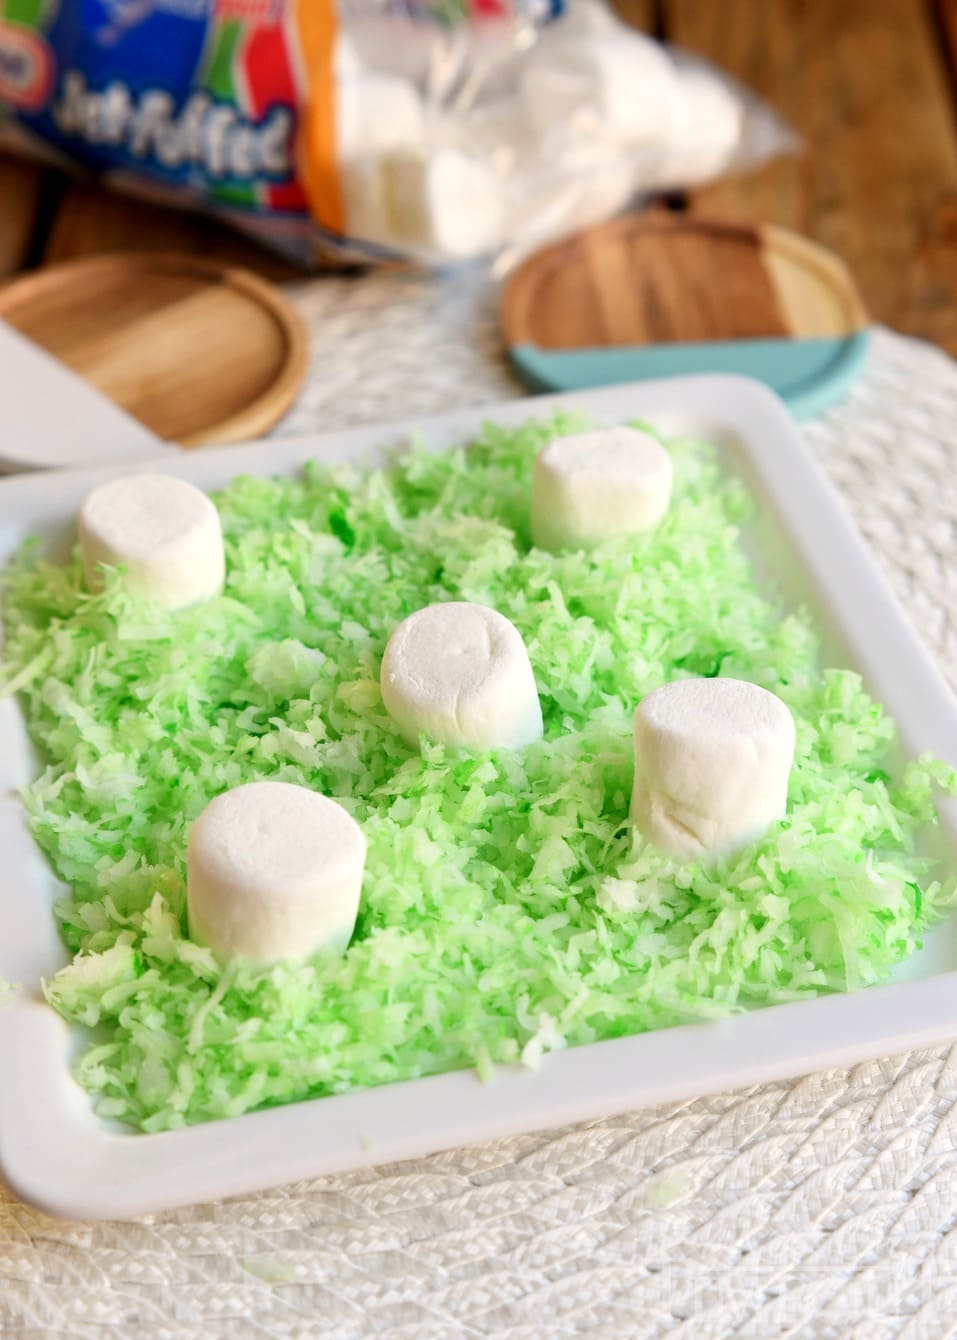
Now you just need to rest the bunnies up against the marshmallows like so…
Cute, right? There is really no right or wrong way to make these bunnies. I had fun using a lot of different color combinations and honestly, I love them all.
I’m providing links to everything you might need on Amazon but you’ll be able to find all of this stuff at your grocery store, Target, Walmart, etc. This will at least show you what I used and I hope that helps!
Happy Easter!
For 10 Reese’s Bunnies:
- 10 white chocolate Reese’s peanut butter cups or regular Reese’s peanut butter cups
- 10 pink marshmallows from a Fun Mallows bag
- 20 white mini marshmallows
- 60 ]jimmies (sprinkles) of assorted colors (brown, white, green, pink, etc.)
- 16 oz white candy coating (CandiQuik, Ghiradelli, Wilton) or chocolate candy coating (CandiQuik, Ghiradelli, Wilton)
- pink sugar
- 20 mini M&M’s (blue, green, brown)
- 1/2 cup sweetened shredded coconut
PIN IT NOW!
Reese's Bunnies
Ingredients
- 10 white chocolate Reese's peanut butter cups or regularRees'es peanut butter cups
- 10 pink marshmallows from a Fun Mallows bag
- 60 jimmies sprinkles of assorted colors (brown, white, green, pink, etc.)
- 16 oz white candy coating CandiQuik, Ghiradelli, Wilton or chocolate candy coating (CandiQuik, Ghiradelli)
- pink sugar
- 20 mini M&M's blue, green, brown
- 1/2 cup sweetened shredded coconut
Instructions
Ears
- Melting white (vanilla) candy coating according to the package directions and transfer to a heavy-duty ziploc bag. Melt a couple of ounces at a time - it's easier to work with that way.
- Snip off one corner of the bag with scissors – just a little bit – and then pipe the shape of the ears onto the parchment paper. Do as many sets as you want Reese’s Bunnies – plus one extra.
- Once the ears have hardened, it’s time to add the pink for the inside of the ear. Pipe on a small amount of candy coating just where you want the pink to go. Sprinkle on some pink sugar and let it dry.
Face
- Pipe on a small amount of melted candy coating to the bottom of each ear. Place the Reese’s peanut butter cup right on top. Let set up.
- Cut the pink marshmallow in half and cut the bottom third off of each white marshmallow. The marshmallows will actually stick by themselves to the Reese’s but you can always use a little melted candy coating to make sure they’re on there good.
- Squeeze out a little candy coating from the bag and dip the M&M’s (eyes) and jimmies (whiskers) into it before placing on the Reese’s cup. The coconut hair is done in the same way. You only need a little bit!
- Let the bunnies set up completely - you can refrigerate to expedite the process. Set out on a plate with green coconut grass.
Nutrition
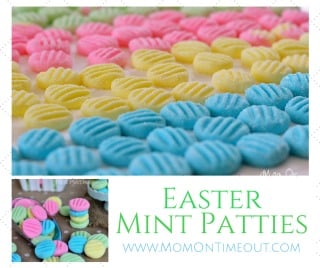
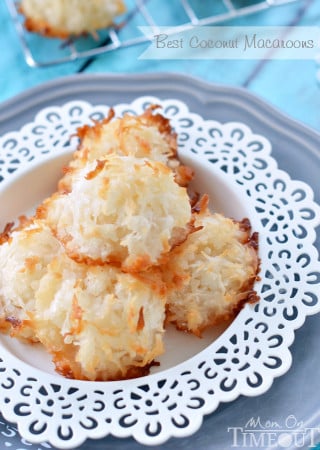
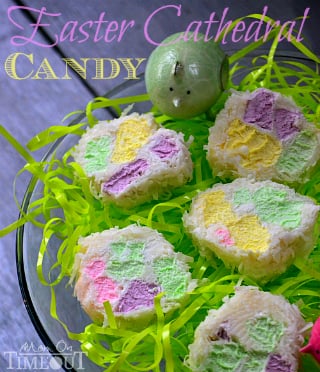
More recipes perfect for Easter!
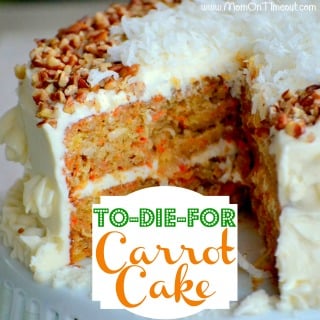
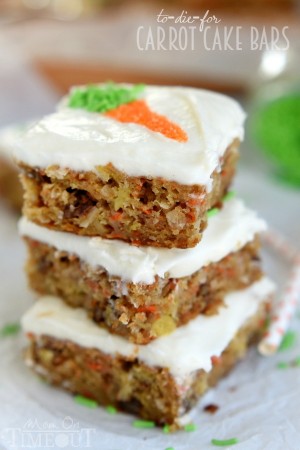
Carrot Cake Bars with Cream Cheese Frosting

For all Easter ideas, go HERE.
For all dessert recipes, go HERE.
Sign up to get emails when I post new recipes!
For even more great ideas follow me on Facebook – Pinterest – Instagram – Twitter – Bloglovin’.


Cassie says
My kids will go nuts over these Easter bunnies! I wanted a super creative idea to change things up a bit for Easter. This is perfect. I would have never thought to use reeses for the face. Genius idea! Thank you so much for sharing!!
Trish - Mom On Timeout says
Thanks so much Cassie!
Amy says
These are adorable! I love them. This will be a fun family activity.
Trish - Mom On Timeout says
Thank you Amy!
Kitty says
So so cute! Great job!
Ronda says
Trish, these Reese’s Easter bunnies are the cutest! Can’t wait to make them. My grandchildren are going to love them!