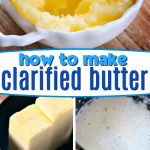
Clarified butter is a must have in the Whole30 diet or any diet that restricts or eliminates dairy. I’ve provided step-by-step instructions, complete with pictures, on how to easily clarify butter at home. This is definitely a recipe you want to keep on hand! More easy recipes to try: Slow Cooker Green Beans with Bacon and Bacon Wrapped Chicken Teriyaki Bites!
Clarified Butter
When I first started the Whole30 program, I realized almost immediately that I would need to make clarified butter. Why? Because butter makes everything better and the thought of being able to keep one of my all time favorite foods ON the menu was enough to save my sanity. A little bit of clarified butter can add a lot of flavor to any dish!
I used this butter to sauté up veggies, cook chicken, add to my baked potatoes, etc. It’s a must have. And it’s not just for those of you on Whole30. Anyone looking to eliminate dairy from their diet should give this easy process a try.
Clarified butter is NOT just for dunking lobster in 😉
What Is Clarified Butter
Clarifying butter is the process of removing the dairy solids from the butter. The result is a delicious butter that can be used in almost any dish.
Clarified butter can be cooked at higher temperatures than regular butter and is a dairy-free fat that makes it perfect for the Whole30 and other diets that eliminate dairy.
Why Make Clarified Butter?
If you are on a dairy free diet, such as Whole30, clarifying butter allows you to to still enjoy the awesome flavor of butter without the dairy component. It’s super easy and you just need a few tools to do it!
How To Clarify Butter
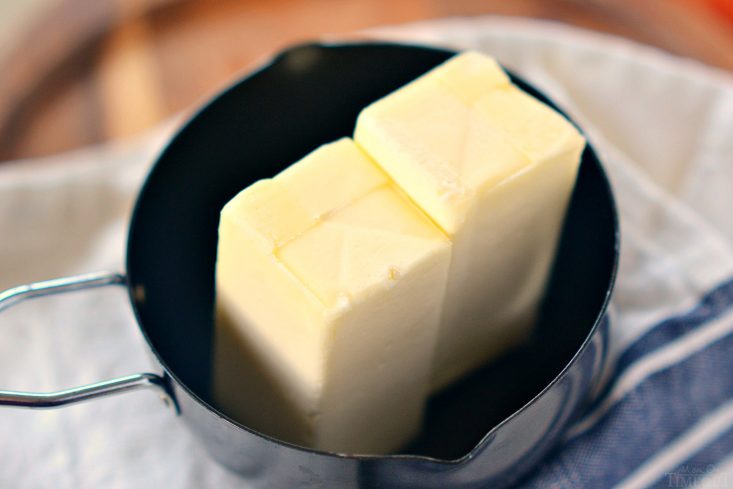
You can choose any amount of butter you want to start with. I typically will do a half a pound or one full pound of butter at a time. You must use UNSALTED BUTTER. Choose a small sauce pan that easily fits your butter.
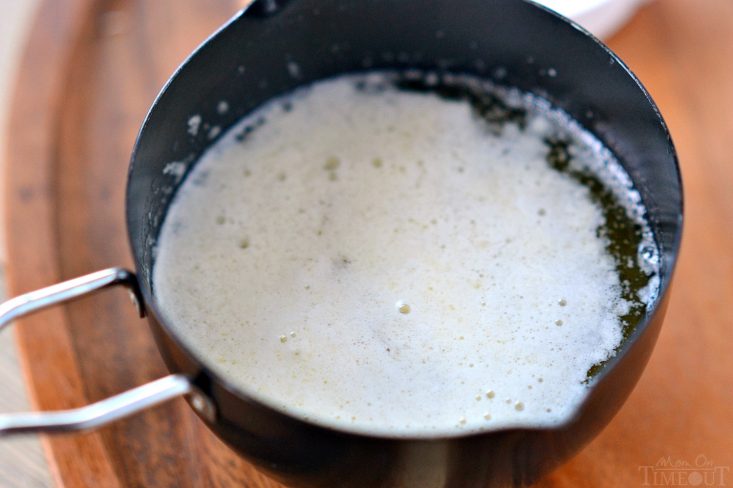
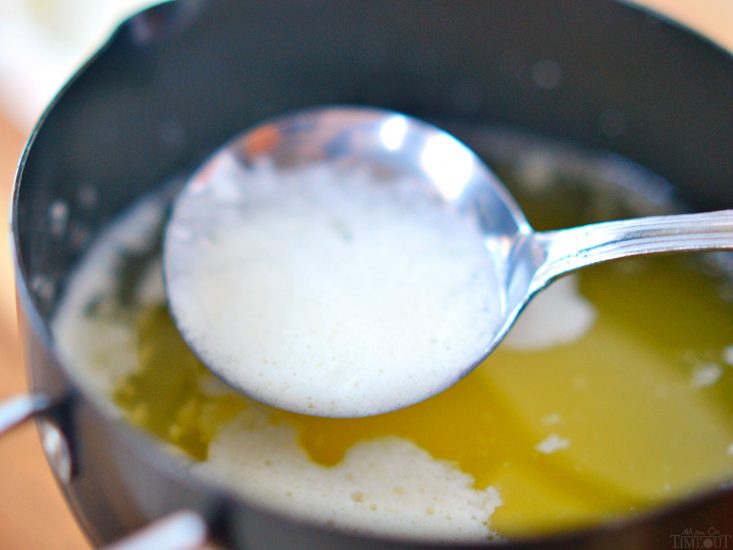
Heat the butter over low heat, allowing the butter to melt and come to a simmer. Don’t stir, just let it melt. You will begin to see the white dairy solids rise to the surface. It will look like this:
Now it’s time to remove those dairy solids. They are sitting right on the surface so carefully skim the surface with a spoon (I use a soup spoon) and get rid of all – or most– of the white, foamy dairy solids.
You won’t be able to get rid of every last bit so the next step is to strain the remaining butter through cheesecloth. I recommend at least 5 layers of cheesecloth to get rid of all of the dairy solids.
Place the cheesecloth over the top of a glass bowl. I sometimes use a Mason jar for this step.
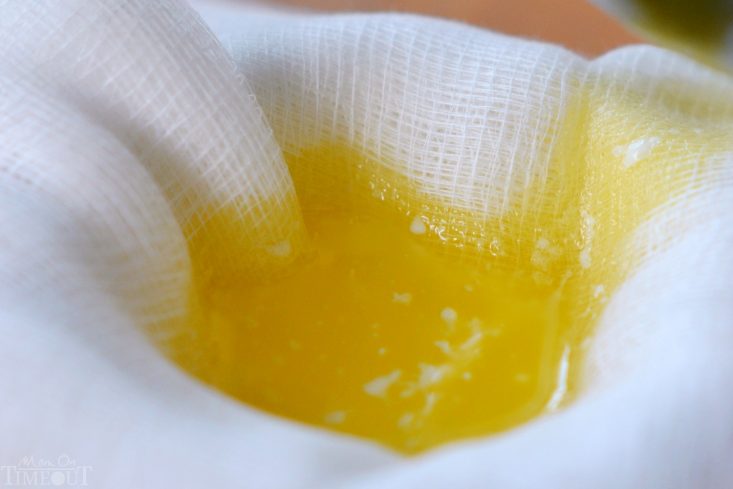
Once all of the butter has been strained through the cheesecloth, go ahead and discard the cheesecloth and milk solids. Let the butter cool to room temperature.
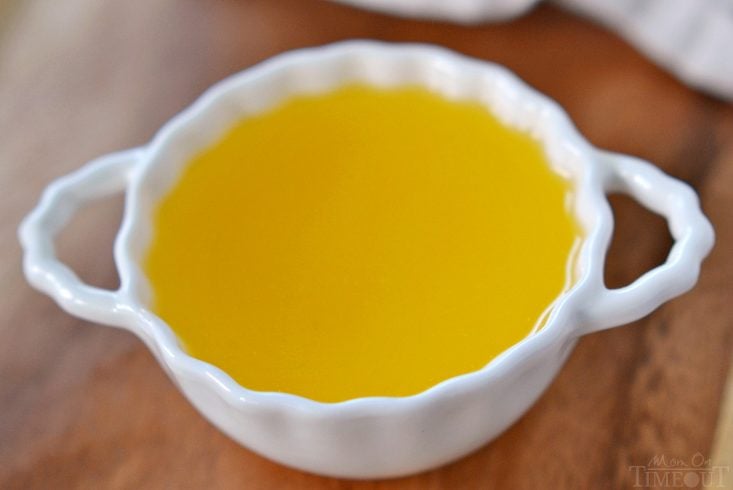
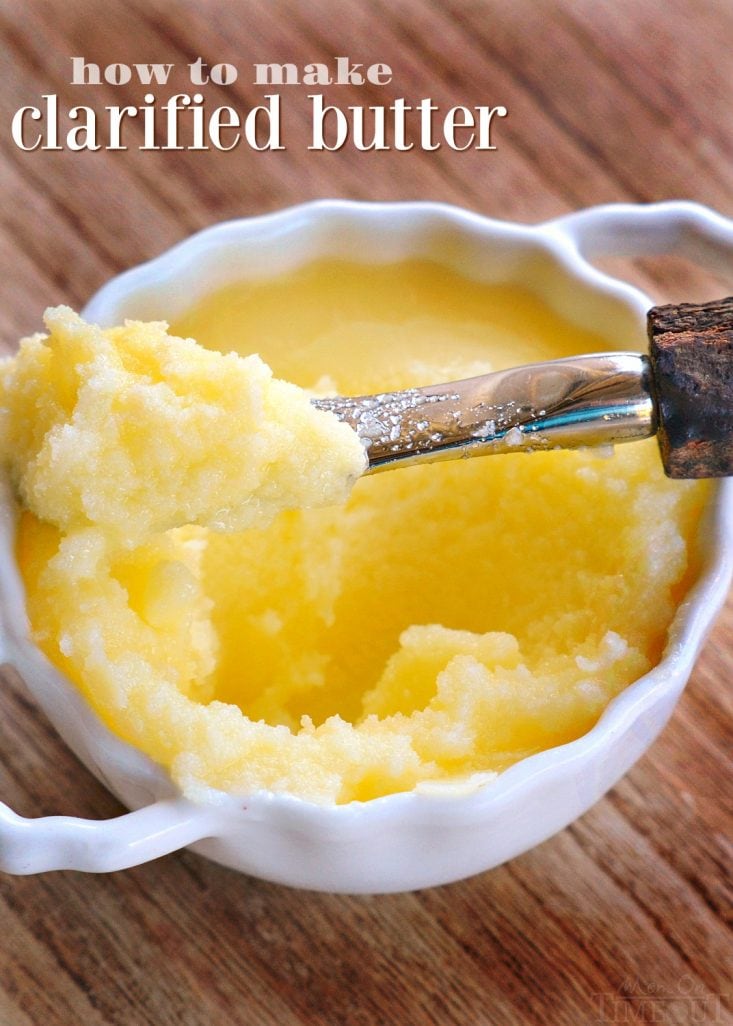
Look at that bright golden color! Store the clarified butter in a covered glass container. You can store the cooled butter at room temperature for up to three months, or refrigerate up to six months.
What Do You Need to Make Clarified Butter
- A small saucepan
- Cheesecloth
- Mason jar or other glass container to store it in.
Other Favorite Recipes
- Homemade Baked Mac and Cheese
- The BEST Tater Tot Casserole
- The BEST Dinner Rolls
- Easy Chicken Stir Fry Recipe
- Easy Stuffed Shells
How To Make Clarified Butter
Clarified Butter
Ingredients
- 8 oz unsalted butter
Instructions
- Place butter in a small saucepan. Heat the butter over low heat, allowing the butter to melt and come to a simmer. Don’t stir, just let it melt.
- Carefully skim the surface with a spoon (I use a soup spoon) and get rid of all – or most- of the white, foamy dairy solids.
- Strain the remaining butter through a cheesecloth. I recommend at least 5 layers of cheesecloth to get rid of all of the dairy solids.
- Discard the cheesecloth and milk solids. Let the butter cool to room temperature.
- Store the clarified butter in a covered glass container. You can store the cooled butter at room temperature for up to three months, or refrigerate up to six months.
Nutrition


For all appetizer recipes, go HERE.
For all dessert recipes, go HERE.
Sign up to get emails when I post new recipes!
For even more great ideas follow me on Facebook – Pinterest – Instagram – Twitter – Bloglovin’.


Leave a Reply