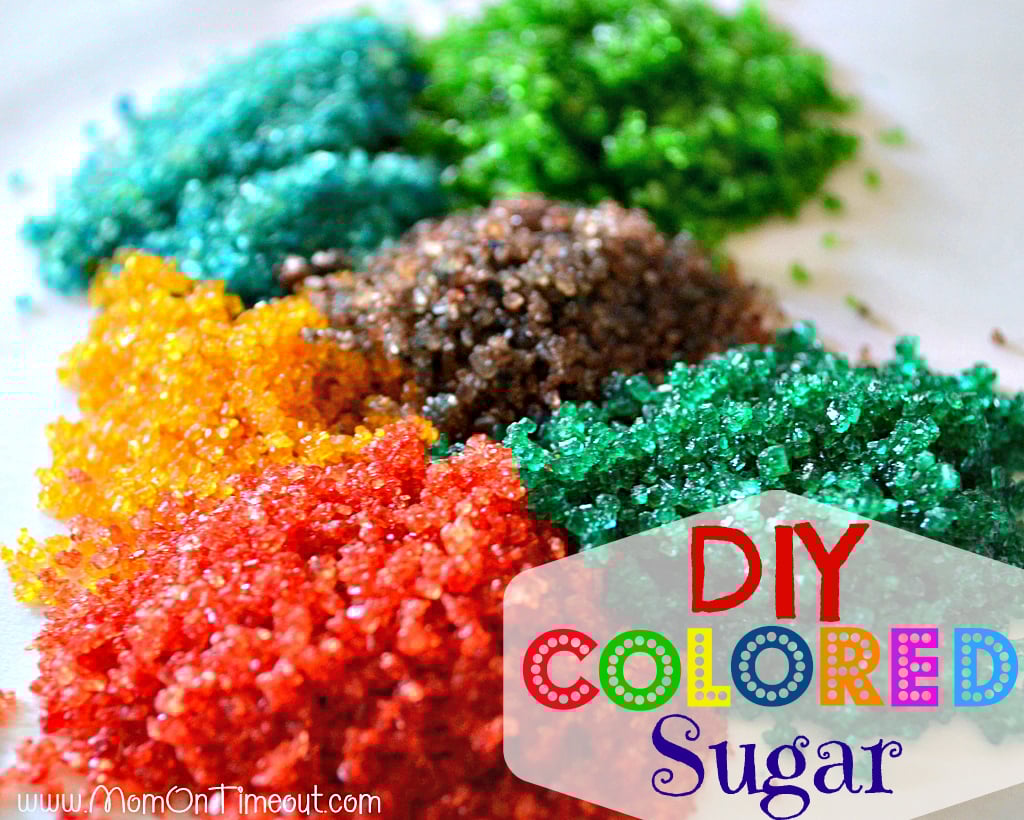
You’ll never believe how easy it is to make your own colored sugar at home!
I stumbled upon this idea last month while making cookies for Bryce’s birthday party. The boys decided they wanted to frost and decorate some cookies we had made but I didn’t have any colored sugar. After a moment of thought I decided I would try to make my own colored sugar.
My first attempt was putting the sugar in a small bowl, dropping in the food color and then using a fork to mix it all up – that was not successful. Next I tried putting the sugar in a plastic bag and shaking it up – success!
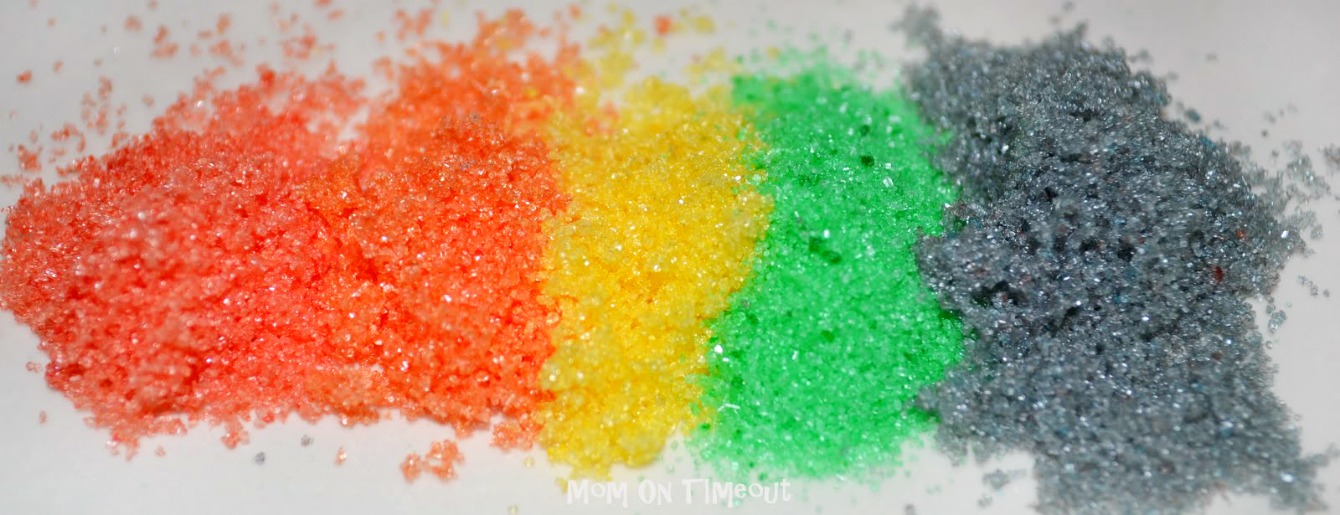
The boys and I had so much fun making a variety of colors. I let them choose how many drops of each color we would put in and then they would guess how it would turn out. The yellow food coloring fooled them more than once because it looks orange 😉
This is so easy you are never going to buy store-bought colored sugar again!
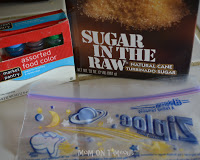
What you will need:
Plastic bags
food color
sugar – (granulated for smaller crystal or raw sugar for larger crystals)
Put a couple of tablespoons of sugar into a small plastic bag. Add a drop or two of food color into the bag. Seal the bag and shake it up. If the sugar starts to clump, just use your fingers to massage the clumps away. Keep working at it until the color is nice and uniform.
Try mixing up the food color to create amazing and vibrant color variations.
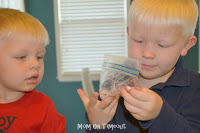
I enlisted the help of my little guys and had lots of bags going on at one time. The more the merrier!
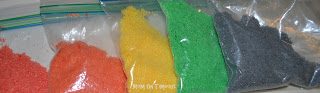
This is what the granulated sugar looks like:
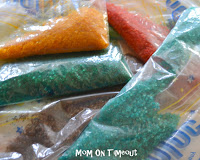
And this is what the raw sugar looks like:

This would be super fun with the neon food color that is available as well. The sugar can be stored in the plastic bags or in an airtight container. Now you don’t have to limit your decorating to the colors you find in the store. I am certainly excited to have some awesome cookie decorating parties this holiday season.
More fun ideas:


Reese’s Peanut Butter Cup Mini Cheesecakes

For all Easter ideas, go HERE.
For all dessert recipes, go HERE.
Sign up to get emails when I post new recipes!
For even more great ideas follow me on Facebook – Pinterest – Instagram – Twitter – Bloglovin’.


heatheraland says
I’m glad I ran across this. I was not wanting to pay $4 for a cont. of sprinkles. Thank you.
heatheraland says
I’m glad I ran across this. I was not wanting to pay $4 for a cont. of sprinkles. Thank you.
Beth says
So brilliant because it’s so simple. Thank you so much for sharing. Looks like a lot of busy moms are going to get some use from your very helpful post.
Carrie says
You’ve been featured!
http://makinglemonadeblog.blogspot.com/2011/12/refresh-your-nest-12.html
ladywiththeredrocker says
Fantastic! Will be doing this soon! Thanks for sharing!
Stephanie @ Ladywiththeredrocker.wordpress.com
CherylK says
Great post and great photos! Am going to put a link to this in my sugar cookie post!
Anonymous says
Thanks for the tip. I’ll try!!!
Gloria Bustos says
Funny I just saw this on the 700 Club this morning. Sandra Lee was a guest and was showing how to make this…very excited to try this for cooking decorating.
Anonymous says
ewww i have to try that
Holly says
I love this and have been doing it for years. Another neat idea is to add flavor to them. Just buy the extract of whatever flavor you want(mint,vinalla,orange,ect). Great for cookies or to give your favorite coffee and extra kick.
Also if you find clumping is a problem lay the sugar out on wax paper and when totally dry then store as you please.
Michele says
This is a great idea I don’t know why I never thought of it myself. I always get sucked into thosse little jars of sprinkles for $6.00 a pop! I will not be fooled again!
Thanks so much for sharing!
http://mrsgardengirl.blogspot.com/
Theophanie says
Good to know! I love how the raw sugar ends up with jewel tones. 🙂
Julie says
Thanks for the tip. I’ve been doing this with granulated sugar for a while now but I love the idea of using Sugar in the Raw for the bigger crystals. Love it!
That Mom Blog says
Love this! I was going to put sugar in some christmas bulbs, but this is going to be so much more fun for snow!
ThatMom says
This comment has been removed by the author.