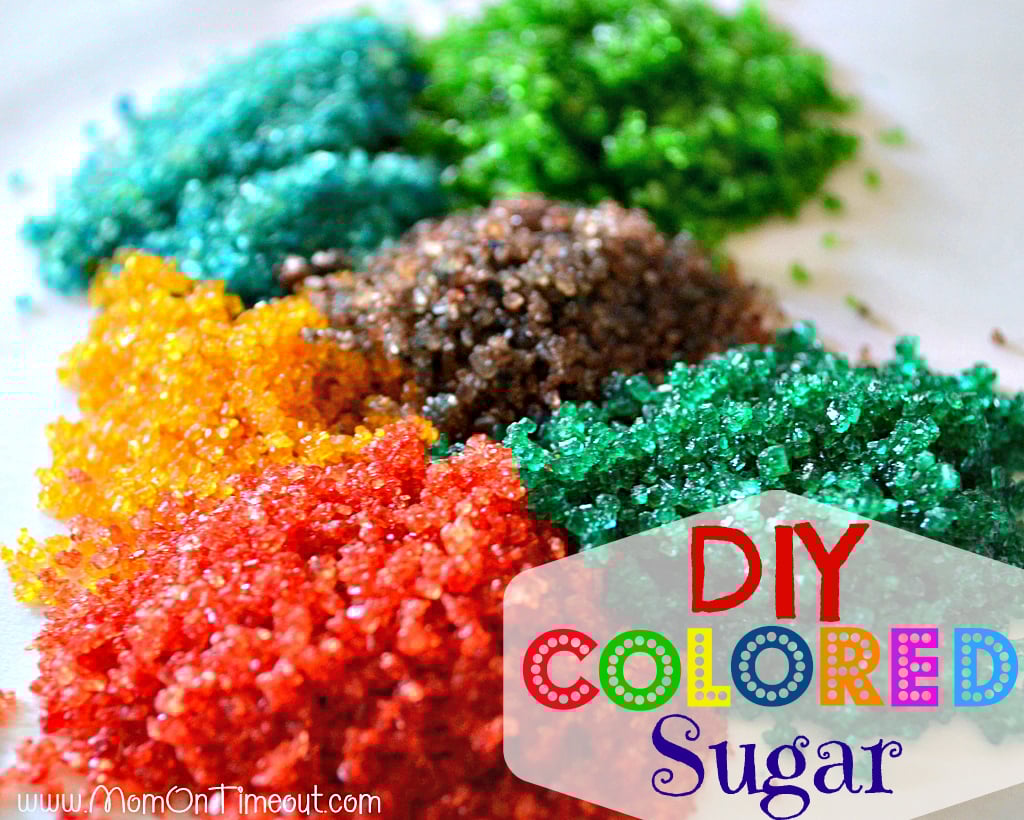
You’ll never believe how easy it is to make your own colored sugar at home!
I stumbled upon this idea last month while making cookies for Bryce’s birthday party. The boys decided they wanted to frost and decorate some cookies we had made but I didn’t have any colored sugar. After a moment of thought I decided I would try to make my own colored sugar.
My first attempt was putting the sugar in a small bowl, dropping in the food color and then using a fork to mix it all up – that was not successful. Next I tried putting the sugar in a plastic bag and shaking it up – success!
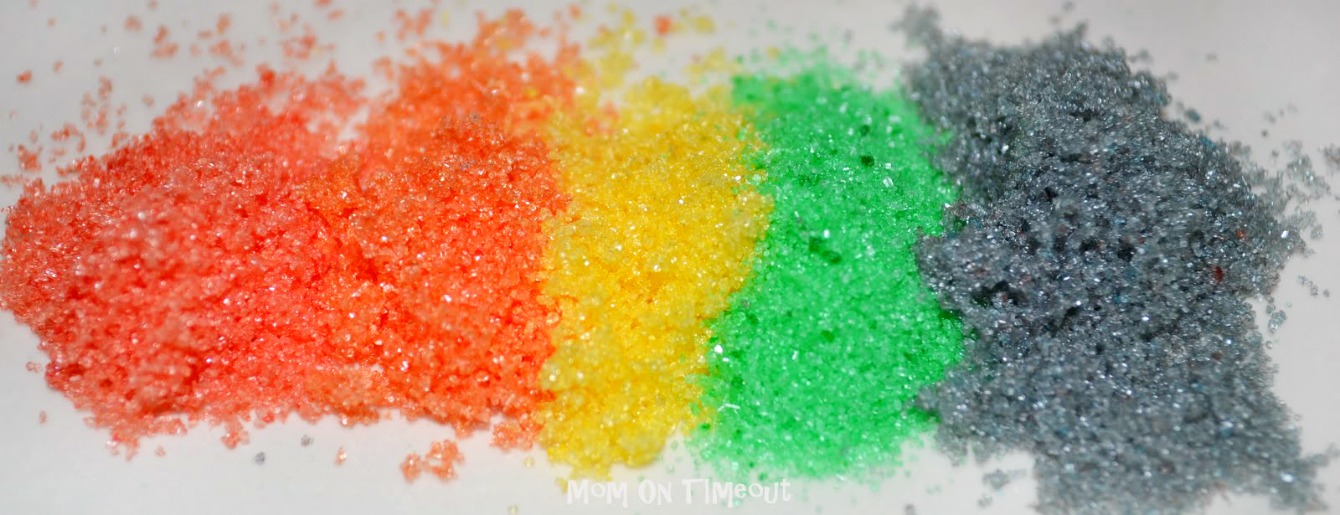
The boys and I had so much fun making a variety of colors. I let them choose how many drops of each color we would put in and then they would guess how it would turn out. The yellow food coloring fooled them more than once because it looks orange 😉
This is so easy you are never going to buy store-bought colored sugar again!
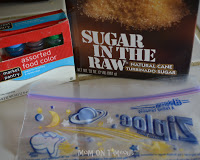
What you will need:
Plastic bags
food color
sugar – (granulated for smaller crystal or raw sugar for larger crystals)
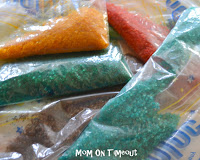
Put a couple of tablespoons of sugar into a small plastic bag. Add a drop or two of food color into the bag. Seal the bag and shake it up. If the sugar starts to clump, just use your fingers to massage the clumps away. Keep working at it until the color is nice and uniform.
Try mixing up the food color to create amazing and vibrant color variations.
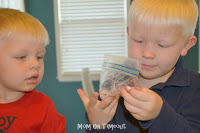
I enlisted the help of my little guys and had lots of bags going on at one time. The more the merrier!
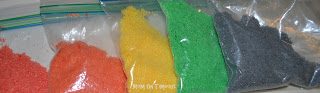
This is what the granulated sugar looks like:
And this is what the raw sugar looks like:

This would be super fun with the neon food color that is available as well. The sugar can be stored in the plastic bags or in an airtight container. Now you don’t have to limit your decorating to the colors you find in the store. I am certainly excited to have some awesome cookie decorating parties this holiday season.
More fun ideas:
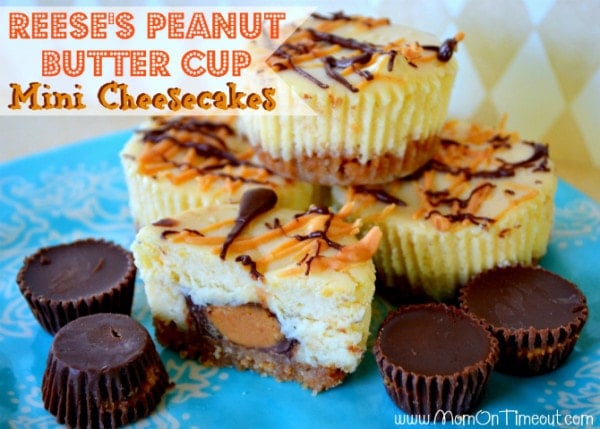
Reese’s Peanut Butter Cup Mini Cheesecakes

For all Easter ideas, go HERE.
For all dessert recipes, go HERE.
Sign up to get emails when I post new recipes!
For even more great ideas follow me on Facebook – Pinterest – Instagram – Twitter – Bloglovin’.


Country Girl in the City says
What beautiful colors and so easy! I will have to try this.
pipigirl says
wow, how cool. me and grandbabes gonna have some fun. thanks for sharing. appreciate it. gonna save me LOTS of money AND i must say. i think it looks WAY better than store bought. WAY BETTER!!! thanks again, sue
Kim @ Too Much Time says
I am totally using this recipe for son’s birthday party!I am hosting my first EVAH link party this weekend. It is up and running now and I would love for you to come link up some of your projects!
Kim @ Too Much Time
http://kim-toomuchtimeonmyhands.blogspot.com/search/label/get%20schooled%20saturday
lindsey @makeandtakes says
This is so fun! I’d love for you to submit this to the Make and Takes spotlight page–http://www.makeandtakes.com/spotlight
Amanda Joy says
Hopping over from Whipperberry.
I love this! I am baking all of the time, and I am addicted to buying sprinkles. That addiction can add up to too much $. Thanks for pointing out that you can get it larger by purchasing raw sugar.
I am pinning this:)
Amanda Joy
http://www.joyinthejmble.com
April @ The 21st Century Housewife says
Perfect timing! I’m struggling to find coloured sugar easily here in England and I’d love some for my sugar cookies! Thank you for sharing this wonderful tip. I’d love it if you would share this post on the Gallery of Favorites on my site today if you have time.
Shannon at madiganmade says
What a neat tip!! Thanks for sharing it.
Maria Matter says
Perfect!!
I’ll be featuring you on this week’s Inspire Me Fridays party line up!
Thanks so much for sharing!
It's All Connected says
I pinned this one. Great idea! ~ Maureen
Lauren @ My Wonderfully Made says
Well this is amazing!! Opens up so many possibilities for decorating cookies this Christmas – thanks very much!
cameronhomemade says
I can’t wait to try this out – my kids will go nuts – and our cookies will be SO beautiful!
art is beauty says
Holy Head Slap….Cannot believe it is this easy!!! Can’t wait to use this for Christmas Cookies!!!
Karin
http://www.artisbeauty.net
Jennifer says
Fantastic!! Now I know!! Ha!
Thanks for sharing at Show & Share!!
Featuring this on Facebook right now!! 🙂
EvA. . . says
wow how fun! very cool 🙂
Jamie says
I thought I was following you but I guess not. Following you now!! Thank you for this tutorial. My girls will love it! I love your blog. I’m your newest follower.
Would love to see you DIY Home Sweet home.
Jamie
http://diyhshp.blogspot.com/
P.S. More the Merrier Monday end tonight so stop by and link up if you have not already.