↑
  • Dinner Recipes
  • Breakfast Recipes
  • Dessert Recipes
  • Side Dishes
  • Recipes
    • Dinners
    • Slow Cooker
    • Appetizers and Sides
    • Breakfast
    • Dessert
    • Beverages
    • Bread
    • Holiday Recipes
    • Kid-Friendly
  • Blog View
  • About
    • Disclosure/Privacy Policy
  • Facebook
  • Pinterest
  • Instagram
  • Twitter
  • Youtube
  • Blog View
  • About
  • Privacy Policy
  • Advertise/PR
  • DISNEY
  • DINNERS
  • DRINKS
  • DESSERTS

Mom On Timeout

Serving up real food for real families!

  • Home
  • Recipes
    • Slow Cooker
    • Appetizers and Sides
    • Breakfast
    • Entree
    • Dessert
    • Beverages
    • Holiday Recipes
      • Christmas Recipes
      • Thanksgiving Recipes
      • Valentine’s Day Recipes
      • St. Patrick’s Day Recipes
      • Easter Recipes
      • Halloween Recipes
    • Bread
    • Kid-Friendly
  • 5 Ingredients
  • Appetizers
  • Favorites


free email course!

5 SECRETS TO GETTING DINNER ON THE TABLE...FAST!

You are here: Home / Crafts / Two Easy Ways To Remove Jar Labels

Two Easy Ways To Remove Jar Labels

November 16, 2011

  • 145

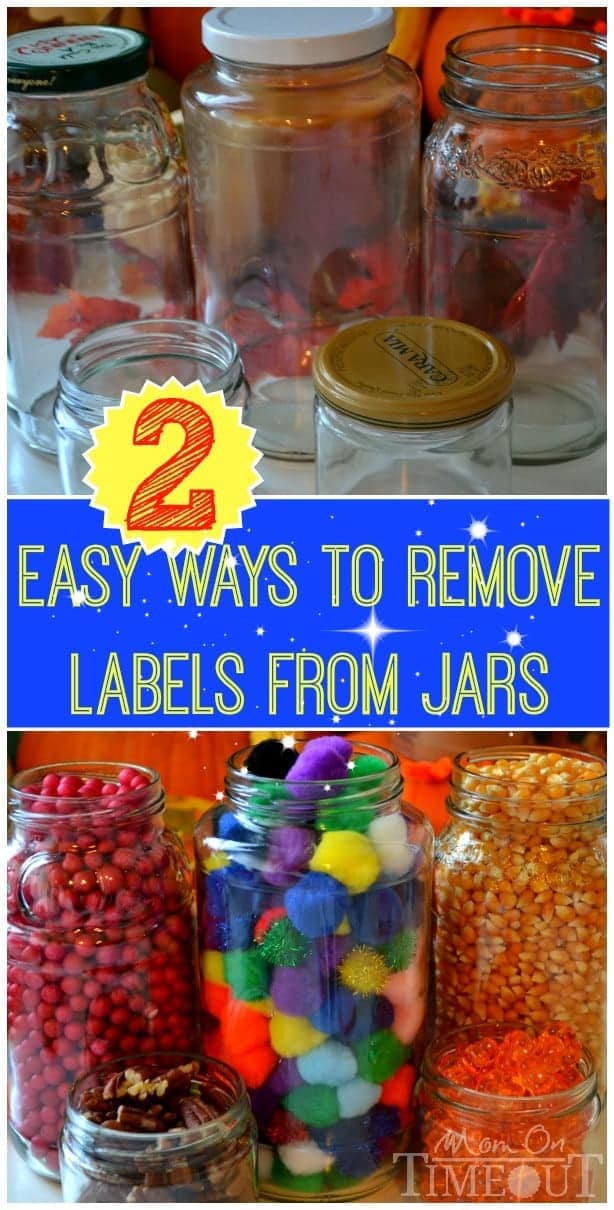
Find out just how easy it is to remove those pesky labels from jars! Here are two easy ways to remove jar labels!

Two Easy Ways To Remove Labels From Jars | MomOnTimeout.com

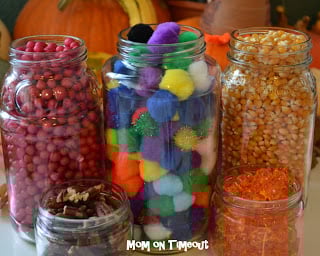
The holidays are just around the corner and to me that means more crafts. Glass jars are a great way to recycle for not only craft projects but are wonderfully useful for storage, rustic vases, and even for cleaning solutions.

Cleaning the labels and the sticky residue off of jars can be an intimidating and time-consuming process. I’m sure we’ve all tried peanut butter, vinegar, hot water, soap, dishwasher, oils, etc. The list goes on and on when you ask people how they remove their labels. I’ve tried a variety of methods and have narrowed it down to the two that I find most effective and efficient. You pick which one works for you!

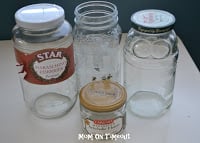
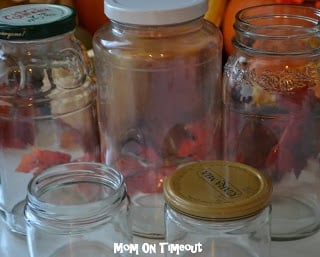
Gather up several jars at a time to be more efficient. I like to do lots of different sizes and shapes  – some of the jars even have really beautiful designs on them.

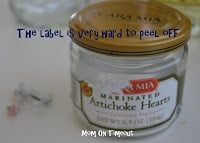
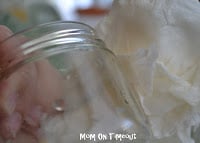
For each method, remove as much of the label as possible first. An easy way to get the adhesive to release is to fill the jar with really hot water. Be careful when handling the jar and don’t burn yourself!

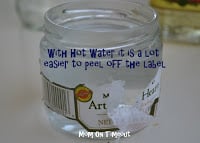
Let the jar sit for a few minutes so the adhesive can turn more to a liquid and then start gently peeling off the label.
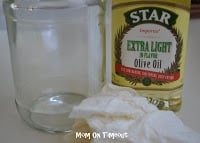
First Method: Olive Oil
Olive Oil is my favorite method because it’s eco-friendly and is super easy. Pour a couple drops of oil onto a paper towel and rub at the remaining residue from the label. Keep rubbing until all residue is gone. This should only take a minute or two. Make sure to wash your jar afterward to get the oil off. I just run mine through the dishwasher. 

Second Method: Polish Remover

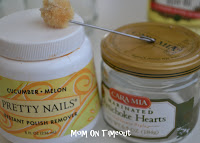
This method is actually a little faster than the olive oil but you have to deal with the fumes from the nail polish remover. (You can see here that I combat this issue with “cucumber melon” scented remover 🙂 )  Pour the polish remover onto a paper towel or use the applicator if yours came with one. Scrub away at that label and adhesive and it will just slide right off. Quick and easy! Again, make sure to wash the jar afterwards. 

These two methods are fail-proof. I have never had a jar label that I couldn’t remove using one of these two methods. Next time you are about to throw out a glass jar think of how easy it is to re-use it and try one of these methods. Let me know what you think.

Trish Signature Block

Connect with me!

Follow on Bloglovin


 Linking up at some of these parties.


free email course

5 SECRETS TO GETTING DINNER ON THE TABLE...FAST!

enjoy!
  • 145

By Trish - Mom On Timeout November 16, 2011 Crafts, House

Previous article:
« Mint Chocolate Chip Cookies
Next article:
How To Make Your Own Colored Sugar »

Comments

  1. Carrie says

    March 6, 2018 at 4:21 PM

    I only had baby oil. So I”m starting now and will let you know how it goes.☺

    Reply
    • Trish - Mom On Timeout says

      March 8, 2018 at 8:29 AM

      Awesome!

      Reply
  2. mike says

    November 19, 2016 at 4:39 AM

    Trish, following your advice, I poured hot water into the jar and peeled off the label with ease, then polished up the jar with olive oil on a kitchen towel.
    Next time I’ll try it with a cheaper oil!

    Reply
    • Trish - Mom On Timeout says

      November 20, 2016 at 7:58 AM

      Awesome Mike!

      Reply
  3. Golden says

    October 8, 2015 at 9:23 AM

    I couldn’t get the labels off to even proceed with the olive oil method, so I soaked them in hot water, Dawn and baking soda for an hour and scraped with a butter knife. Glided off easily and no residue!

    Reply
  4. John Hartley says

    July 20, 2015 at 2:28 AM

    I wanted to use a couple of used jars for night lights outside when entertaining in the evening. Soaked the jars in hot water, rubbed off with a flat wooden spoon and then used the olive oil to finish off. Perfect. Thanxx 🙂

    Reply
  5. camperses says

    June 14, 2015 at 12:36 AM

    It works! Thank you so much! 🙂

    Reply
  6. Fiona says

    July 31, 2014 at 5:25 PM

    I know eucalyptus oil will melt away the glue off glass jars and also gets tar off your car. My daughter in-law to be is getting married in March next year and we are saving glass jars for the flowers and candels so there is a lot to be cleaned thanks so much Trish for the great advise!!

    Reply
« Older Comments

Leave a Reply Cancel reply

Your email address will not be published. Required fields are marked *

Recipe Rating


This site uses Akismet to reduce spam. Learn how your comment data is processed.

Hi, I’m Trish!

Welcome to Mom On Timeout where I’m serving up real food for real families! Dinners, desserts, and everything in between!
Read More…

categories

archives

Popular Posts

white bowl with handles filled with zuppa toscana soup and topped with cheese. Kale, sausage and bacon can be seen in the soup.
crockpot chili in a ladle held above the crockpot and the rest of the chili.
chicken-stir-fry
best-tater-tot-casserole-recipe-hamburger-green-beans

Some of my favorites…

slice being removed from a vanilla cake with raspberry buttercream. cake is decorated with fresh raspberry and mint leaves.
plate filled with cherry pineapple dump cake and topped with a scoop of vanilla ice cream that is just beginning to melt. cherries and pineapple chunks are visible in the cake.
lemon meringue cupcake with bite taken showing the lemon curd in the middle of the cupcake and the pretty white interior of the meringue.
mini cheesecakes sitting on a gray plate topped with whipped cream, raspberries and mint leaves.
cake made with cinnamon rolls on a white cake stand and topped with cream cheese frosting and mini cinnamon rolls.

Copyright ©2023, Mom On Timeout. All Rights Reserved.
Design by Pixel Me Designs
  • Facebook
  • Twitter
  • Pinterest