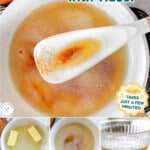
Brown Butter is one of my favorite ways to add a little something special to both sweet treats and savory dishes! Rich, nutty and full of toasted flavor, brown butter is a tasty upgrade for everything from cookies to pasta. This easy guide shows you how to brown butter, with helpful tips on what to watch for along the way so you get it just right.
Adding brown butter to recipes is a total game changer! Try these favorites: Brown Butter Garlic Green Beans, Pumpkin Snickerdoodle Cookies, Brown Butter White Chocolate Macadamia Nut Cookies and Brown Butter Toffee Chocolate Chip Cookies!
Browned Butter
Learn how to brown butter and give your favorite recipes a delicious boost of rich, nutty flavor! This simple stovetop technique transforms everyday butter into something extra special, with a toasted aroma that makes the kitchen smell amazing. It takes just one ingredient and a little attention at the stove. Once you know what to watch for, it’s an easy skill to add to your cooking and baking routine.
Browned butter is one of those little extras that can make a big difference in a recipe. It adds depth to chocolate chip cookies, turns classic rice krispie treats into masterpieces, makes a simple pasta dish feel special and is delicious drizzled over roasted vegetables. Add it to your mashed potatoes or swap it in your favorite banana bread recipe!
The best part is that you don’t need any fancy equipment to make it. I’ll walk you through the signs to look for, when to take it off the heat and how to keep all that buttery goodness from burning.
What Is Brown Butter?
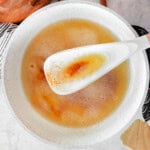
Brown butter is regular butter that has been cooked until its milk solids toast and turn golden brown. As the butter heats, its water evaporates and the milk solids settle toward the bottom of the pan. Those toasted bits give brown butter its signature nutty flavor and aroma.
You might also see it called beurre noisette, a French name that refers to its hazelnut-like color and fragrance. There are no actual nuts involved, just butter and a little stovetop magic – although, browned butter definitely has a nutty flavor!
Why You’ll Love Browned Butter
Browning butter is such a simple way to bring extra flavor to both sweet and savory recipes. Once you recognize the golden brown bits and toasted aroma, the process feels much less intimidating. We’ve become absolutely smitten with it and are making batch after batch of our favorite chewy chocolate chip cookies with the brown butter (recipe coming soon!) Here’s why we’re obsessed:
- Just one ingredient. All you need is real butter to get started. No margarine!
- Big flavor payoff, very little effort. Browning adds rich, nutty notes that melted butter alone doesn’t have.
- Super versatile. Try it in recipes developed for brown butter or spoon it over pasta, vegetables and more.
- Easy to make ahead. Keep a batch in the refrigerator or freezer for later. We like to double the recipe and keep some on hand for cookies, pasta or veggies.
- No special equipment. A light-colored pan, a heatproof spatula and a heatproof bowl will do the trick.
Ingredients and Substitutions
Butter is the only ingredient you need for the basic recipe, but the type you choose can affect the flavor and timing. You can use salted or unsalted butter but I almost always use unsalted. Start with real dairy butter for the classic result described here.
- Butter: Butter contains fat, water and milk solids. During cooking, the water evaporates and the milk solids brown, creating that delicious toasted flavor. Unsalted butter gives you more control over the seasoning, especially when baking. Salted butter also works, but keep its salt content in mind when seasoning the finished dish.
A note on substitutions:
Ghee and clarified butter have had their milk solids removed, so they won’t brown in the same way. Margarine and plant-based butter vary in composition and will likely not behave like dairy butter in this method. Stick with real butter for this recipe.
How To Brown Butter
Browning butter is straightforward, but you’ll want to stay close to the stove from start to finish. Go by the color and aroma rather than the clock. The amount of butter, pan size and stove temperature all affect how long browning takes. The final change happens quickly, so keep a close eye on the milk solids.
Have a heatproof bowl ready before you begin so you can pour out the butter as soon as it’s done. I often say browning butter is like toasting nuts, they go from perfect to burnt in a second. Keep close watch!
Let’s take a quick look at how to make browned butter and, as always, you can find the full printable recipe card at the end of this post.
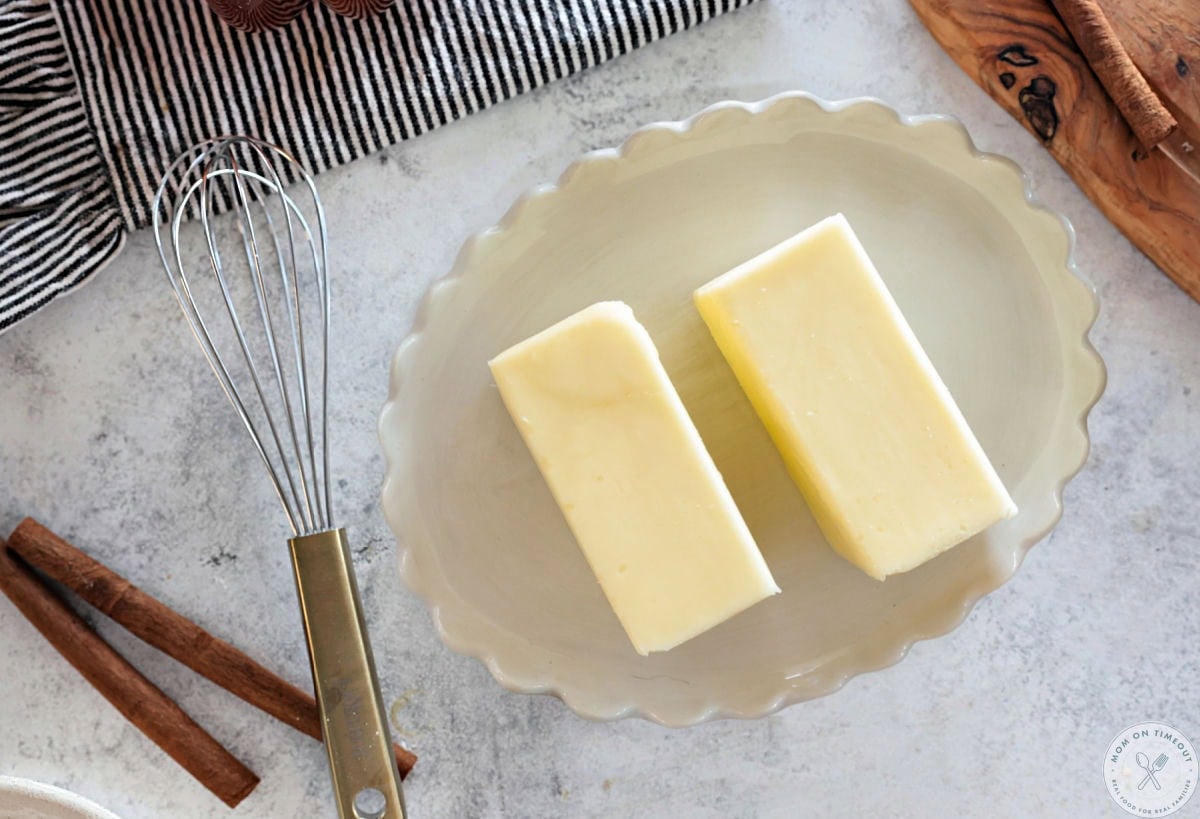
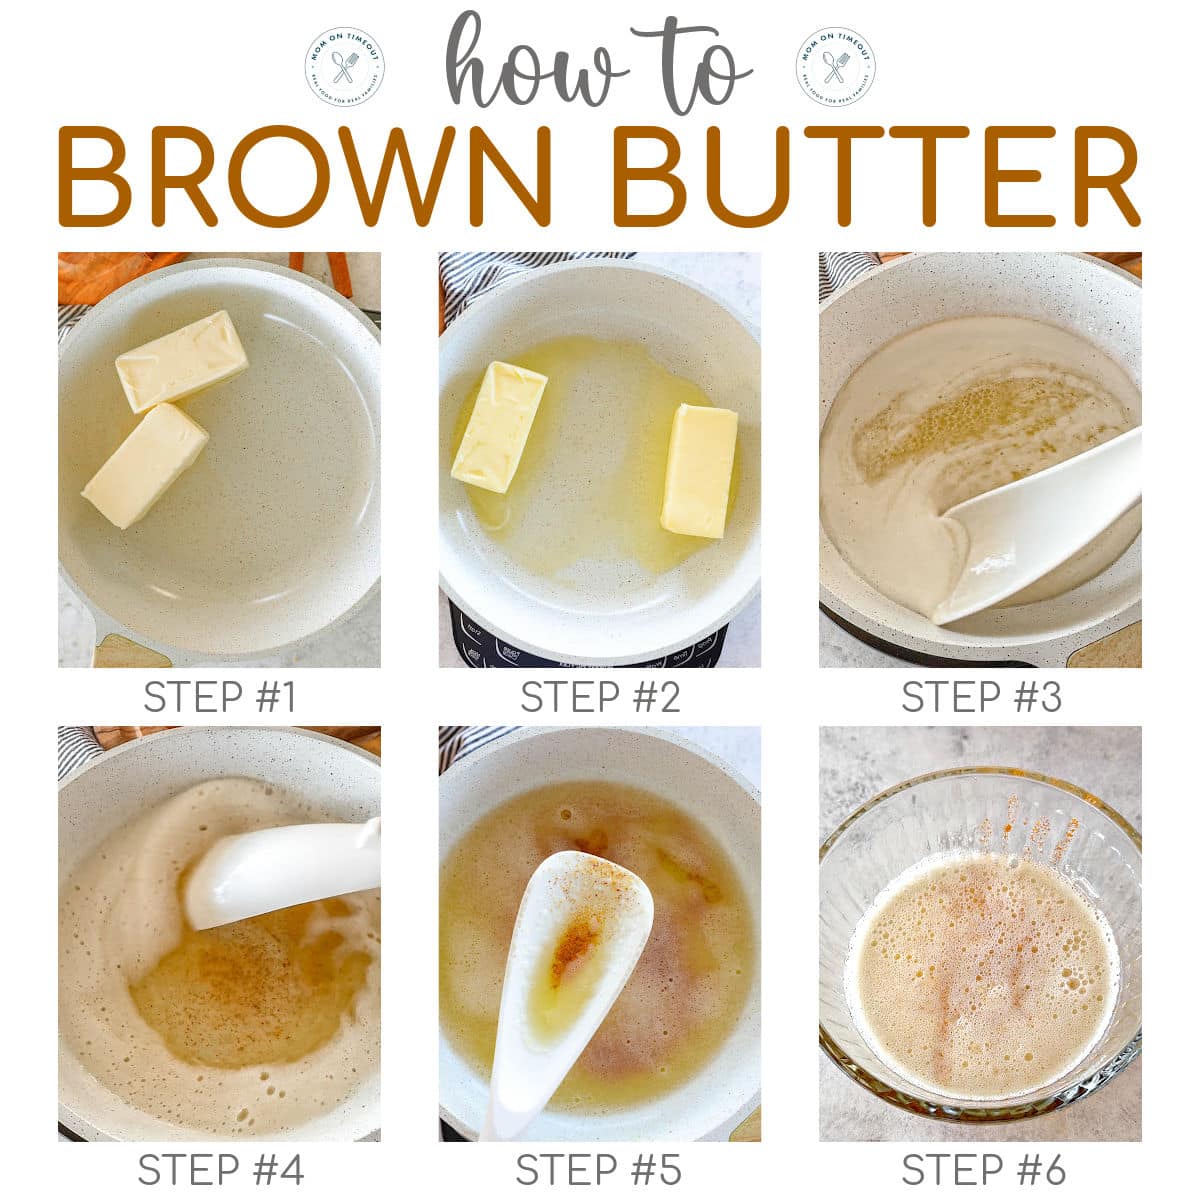
- Add butter to a light-colored saucepan or skillet with enough room for the butter to bubble and foam. (I like a light color so I can see the color of the milk solids as they start to brown.)
- Melt over medium-low to medium heat. Stir occasionally as the butter melts. Avoid high heat, which can brown the milk solids too quickly.
- Watch for bubbling and foam. As the butter cooks, the water begins to evaporate. The butter will bubble, sputter and develop a foamy layer on top. This is natural and what you want to see as it is part of the process.
- Continue cooking, stirring frequently and gently scraping the bottom so the milk solids don’t sit in one spot. Move the foam aside with your spatula to check the color underneath.
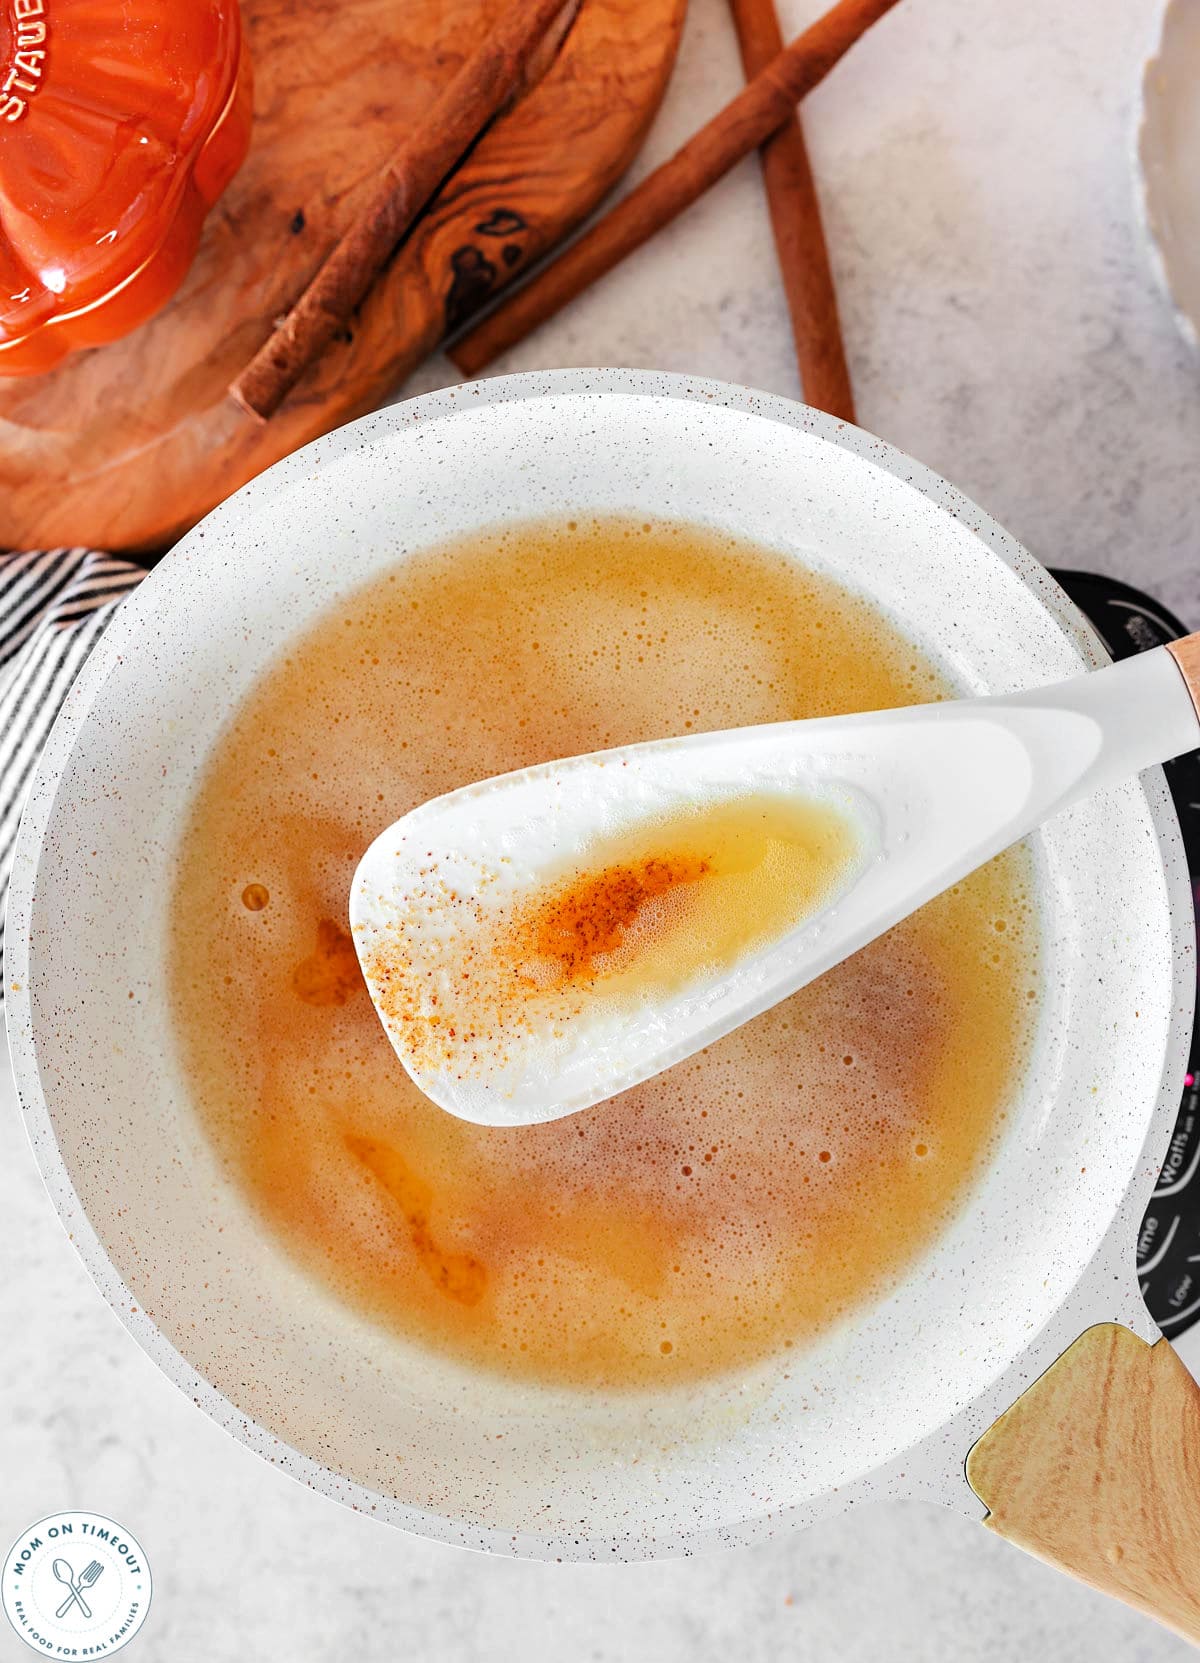
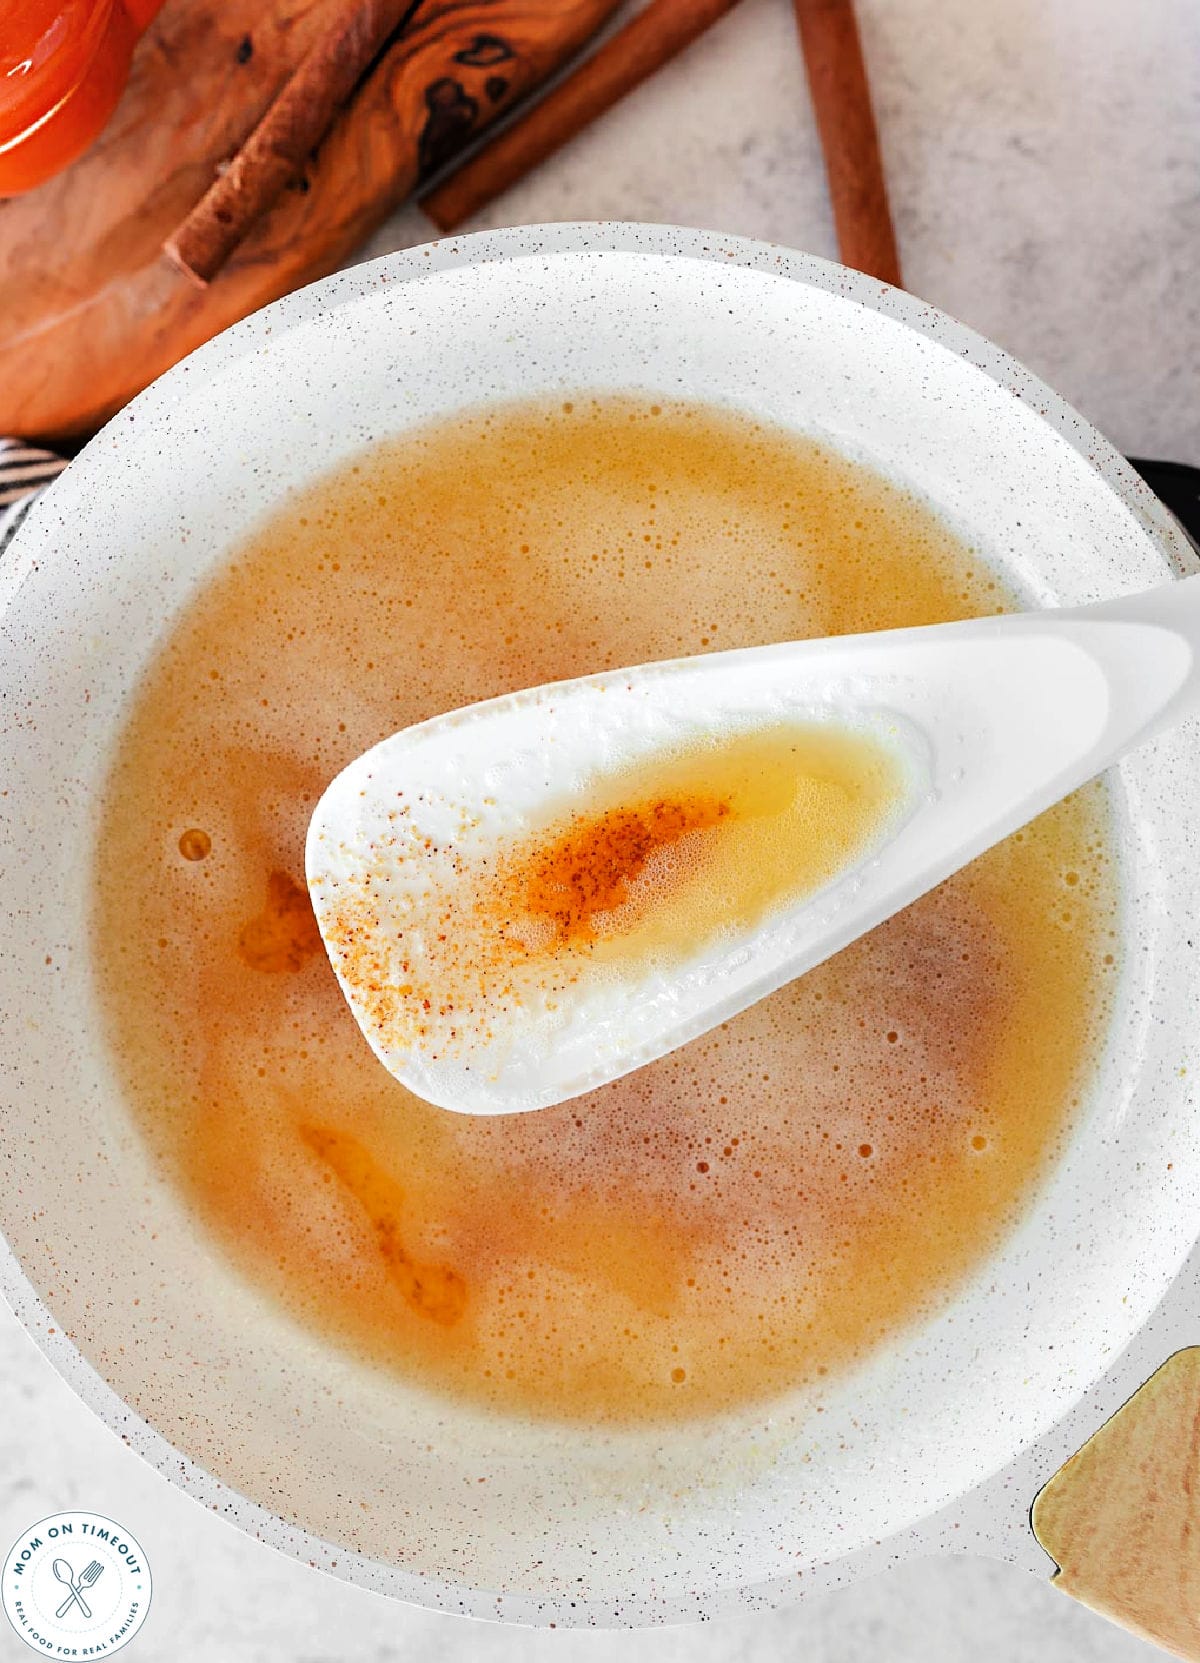
- Look for golden brown bits. The milk solids will change from pale to golden and then a deeper golden brown – not black! The butter should smell pleasantly nutty and toasted. Lower the heat or removed from the heat altogether if the color is changing too quickly.
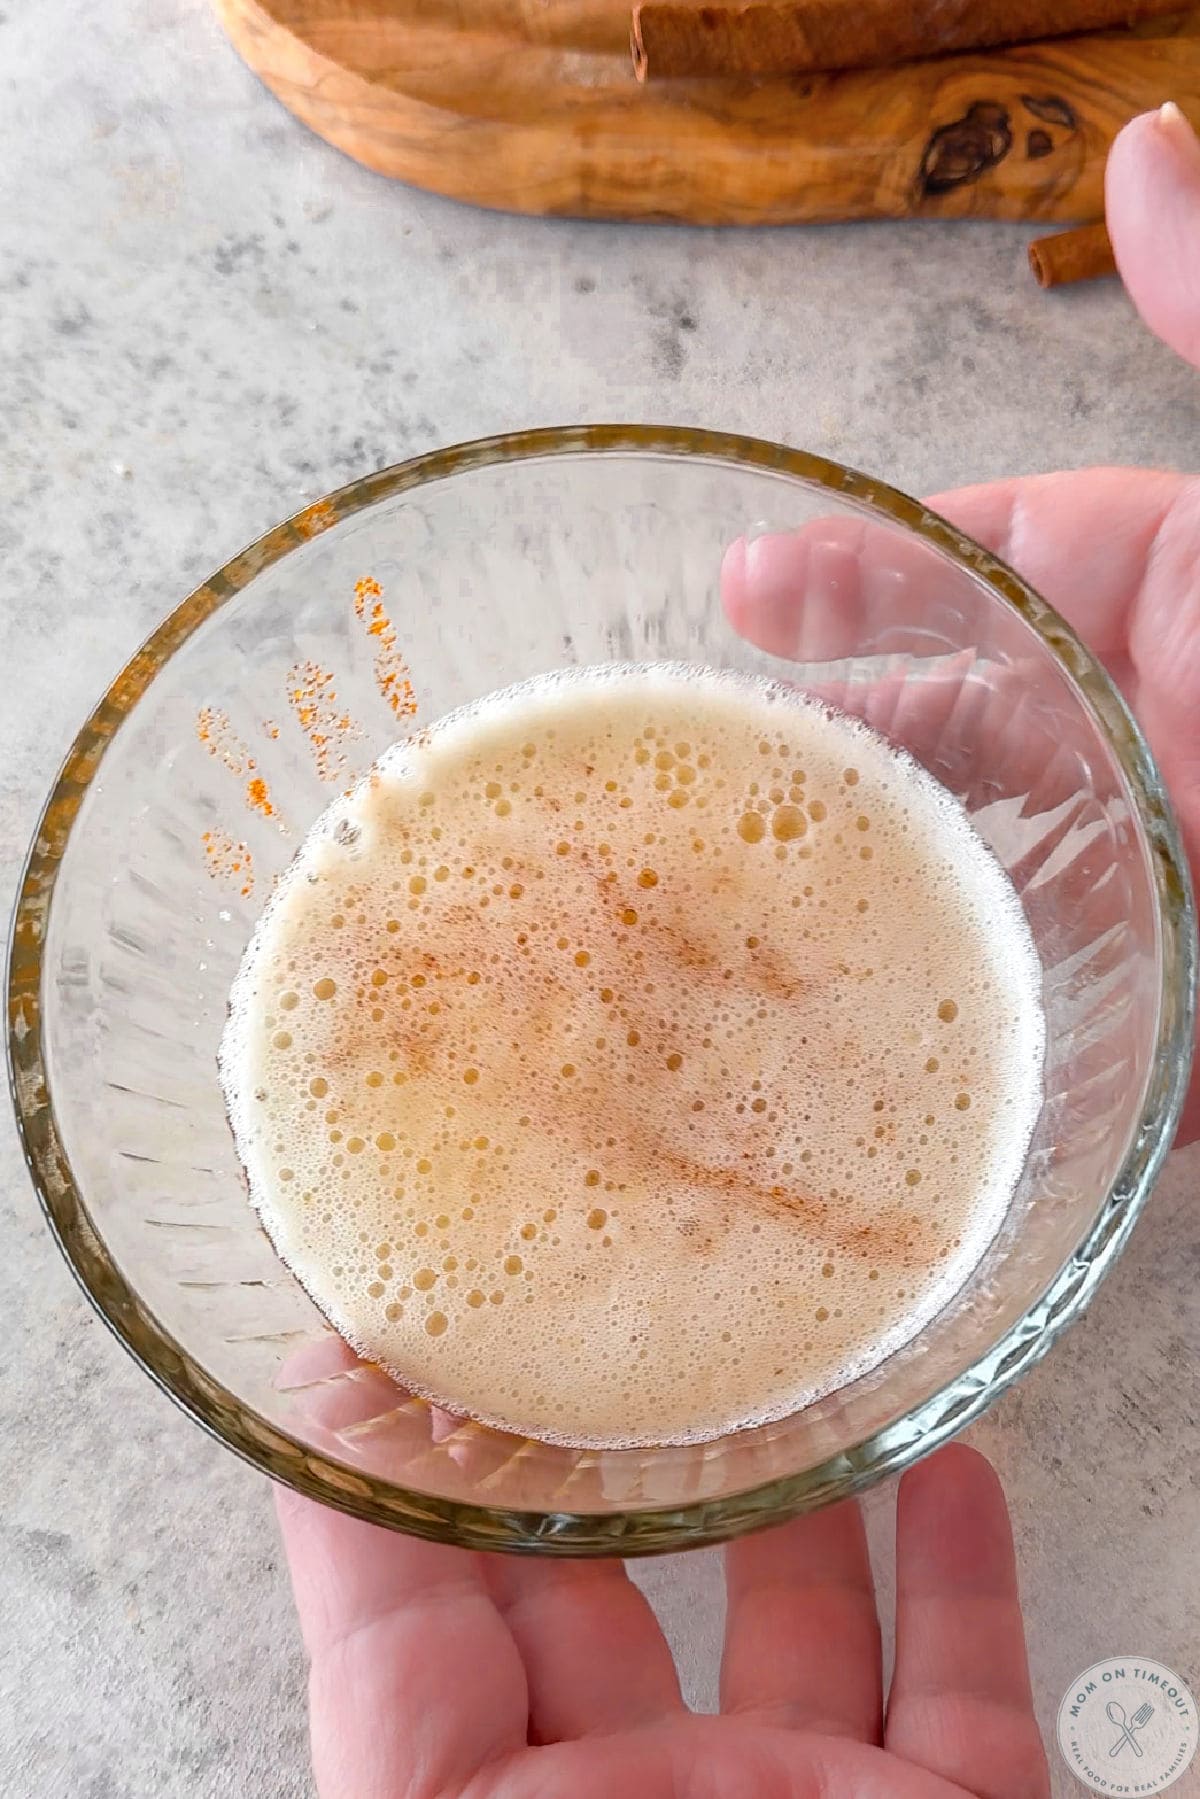
- Immediately transfer to a heatproof bowl. Once the milk solids are golden brown, remove the pan from the heat and pour the butter into the bowl. Scrape in all of the browned bits because they hold so much of the flavor!
Storage Information
Brown butter is easy to make ahead, which is especially helpful when you’re preparing for a baking day. These storage guidelines are for plain brown butter without fresh herbs or other additions.
- Refrigerator: Let the butter cool, transfer it to an airtight container and refrigerate for up to 1 week. It will firm up as it chills.
- Freezer: Freeze in an airtight, freezer-safe container for up to 3 months. Small portions make it easy to thaw just what you need.
- Thawing: Thaw overnight in the refrigerator. Gently rewarm if you need melted butter, or let it soften if your recipe calls for softened brown butter.
Stir the butter as it cools and thickens to help distribute the browned bits. Always bring it to the temperature or consistency your recipe calls for before using it.
Variations To Try
Brown butter is delicious on its own, but it also makes a wonderful starting point for simple sauces and toppings. These additions are best used in a separate portion intended for serving rather than in a batch measured for baking.
- Sage Brown Butter: Add a few dry sage leaves toward the end of cooking, allowing them to crisp as the butter finishes browning. Watch closely and transfer everything out of the pan promptly. Spoon over ravioli, gnocchi or roasted squash.
- Lemon Brown Butter: Let the finished butter cool slightly, then stir in lemon zest. Add a little lemon juice carefully, as it can sputter in hot butter. Serve over cooked fish or vegetables.
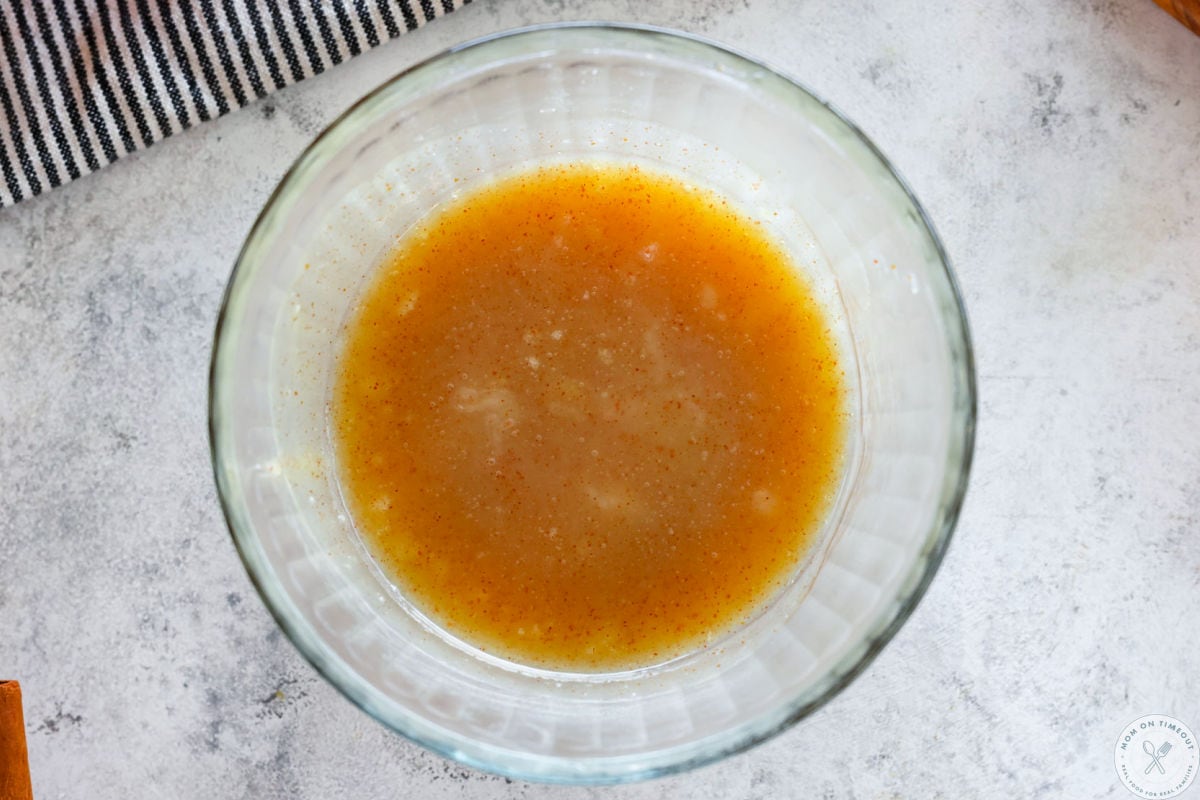
- Cinnamon Brown Butter: Stir a little ground cinnamon into the finished butter for a delicious drizzle over pancakes, waffles or baked sweet potatoes.
- Garlic Brown Butter: Brown the butter first, then add a small amount of finely minced garlic off the heat while the butter is still hot. Stir for a few minutes and then transfer to a separate container off the heat to keep the garlic from burning.
How do I know when brown butter is done?
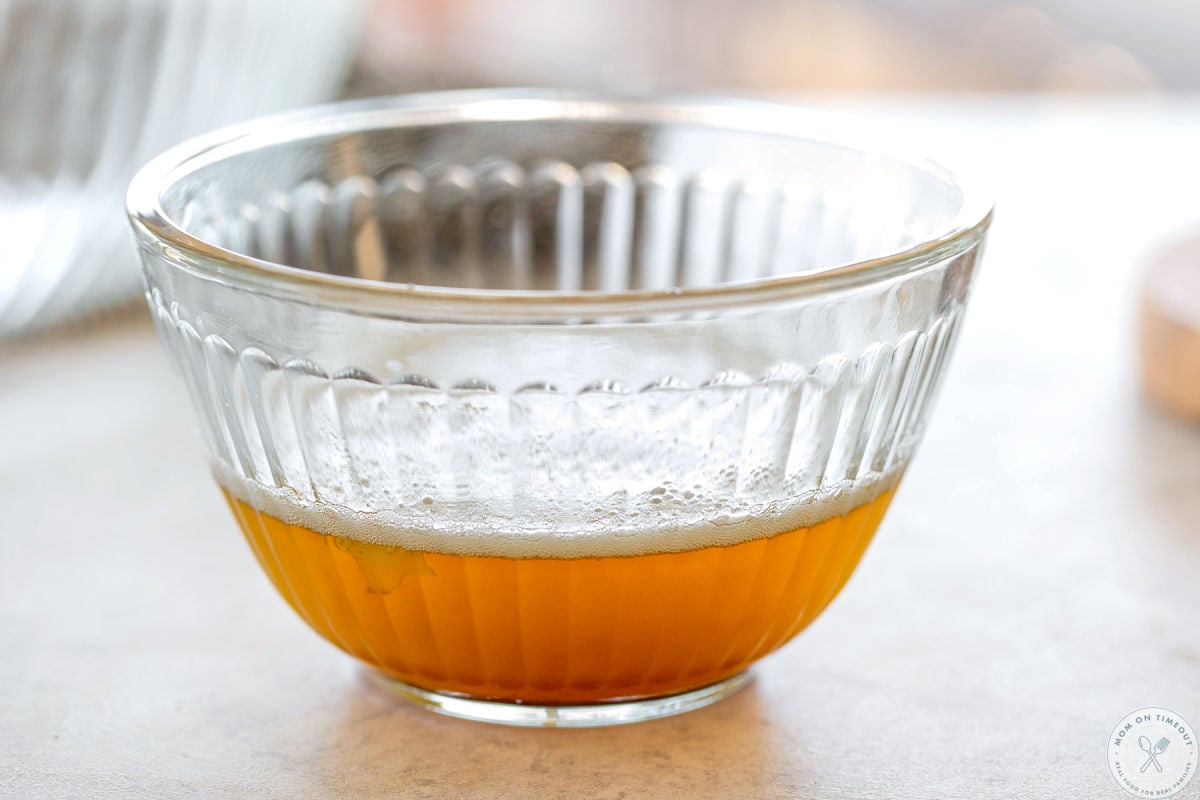
Look for golden brown milk solids at the bottom of the pan and a rich, nutty aroma. The foam can hide the solids, so gently stir it aside to check. Transfer the butter to a heatproof bowl as soon as it reaches that stage.
What is the difference between brown butter and burnt butter?
Brown butter smells toasted and nutty, with golden to medium-brown milk solids. Burnt butter has very dark or blackened solids and smells sharp or acrid. If it’s burnt, start again, since straining out the bits won’t reliably remove the bitter flavor.
Should I strain out the brown bits?
Keep them! Those toasted milk solids hold much of the flavor that makes brown butter so delicious. Scrape them into the bowl along with the melted butter.
Can I use brown butter in any recipe that calls for butter?
It works well as a finishing butter, but baking substitutions require a little more care. Browning removes water, so the finished butter weighs less and may change a recipe’s texture or spread. For the most predictable baking results, use a recipe developed for brown butter or follow specific substitution instructions.
Do I measure the butter before or after browning?
Follow the recipe’s wording. “½ cup butter, browned” generally means measure the butter first, then brown it. “½ cup browned butter” generally means measure the finished brown butter, which requires starting with more. Check the recipe notes if the instructions are unclear.
Can I brown salted butter?
Yes! Both salted and unsalted dairy butter work. Unsalted butter makes it easier to control the salt in the finished recipe.
Why did my butter burn after I turned off the heat?
The pan stays hot enough to keep cooking the milk solids even after you turn off the burner. Pour the butter into a separate heatproof bowl immediately to stop it from getting too dark.
Trish’s Tips
- Use a light-colored pan. Stainless steel or a light-colored interior makes it much easier to see the milk solids changing color. You’ll see from my pictures and video in the recipe card below that I went with a white pan which makes it really easy to see when the butter has browned.
- Have everything ready. Set out your spatula and heatproof bowl before turning on the stove so you can move quickly when needed.
- Choose a pan with room for foam. Butter bubbles up as its water evaporates, so avoid using too shallow of a skillet.
- Stay at the stove. Once the milk solids begin to brown, they can go from toasted to burnt very quickly.
- Watch the bits, not just the liquid. The milk solids on the bottom are your best visual guide.
- Save every flavorful bit. Scrape the browned milk solids out of the pan when you transfer the butter.
- Cool it to suit the recipe. Hot brown butter can melt chocolate or affect dough consistency. Let it cool, soften or firm up as directed before adding it to your recipe.
- If you’re browning more than two sticks or one cup of butter, cut into cubes so the butter melts more uniformly in the skillet.
More Butter-y Recipes To Try
How To Brown Butter
Ingredients
- 1 cup butter salted or unsalted, 16 tablespoons, 2 sticks
Instructions
- Add butter to a light-colored saucepan or skillet with enough room for the butter to bubble and foam. (I like a light color so I can see the color of the milk solids as they start to brown.)1 cup butter
- Melt over medium-low to medium heat. Stir occasionally as the butter melts. Avoid high heat, which can brown the milk solids too quickly.
- Watch for bubbling and foam. As the butter cooks, the water begins to evaporate. The butter will bubble, sputter and develop a foamy layer on top. This is natural and what you want to see as it is part of the process.
- Continue cooking, stirring frequently and gently scraping the bottom so the milk solids don’t sit in one spot. Move the foam aside with your spatula to check the color underneath.
- Look for golden brown bits. The milk solids will change from pale to golden and then a deeper golden brown – not black! The butter should smell pleasantly nutty and toasted. Lower the heat or removed from the heat altogether if the color is changing too quickly.
- Immediately transfer to a heatproof bowl. Once the milk solids are golden brown, remove the pan from the heat and pour the butter into the bowl. Scrape in all of the browned bits because they hold so much of the flavor! Cool if needed for the recipe, or add to veggies, sauces, etc.
Video
Notes
- Refrigerator: Let the butter cool, transfer it to an airtight container and refrigerate for up to 1 week. It will firm up as it chills.
- Freezer: Freeze in an airtight, freezer-safe container for up to 3 months. Small portions make it easy to thaw just what you need.
- Thawing: Thaw overnight in the refrigerator. Gently rewarm if you need melted butter, or let it soften if your recipe calls for softened brown butter.
Tools and Equipment (affiliate links): Glass Mixing Bowls | Light Colored Skillet
Please see post above for more information, step-by-step process photos, recipe tips and frequently asked questions.




Leave a Reply