Scrappy Pumpkins are a fun way to decorate for the Fall season!

As Halloween quickly approaches, I have had fun recalling some “oldies but goodies” pumpkin crafts. One of these classics makes use of a cardboard roll and strips of paper to make a pumpkin. I put my own spin on this craft using decorative scrapbook paper and some felt – hence the name “Scrappy Pumpkins”. This craft is wonderful because you can make a variety of shapes and sizes of pumpkins just by changing the height of your roll. Use any colors you want to create pumpkins that are uniquely your own.

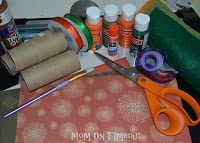
Materials Needed:
12×12 scrapbook paper
tape
glue
scissors or paper cutter
cardboard rolls
assorted card stock for stems
felt – optional
paint – optional
Directions:
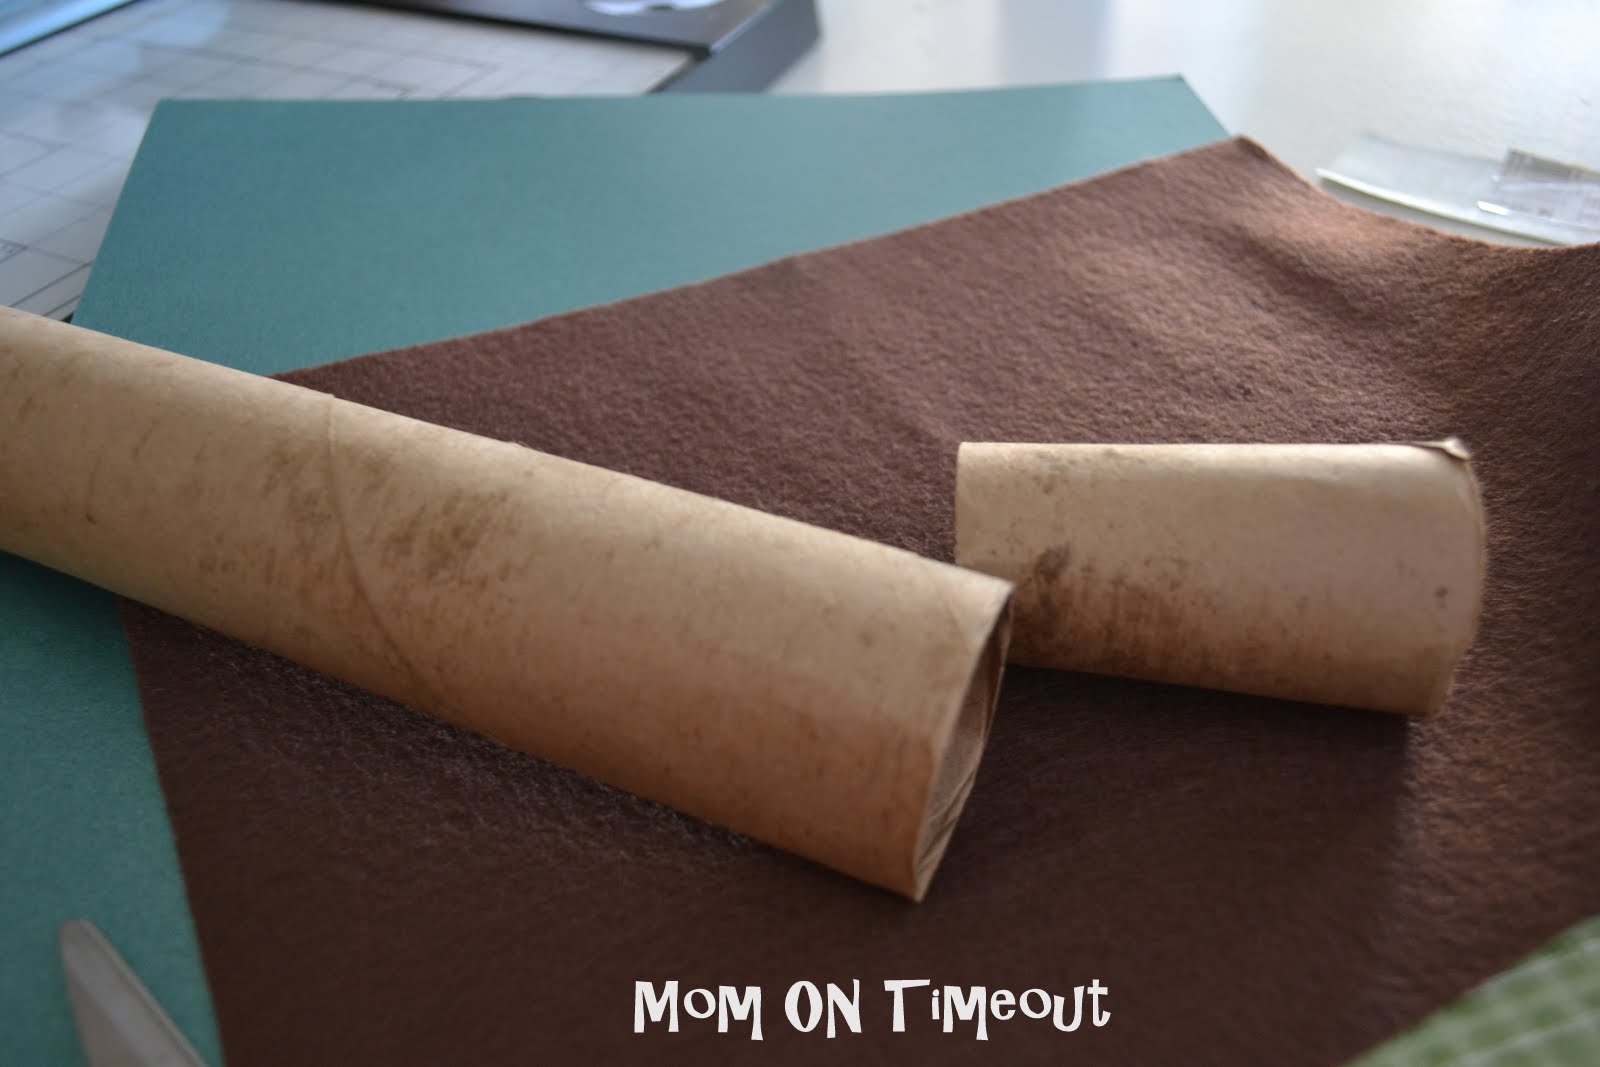
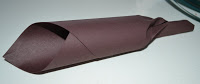
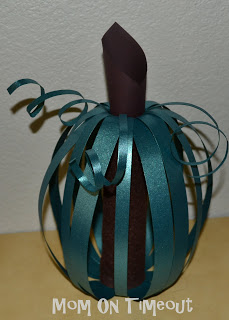
The base of the pumpkin is a cardboard roll (from either a roll of toilet paper or paper towels). There are many ways to decorate the base: paint, felt, or paper. For this pumpkin I chose brown felt and an 8″ roll. (I cut a paper towel roll down to 8 inches.)
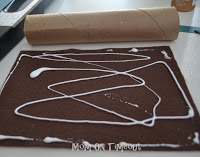
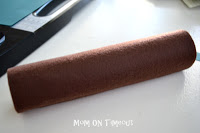 To cover your roll with felt, cut the felt as wide as the roll and then as long as it takes to cover the roll. It is okay if there is some overlap. Put glue on the felt and then roll the felt around the cardboard roll making sure to smooth the felt.
After deciding on the height of your pumpkin (mine ranged from 3 – 8 inches), pick out your paper. I used a variety of papers, all 12×12 inches. My favorite was the double-sided metallic teal paper. (If you don’t have double-sided paper and you don’t want the white showing, use a glue-stick to glue two pieces together. It really makes for some neat color combinations and gives the pumpkin some added dimension as well.)
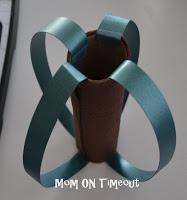
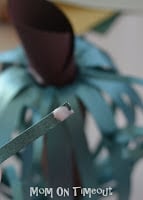
Cut your paper into strips. I used 3/4″ strips to start and then finished with 1/2″ strips but you can make them whatever width you want. Put a piece of tape on one of your strip of paper and press it firmly to the inside of the roll. Put a piece of tape on the other end of the strip and press it to the inside of the bottom of the roll. Keep repeating until your pumpkin has the look you desire.
The height of your roll will determine the size and shape of your pumpkin. A taller roll results in a taller, narrower pumpkin while a short roll results in a shorter, wider pumpkin.
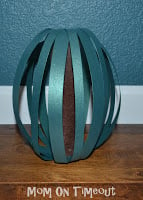
For the stem, I rolled up a piece of brown cardstock and stuck it in the opening at the top.
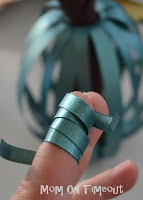
 I cut some thin strips of paper and rolled it around my finger creating some curl. I glued the tip of those strips and pressed it to the inside of the roll.
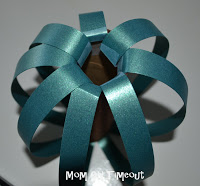
Here is the finished product:
Here are some others that we made…

I hope you get crafty this week and make yourself some “Scrappy Pumpkins”!
More Fall fun:
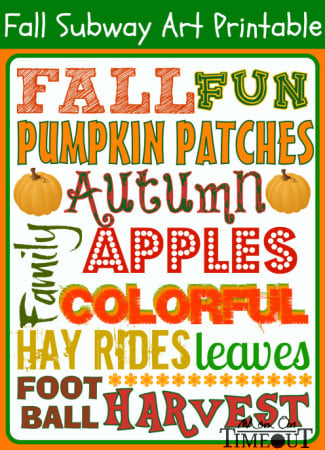
FREE Fall Subway Art Printable

Connect with me!


melissa says
I am featuring this on my blog today! I hope you’ll come by to check it out! You’ve inspired me to start saving my cardboard tubes! Incidentally…I love the name of your blog! The only thing is, I want to be in time out with you! Phew!
Trish - Mom On Timeout says
LOL! Thanks Melissa!
Dana says
Thank you for the idea! These will be great to teach my occupational therapy class! We have to teach a craft – these look so cool!
Trish - Mom On Timeout says
That sounds perfect Dana!
melanie says
I just made 3 of the pumpkins and they turned out great. So easy as well.
Trish - Mom On Timeout says
Yay! Aren’t they fun? I need to make some more for this year… Thanks so much for stopping by!
Vanessa says
What a nice display of pumpkins. Those seem so easy to make, and I’ve got plenty of scrapbook paper. Can’t wait to try.
Hilary says
I’m a new follower. I love your blog! Such great projects. And these pumpkins are awesome. I think I may try to make one.
http://www.sweepingmama.com
Jessi @ Practically Functional says
Those are awesome! I have tons of paper scraps that would be perfect for this! Thanks for sharing at The Fun In Functional!
Deborah Owen says
Beautiful!
Dixie n Dottie says
Super cute! Would love if you’d join our Countdown to Fall link party! Hope to see you there! Happy Friday! 🙂
http://dixie-n-dottie.blogspot.com/2012_09_10_archive.html
Gina @ Kleinworth & Co. says
Oh my gosh- those are so cute!
Jenn Lifford says
Cute idea and I love the mix of papers you chose! Thanks so much for coming out to the party at Clean and Scentsible. I’ll be featuring this on my Facebook page. Have a great day!
Jenn 🙂
Donna Wilkes says
An oldie reformed into a goodie! Great pumpkins!
Distressed Donna Down Home
Amy {The Red Chair Blog} says
These are very cute!! Love the photo with all of them grouped together!
Lish says
These are awesome! I saw you over at Fingerprints on the Fridge…I added these to my list of colorful halloween decor ideas here:
http://imprintalish.blogspot.com/2011/10/colorful-halloween.html
Check it out if you like 🙂
Maureen says
SO AWESOME!
I would love for you to link up my my very first Fresh Friday Link Party!
http://www.releasemecreations.com/2011/10/fresh-fridays-link-party.html
Sassy Babies says
This is such a great idea! We would love to feature them over at Sassy Babies. Come over and check it out. And grab our button, if you’d like! Thanks!