Scrappy Pumpkins are a fun way to decorate for the Fall season!

As Halloween quickly approaches, I have had fun recalling some “oldies but goodies” pumpkin crafts. One of these classics makes use of a cardboard roll and strips of paper to make a pumpkin. I put my own spin on this craft using decorative scrapbook paper and some felt – hence the name “Scrappy Pumpkins”. This craft is wonderful because you can make a variety of shapes and sizes of pumpkins just by changing the height of your roll. Use any colors you want to create pumpkins that are uniquely your own.

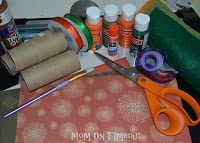
Materials Needed:
12×12 scrapbook paper
tape
glue
scissors or paper cutter
cardboard rolls
assorted card stock for stems
felt – optional
paint – optional
Directions:
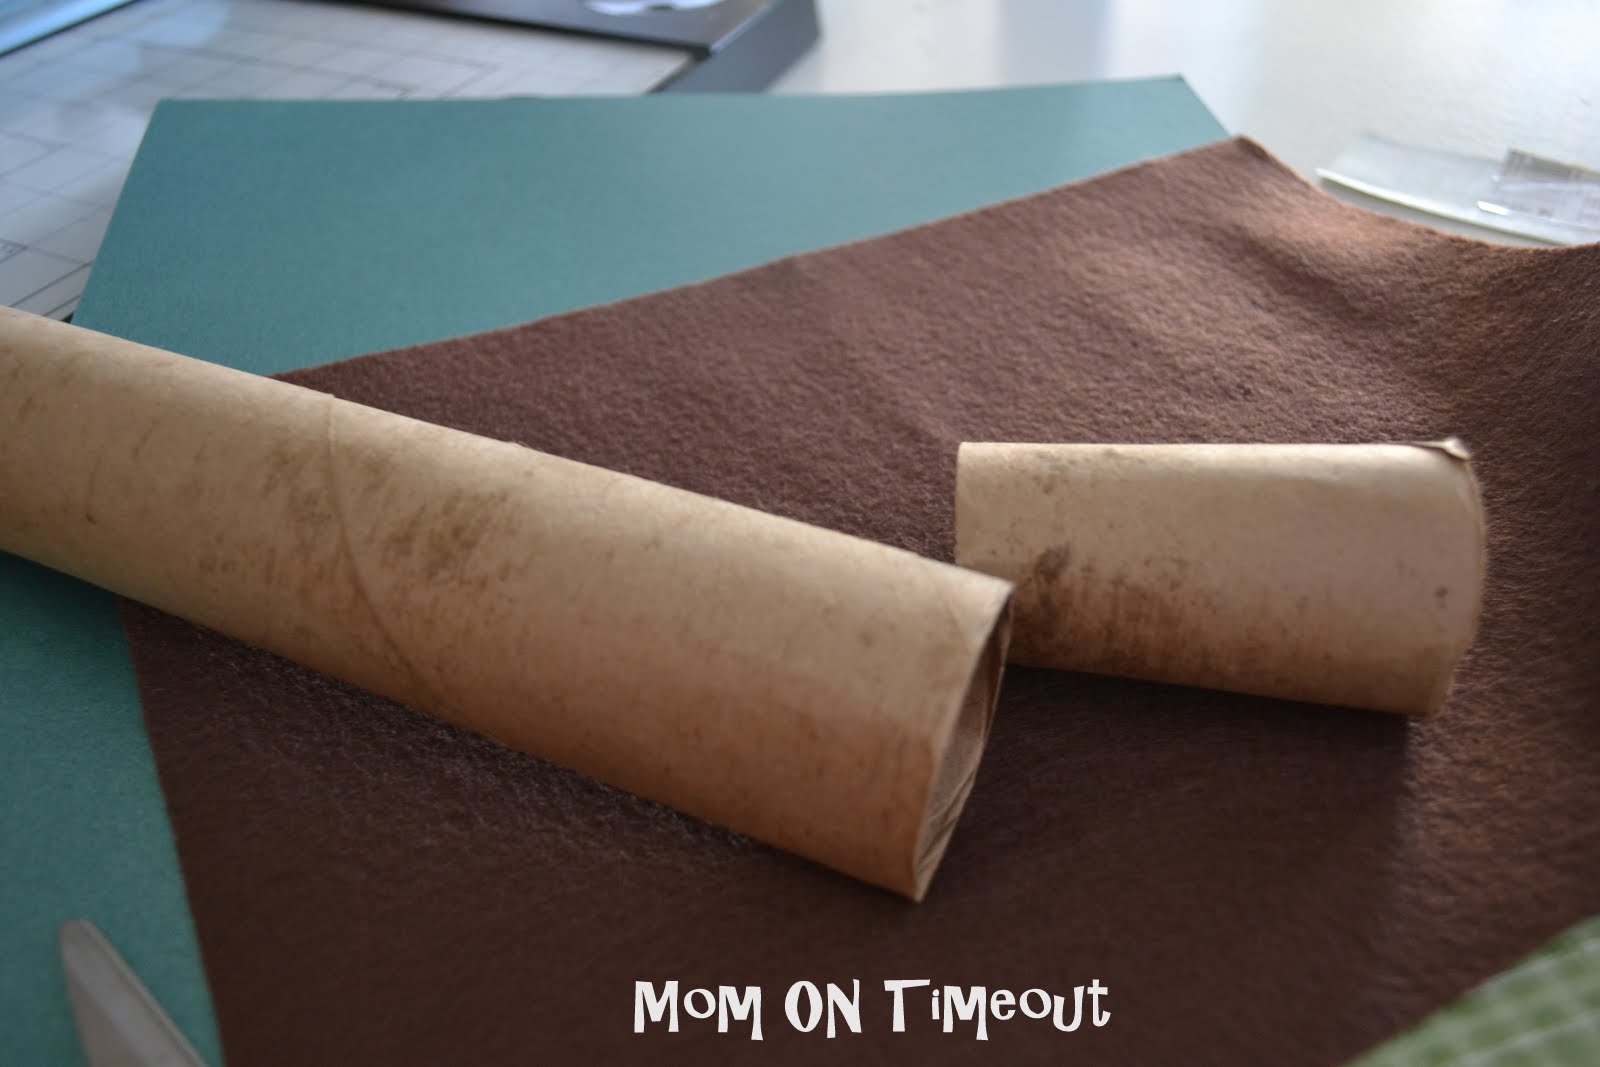
The base of the pumpkin is a cardboard roll (from either a roll of toilet paper or paper towels). There are many ways to decorate the base: paint, felt, or paper. For this pumpkin I chose brown felt and an 8″ roll. (I cut a paper towel roll down to 8 inches.)
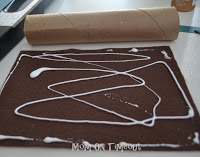
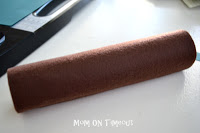 To cover your roll with felt, cut the felt as wide as the roll and then as long as it takes to cover the roll. It is okay if there is some overlap. Put glue on the felt and then roll the felt around the cardboard roll making sure to smooth the felt.
After deciding on the height of your pumpkin (mine ranged from 3 – 8 inches), pick out your paper. I used a variety of papers, all 12×12 inches. My favorite was the double-sided metallic teal paper. (If you don’t have double-sided paper and you don’t want the white showing, use a glue-stick to glue two pieces together. It really makes for some neat color combinations and gives the pumpkin some added dimension as well.)
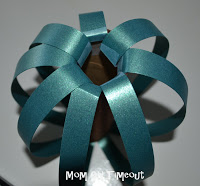
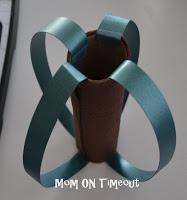
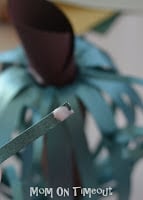
Cut your paper into strips. I used 3/4″ strips to start and then finished with 1/2″ strips but you can make them whatever width you want. Put a piece of tape on one of your strip of paper and press it firmly to the inside of the roll. Put a piece of tape on the other end of the strip and press it to the inside of the bottom of the roll. Keep repeating until your pumpkin has the look you desire.
The height of your roll will determine the size and shape of your pumpkin. A taller roll results in a taller, narrower pumpkin while a short roll results in a shorter, wider pumpkin.
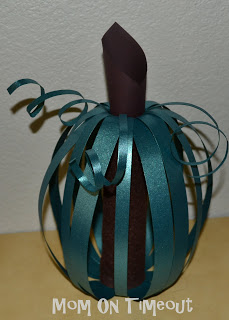
For the stem, I rolled up a piece of brown cardstock and stuck it in the opening at the top.
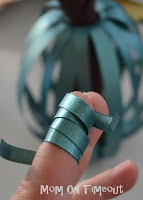
 I cut some thin strips of paper and rolled it around my finger creating some curl. I glued the tip of those strips and pressed it to the inside of the roll.
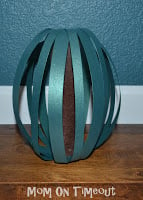
Here is the finished product:
Here are some others that we made…

I hope you get crafty this week and make yourself some “Scrappy Pumpkins”!
More Fall fun:
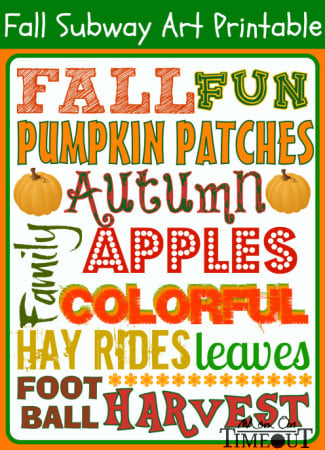
FREE Fall Subway Art Printable

Connect with me!


Beth says
CUTE! Those are awesome!! What a wonderfully fun idea!! I would love for you to link up http://livinglifeintentionally.blogspot.com/search/label/Linkey%20Parties
~Beth
Jen @ Creating with the J's says
The pumpkins are awesome! This was a project I wanted to try this year and never got to. (funny how that works right?) I think yours looks the easiest of the ones I’ve seen. Great job!
Chelsea @ onehotcrafty-mama.blogspot.com says
I’m visiting from More the Merrier these are way cute and tons of fun. I’m your newest follower, I would love if you would come check me out over at onehotcrafty-mama.blogspot.com
ThatMom says
Too cute!
Fishtail Cottage says
really cute! love the way they all look together in your vignette too! xoxo, tracie
Lindsay says
Such adorable little pumpkins! I love how they turned out! That is one of the best pumpkin displays I have ever seen! Thanks for linking up @ Show & Share! Love your support!
Kristie says
Oh those are great! I’ll have to give those a try. Thanks for sharing!
Kimberly from "bugaboo" says
Cute! I’ve seen several around with stiffer paper and no tube in the middle – these are a nice variation on that. Love the different colors!
I’d love for you to link up to my pumpkin party.
“Pumpkinspiration Party!
Michelle says
Adorable! What a great idea!! I am visiting from Running with Glitter and I am a new follower!!
I hope you are having a great day!
Michelle
http://www.delicateconstruction.blogspot.com
Maureen says
These are adorable! I absolutely love them.
Found you on I <3 Naptime!
andrea says
These are cute, light, airy, colorful, and playful! andrea@townandprairie
Sandi M says
These are so cute and easy – nothing better than fast results and a good look!
Mom to 2 Posh Lil Divas says
these are ADORABLE & look so easy! Your display is fabulous. I want to make some today!
Thanks for sharing on last week’s Sunday Showcase. I hope to see you share more of your fun ideas this week.
Bern
http://momto2poshlildivas.blogspot.com/search/label/Sunday%20Showcase
Steph @ Crafting in the Rain says
Really cute–I love the blue one!
Jackie says
love the pumpkins!