Add a pop of color and organization to those messy drawers with this DIY Drawer Organizer!
This post is sponsored by Scotch Brand. All opinions are, as always, 100% my own!

A couple of weeks ago I realized that I really needed to get better organized. I have this cabinet that fits right under my desk and it’s where I store pretty much everything. The problem is that the drawers are really long and things just slide all over the place. I desperately needed a drawer organizer! I couldn’t find anything that fit my drawer size so I decided to build one myself.
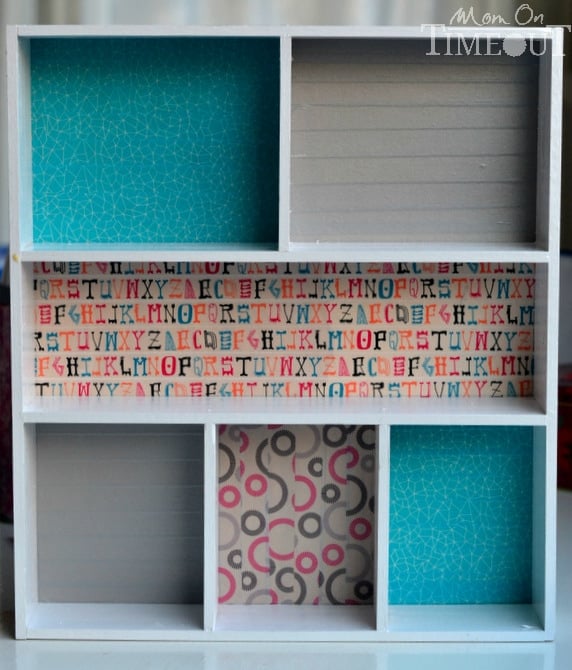
And guess what? It was pretty darn easy to do! I really wanted my drawers to be not only organized, but pretty as well. I used Scotch Expressions Washi Tape to give a pop of color and personality to each compartment in the organizer and I just LOVE it!
I can’t help but smile everytime I open the drawer and see such fun prints. Almost makes me want to work…almost!

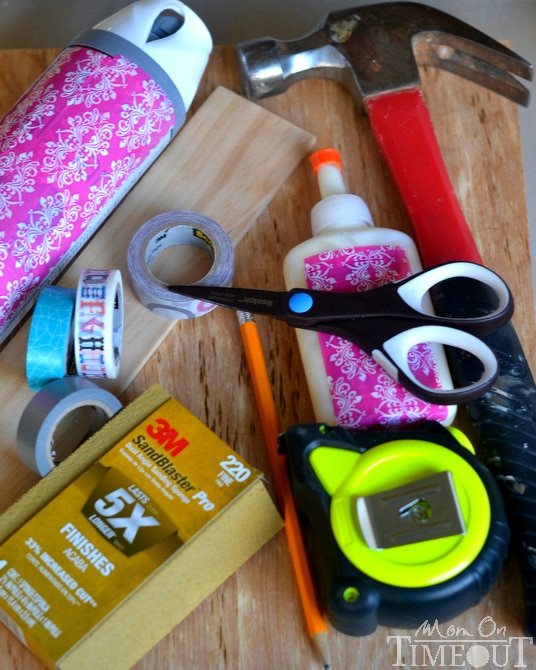
Here’s what you’ll need to get started:
Instructions:
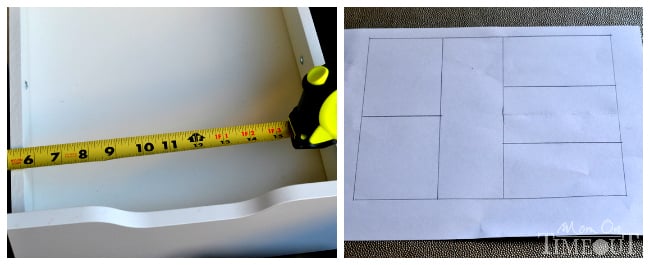
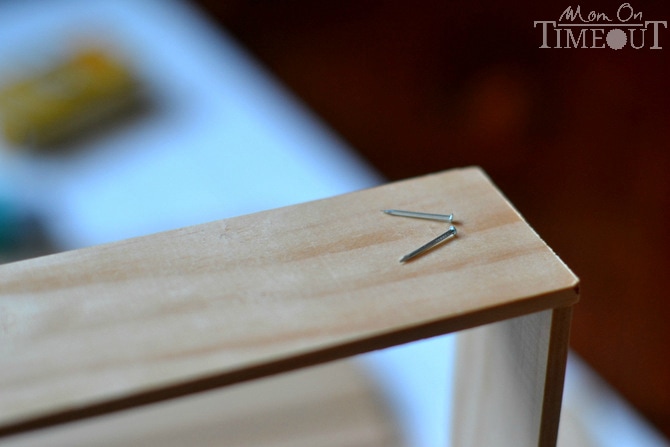
Measure the interior dimensions of your desk drawer, taking into account any protruding screws, which would require more space. Give yourself at least 1/8″ wiggle room for the drawer organizer. Next, sketch out the design of your drawer organizer on a piece of paper.
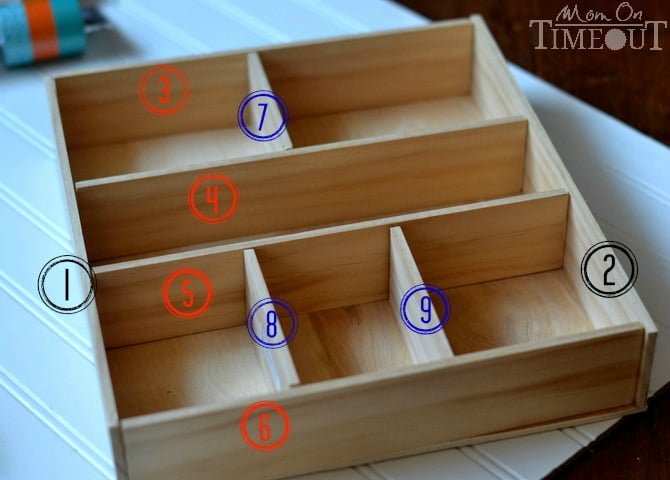
Cut the plywood to the dimensions of your drawer to serve as the bottom of the organizer. Then cut the different sized pieces of lattice that you sketched, and lay out your design to make sure everything fits snugly into the drawer shape. I only cut three different lengths of board to make it easier. Boards 1 and 2 are the same length; boards 3, 4, 5 and 6 are the same length; and boards 7, 8 and 9 are the same length.
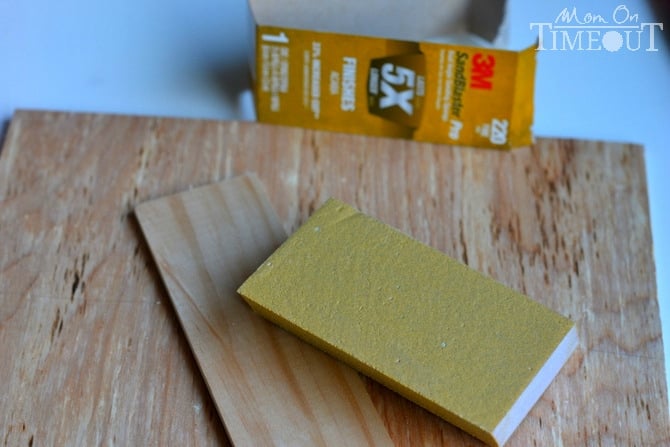
Use a 3M SandBlaster Pro Sanding Sponge to sand the edges of all boards.
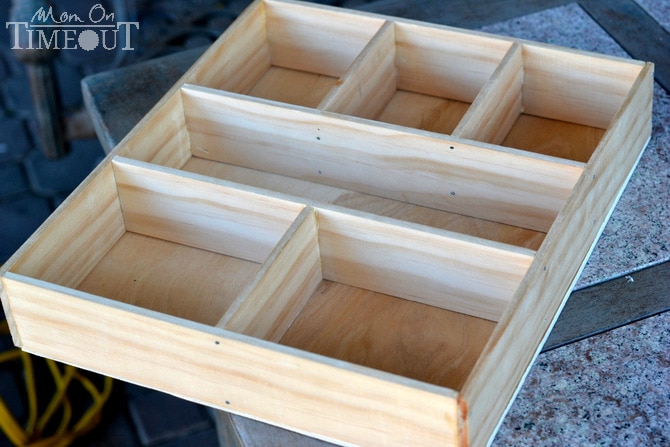
Nail (or glue) the dividers together in a rectangular shape, and then lay them on top of the plywood to make sure everything lines up on the plywood base.
With the dividers on top of the plywood, use a pencil to trace the interior compartment sizes onto the plywood. This will be your guide for placing the Scotch Expressions Tapes in a later step.
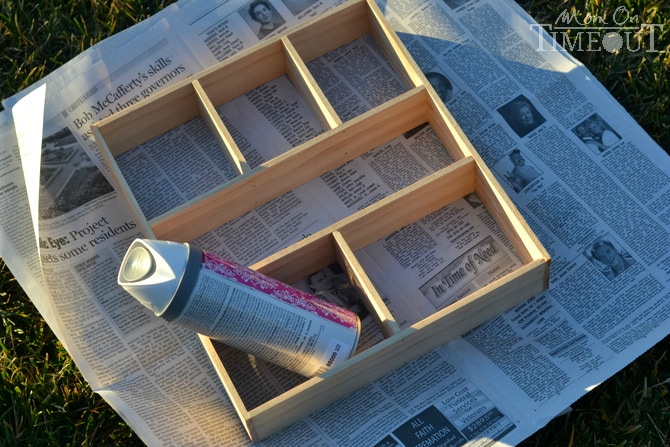
Spray paint the dividers using as many coats as needed to obtain desired coverage. I used a primer + paint spray paint for better coverage.
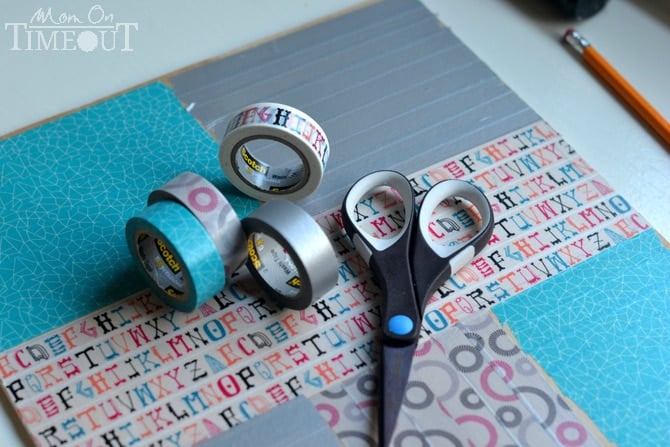
Choose your favorite Scotch Expressions Washi Tapes and use Scotch Precision Scissors to cut pieces of tape, long enough to cover each compartment. Tape over the areas marked in pencil; these areas are the different sections in your drawer organizer.
Once the dividers have dried, position them on top of the taped plywood to make compartments.
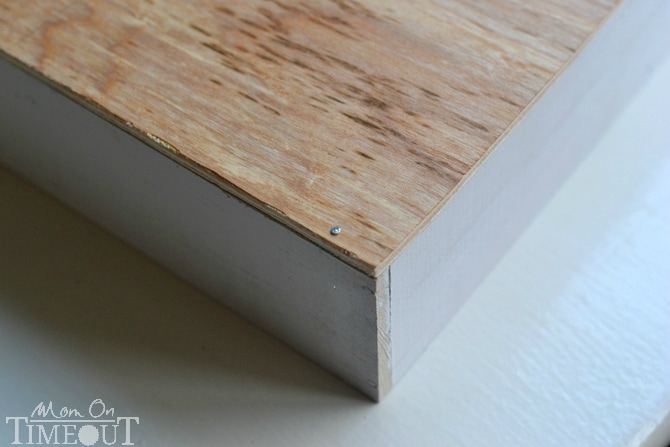
Nail the plywood backing onto the dividers using the 3/4″ brads. If you’d like the back of the organizer to match the dividers, feel free to spray paint it. Since it’s not visible in the drawer, I did not paint mine.
Place the organizer in your drawer and fill it with your favorite supplies!

This project was so quick and easy that my husband has requested I do our bathroom drawers as well 🙂 That’s next on my list! What drawers do you need organized in your home?

Connect with me!
![]()


Linking up at some of these parties.
Disclosure: I have been selected to be a brand ambassador for Scotch Brands. I have been compensated for my time. All opinions expressed are 100% my own!


Ti says
I love the way this organized looks! I feel like these types of organizers eat up too much of the actual drawer space, though. Has anyone tried this in a thinner material, or have any ideas on one to try? Maybe chipboard?
Elissa says
This is so cute- just what I was looking for! Thanks for posting!
Val says
Great Idea…..thanks for sharing ! Are these the Alex drawers from Ikea ? Cause I can’t find anything that fits either and there’s 5 drawers to each cabinet which means I have 10 drawers….
Trish - Mom On Timeout says
The cabinet is from IKEA although I’m not sure which model… I only made an organizer for the top drawer for smaller stuff. Hope that helps!
Marcie says
What a beautiful drawer organizer — I so need a few of these! Great idea, Trish!
Trish - Mom On Timeout says
Thank you so much Marcie!
Julianne @ Beyond Frosting says
This makes me want to roll up my sleeves and do a project! I love the colored tape!
Trish - Mom On Timeout says
I’ve been having so much fun with this tape Julianne! The boys love it too 🙂 Thanks for stopping by!
Rhonda @ The Messy Roost says
That is so cool. I love the finished product. I may have to try that this summer. Rhonda
Trish - Mom On Timeout says
Thank you so much Rhonda!
Happy Valley Chow says
I love DIY projects like this and it seems pretty easy. Sharing is caring 🙂
Happy Blogging!
Happy Valley Chow