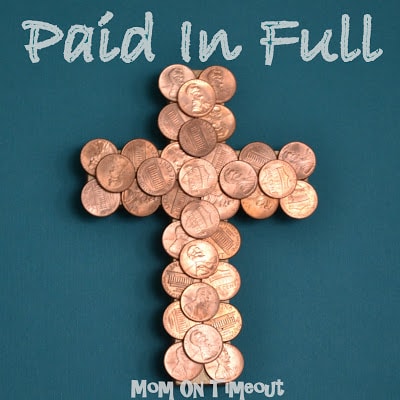
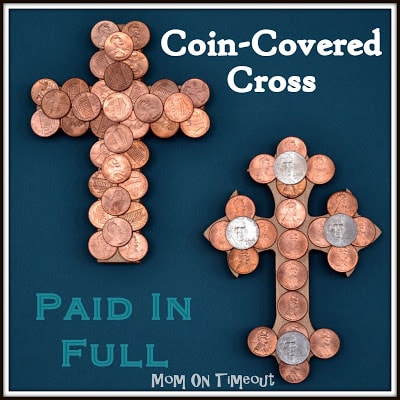
Wooden crosses are covered in coins – “Paid In Full” Easter Craft.

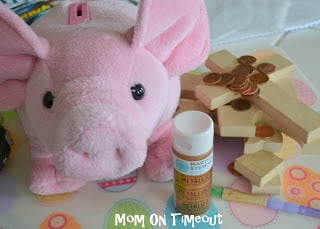
Materials Needed:
Copper paint (or your choice of metallic paint)
Wood cross (I ordered mine from Mr. Woody’s Etsy shop )
paint brush
coins (your choice)
glue
The first thing I did was raid my children’s piggy banks – literally. I was trying to find “pretty” pennies and those are apparently hard to come by in our house. This was an excellent opportunity for me to explain what this craft and Easter was all about to Reece and Bryce.
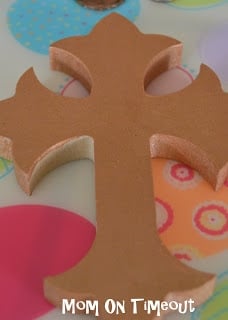
Next step was painting the crosses. You can paint them any color you want. I knew I was going to be using pennies, so I used a Martha Stewart copper metallic paint that worked beautifully.
They really only needed one coat but I had to wait for the first area to dry before I finished painting. Since this is multi-dimensional, should anyone be viewing it from the side it will look cohesive.
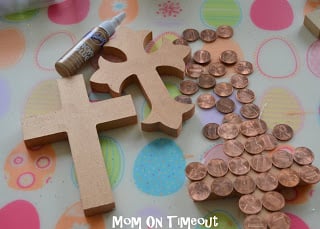
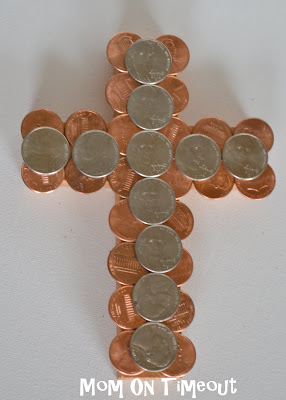
The next step is to lay out your coins. Figure out if you want heads or tails showing, or both. If you want all of one type of coin or different colors.
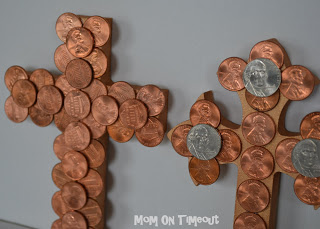
Once you have the coins laid out you can start gluing them on. Having the cross painted allows you the option to not cover the entire surface should you desire.
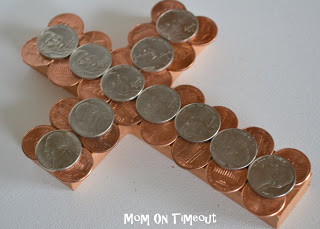
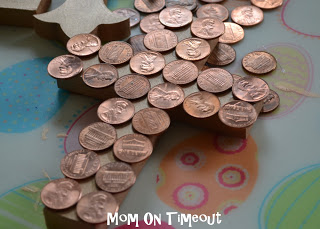
I really liked the look of the copper pennies by themselves but you can add dimension and color by adding another layer of a different coin – I used nickels.
I think these turned out really beautiful and I love the symbolism.


Pamela says
Thank you so much for sharing this wonderful project. I am preparing to teach an Adult VBS Class. I wanted to do a craft with them. I believe my adults will love this and I am sure when it gets home, it won’t be thrown in the trash. I had thought about a label, but I am going to let the cross and the coins speak for itself. I believe if someone sees it, the cross it will provide a wonderful opportunity to share the gospel with others.
I LOVE IT!
Linda says
Hello – since the coins have some weight to them, what kind of glue did you use? I love the message and would like to do this as a class project maybe adding a decorative “paid in full” button or sticker… thank you
Trish - Mom On Timeout says
I had to look at the pictures myself to find out it’s been so long 🙂 It’s Aleene’s Tacky Glue and here’s a link so you can see what it looks like: http://amzn.to/2FA2qQg
Teresa says
What size crosses did you use? It looks like it was about 35 coins, is this correct?
Trish - Mom On Timeout says
I think the crosses were about 5 or 6 inches each. It really depends on the design of course, but I would account for 40 coins per cross.
Rachel says
Wow. I see where you were going with this, but you really think it’s appropriate to cover a cross in money?
Beatriz Valdez says
i just noticed this question so i thought i would respond. My opinion only BUT the gospel is not free it has always cost something whether its someone praying for others, Jesus on the cross, tithing and giving for missionaries work. something always so YES i believe its appropriate to never take the gift for granted.
carol says
Hey Trish
Lovelovelove this project! Im an “old” homeschool mom and these kinds of crafts still catch my eye. =) More then the actual project (which is awesome) the thing I love the most is the clear presentation of the Gospel you gave in you description. Everyday is about our debt being paid, so when I make these with my grandbabies…and I DEFINATELY will, they wont come down off the wall, fridge or wherever we hang them when Easter is over. Thank you for the idea and especially the message!
Carol
1 Corintians 15:1-4
Trish - Mom On Timeout says
You are so welcome Carol! So glad you stopped by!
LuAnn Braley says
Those are so pretty! And covering them with coins brings home the “PIF” message!
Trish - Mom On Timeout says
Thank you LuAnn!
WTF says
For the love of money is the root of all evil: which while some coveted after, they have erred from the faith, and pierced themselves through with many sorrows.
1 Timothy 6:10
Samantha Robbins says
I love these crosses! They look even better with a bit of cranberry juice splashed on them to remind us of the blood he spilled for us. My sons loved making them.
Trish - Mom On Timeout says
Thank you Samantha!
Rebecca says
I am making these now as gifts and took the time to find pennies with the year that our family members were born!!!!!
Trish - Mom On Timeout says
That is such a sweet idea Rebecca – love it!
esther says
Great idea for Good Friday/Easter! Thanks! I went through the trouble of trying to clean the dirty pennies, only to get dirtier pennies from not washing REALLY thoroughly. To avoid the trouble of cleaning pennies, you can get SHINY, BRAND new pennies from the bank!! Makes beautiful crosses and totally shiny!! No cleaning necessary!! Also, painting the crosses is costly and a bit of a pain. I don’t think that part is necessary if you are pressed for time or $$, since the coins cover the front of the cross nicely. Thanks for the brilliant idea! Now just trying to figure out to get a sign “Paid in Full” on it…maybe I’ll put it over the cross, taped on the wall. =)
Trish - Mom On Timeout says
The bank! Who’d have thought! That’s awesome Esther – have fun with the sign!
crazywoman/Billie says
I too love this idea!! So wonderful to find Christian crafts! I also re-pinned it!
I recently bought a wooden cross at Michaels (or Hobby Lobby), and wasn’t sure just what I was going to do with it. Thought I might just leave as is. But now, I think I will make one of these crosses. It is just a little bigger than the ones you bought, but i think it will work fine. Mine is 4 1/2″ X 8″.
Now to round up some pennies!
So glad I found this!! Thank you!!
I wish I had one of those fancier crosses. Maybe I’ll get one of those one day.
Trish - Mom On Timeout says
Thanks for the pin and for stopping by!
Lisa Oswald says
Does anyone have a suggestion on what type of glue to use besides hot glue? Will be working with 1at graders.
Trish - Mom On Timeout says
Hi Lisa! Elmer’s Glue-All or Tacky Glue should also work!
Lisa {Sweet 2 Eat Baking} says
Aww, these are beautiful Trish. And so many combinations to play with too.
I’m not religious (just my upbringing) but I’ll pass along this idea and help out to my childrens’ elementary school. Would make the perfect Easter craft (with cardboard bases) and I have a ton of pennies and small change saved. 🙂