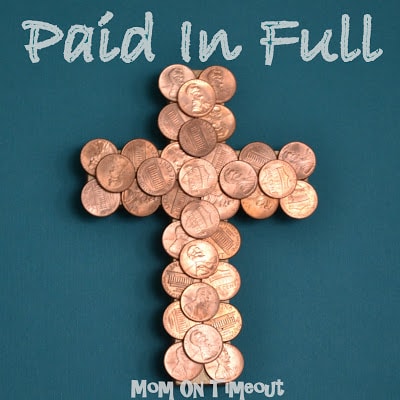
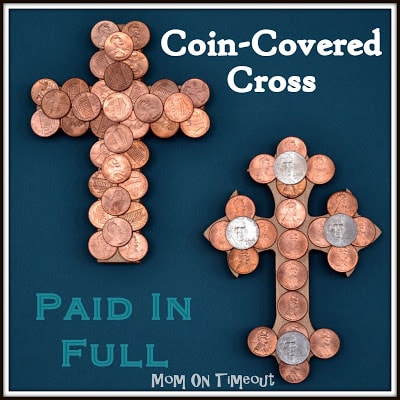
Wooden crosses are covered in coins – “Paid In Full” Easter Craft.

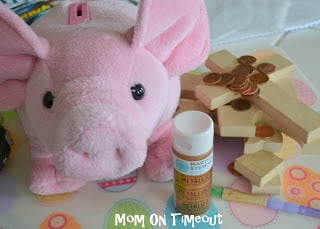
Materials Needed:
Copper paint (or your choice of metallic paint)
Wood cross (I ordered mine from Mr. Woody’s Etsy shop )
paint brush
coins (your choice)
glue
The first thing I did was raid my children’s piggy banks – literally. I was trying to find “pretty” pennies and those are apparently hard to come by in our house. This was an excellent opportunity for me to explain what this craft and Easter was all about to Reece and Bryce.
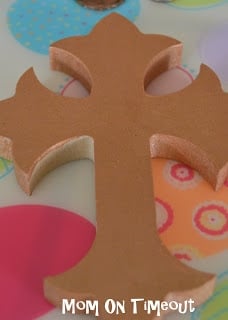
Next step was painting the crosses. You can paint them any color you want. I knew I was going to be using pennies, so I used a Martha Stewart copper metallic paint that worked beautifully.
They really only needed one coat but I had to wait for the first area to dry before I finished painting. Since this is multi-dimensional, should anyone be viewing it from the side it will look cohesive.
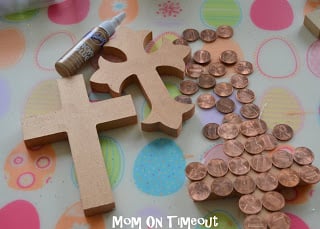
The next step is to lay out your coins. Figure out if you want heads or tails showing, or both. If you want all of one type of coin or different colors.
Once you have the coins laid out you can start gluing them on. Having the cross painted allows you the option to not cover the entire surface should you desire.
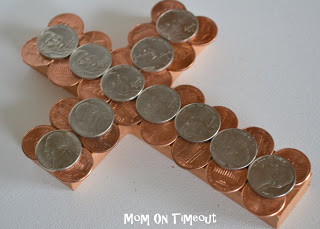
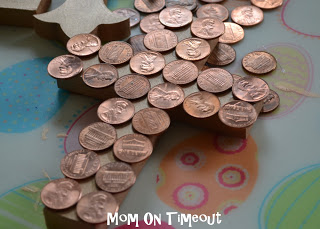
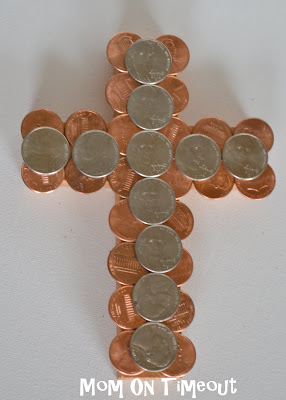
I really liked the look of the copper pennies by themselves but you can add dimension and color by adding another layer of a different coin – I used nickels.
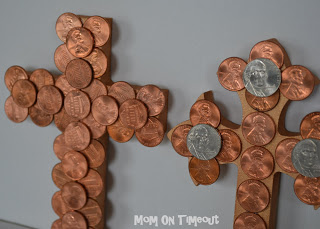
I think these turned out really beautiful and I love the symbolism.


Melissa Richards says
I would like to do this with the kids next Easter and I love the message BUT I’m not the best when it comes to the Bible or scripture. Dh and kids go to church anytime the doors are open but I struggle……anyway, can someone recommend where I can find scripture or a simple book to read with the kids that would relate to the cross/sin debt message? Or maybe I can have grandma do the craft w/ them….
It looks very very pretty!
Wordstock says
I also made one and here’s the link. I added my picture but clicking on it links back to your post. http://www.squidoo.com/secret-sister-gift-ideas
Julie D says
I made some! I had some trouble finding crosses, but I got a few at Hobby Lobby. I posted my pictures here: http://mom2ways.blogspot.com/2012/04/paid-in-full.html (and I linked back to your post!)
Jen @ EmbellishingLifeEveryday says
Love this! I have a shoe box full of pennies. Now I know what to do with some of them! I just shared with my readers today how I want to keep the real meaning in Easter for my kids. This is a project that is getting added to my list! Thanks for sharing 🙂
Wordstock says
I am finding a lot of stuff on your blog that appeals to me. The “Paid in Full” says so much and I am off to my local craft store. I am going to add a simple tag tied to the cross with ribbon with the paid in full message.
I found this on Pinterest too and am so glad that it linked to your site. Happy Easter
Christy says
You know after a while you see the same crafts over and over with only slight changes. I love this because it is 1) such a great object lesson and visual reminder of what Christ did for us and 2) it’s just doggone original and creative!! Thanks so much!!
Julie D says
Found you on pinterest, and I love this idea. Just wanted to give you a heads up. The link I followed wasn’t to your blog, but some sort of sales blog: http://pinterest.com/pin/1477812347916546/
Fortunately, the picture still had your water mark and I found you.
Anonymous says
You can clean the pennies by placing them in cola for a while.
Anonymous says
I would like to do this for a group of 13 fourth graders. Has anyone used anything other than pre-made crosses? I need an expensive base for these. I was thinking of tongue depressors, but need more suggestions.
Sharla says
Thank you so much for sharing this. I will be making these with the kids this week as we prepare for Easter…love, love, love it! I will post pictures and link back here when we are done.
Erin says
I saw your craft on Pinterest and used it for the craft project as part of our mission study for my 3rd graders that I teach at church. They (and their parents) loved it! It was perfect for reminding them why we pray for and give to missions, and that they can always be missionaries and tell their friends about Jesus. I also love the timing being so close to Easter. (Isn’t God cool!)
First, they wrote “Jesus Paid it All” on the back and then they painted the front of the crosses in spring pastel colors. It was so neat to see how unique each turned out with the same supplies. Most of the girls wanted to keep theirs, but a couple asked if it was OK if they gave theirs to someone? Of course!
Thanks for the great idea.
Trish - Mom On Timeout says
You just made my day Erin!
Michelle Paige says
What a post! Love what these crosses represent! I’d love you to link up this post too! http://michellepaige.blogspot.com/2012/02/springtime-holiday-link-party.html
Stella says
Awesome!I recommended it in my blog.
http://www.procraftideas.com/cross-decoration-inspired-by-coins/
Natalie K. says
This is beautiful is so many ways!
Artsy VaVa says
Beaautiful!