↑
  • Dinner Recipes
  • Breakfast Recipes
  • Dessert Recipes
  • Side Dishes
  • Recipes
    • Dinners
    • Slow Cooker
    • Appetizers and Sides
    • Breakfast
    • Dessert
    • Beverages
    • Bread
    • Holiday Recipes
    • Kid-Friendly
  • Blog View
  • About
    • Disclosure/Privacy Policy
  • Facebook
  • Pinterest
  • Instagram
  • Twitter
  • Youtube
  • Blog View
  • About
  • Privacy Policy
  • Advertise/PR
  • DISNEY
  • DINNERS
  • DRINKS
  • DESSERTS

Mom On Timeout

Serving up real food for real families!

  • Home
  • Recipes
    • Slow Cooker
    • Appetizers and Sides
    • Breakfast
    • Entree
    • Dessert
    • Beverages
    • Holiday Recipes
      • Christmas Recipes
      • Thanksgiving Recipes
      • Valentine’s Day Recipes
      • St. Patrick’s Day Recipes
      • Easter Recipes
      • Halloween Recipes
    • Bread
    • Kid-Friendly
  • 5 Ingredients
  • Appetizers
  • Favorites


You are here: Home / Crafts / Braided, Yarn-Wrapped Easter Eggs

Braided, Yarn-Wrapped Easter Eggs

March 16, 2012

  • 31

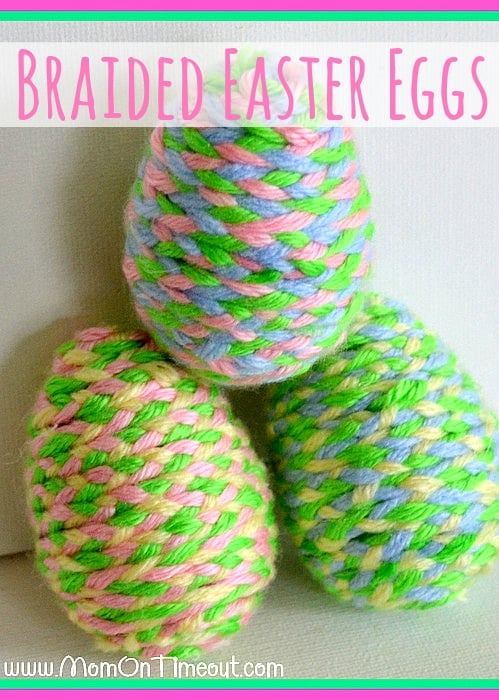
Braided, Yarn-Wrapped Plastic Easter Eggs are both fun and decorative!
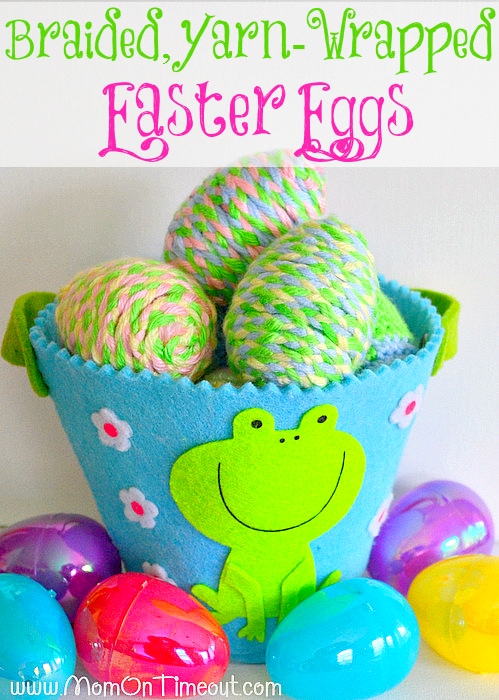
Braided, Yarn-Wrapped Easter Eggs | MomOnTimeout.com #Easter #craft #yarn

So I’ve got my yarn out and I figure I might as well use it! I came up with these Braided Easter Eggs. I braided yarn and then wrapped the Easter eggs in the braided yarn. So cute!
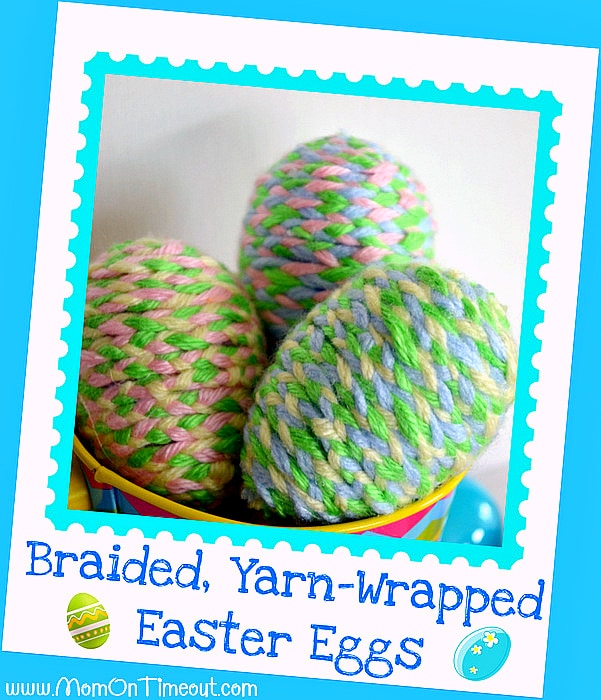
Braided-Yarn-Wrapped-Easter-Eggs-Craft

I didn’t have any Styrofoam eggs on hand so I just used plastic ones – they’re cheaper and work great! It doesn’t really matter what color they are because they will be completely covered with the braided yarn.


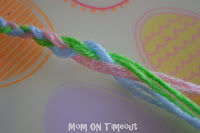
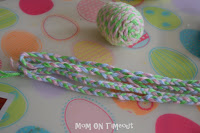
Cut 3 or 6 pieces of yarn equal lengths. I cut mine to about 7-8 ft and used about 6 ft of braided yarn for each egg. Using two strands of each color, braid the yarn. Every few seconds you will need to detangle the yarn or you will have a mess at the end. Trust me on this.
free email course

5 SECRETS TO GETTING DINNER ON THE TABLE...FAST!

Once you have about 6 ft of braid you are ready to glue.
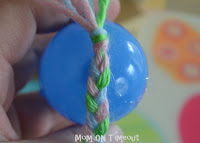
Starting at the end of the egg, glue the end of the braid using a nice amount of hot glue.
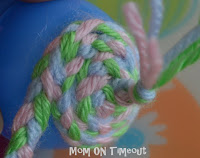
Continue working your way around the egg.
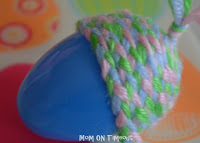
Gluing and braiding until you reach the other end of the egg.
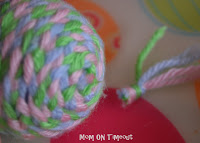
Trim off the excess and make sure all strands are glued onto the egg.

 The eggs don’t take long at all to make and are so cute! Tons of texture and interest!
braided-easter-eggs-Easter-craft

<><><><><><><><><><><><><><><><><><><><><>

More Easter crafts!
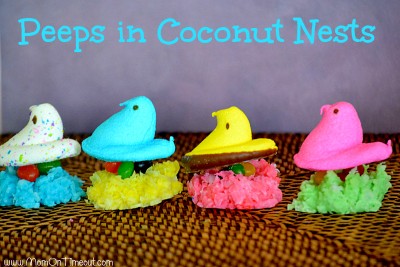
Peeps-in-coconut-nests-with-jelly-beans

Peeps in Coconut Nests

Coin_Covered_Cross

Coin-Covered Cross

Crocheted_Easter_Eggs_Pattern

Crocheted Easter Eggs

20-non-candy-easter-egg-stuffers

20+ Non-Candy Easter Egg Stuffers

Stained-Glass-Cross-Craft

Stained Glass Cross

Mom On Timeout Signature

Connect with me!


Linking up here, Home Stories A2Z, Savvy Southern Style, and My Repurposed Life.
  • 31

By Trish - Mom On Timeout March 16, 2012 Crafts, Easter, Easter Crafts, Holiday Crafts, Kids

Previous article:
« Crocheted Easter Eggs & Pattern
Next article:
Coin-Covered Cross – Paid In Full {Easter Craft} »

Comments

  1. Jen Sue Wild says

    March 19, 2012 at 8:26 PM

    so easy and cute!

    Reply
  2. Sara says

    March 19, 2012 at 7:35 PM

    LOVE this!! SO beautiful!! Hope you can link this up at my turquoise lovin’ party!! http://www.sweetlittlegals.com/2012/03/turquoise-lovin-30.html

    Reply
  3. southernscraps says

    March 19, 2012 at 3:34 AM

    Awesome idea! These are adorable.

    Reply
  4. I Know The Plans I Have For You says

    March 18, 2012 at 9:32 PM

    So cute and so easy! This is one that I’ll be doing! Thanks for sharing and I found you from Tatertots and Jello!! New follower 🙂 Your ideas are great and I could ALWAYS use a mom timeout!

    jill

    Reply
    • Trish - Mom On Timeout says

      March 19, 2012 at 4:25 PM

      Oh thank you! I’m so glad to have you as a new follower 🙂 Hope you have a wonderful week!

      Reply
  5. SkyBluPink Creations says

    March 18, 2012 at 8:56 PM

    Super cute..I think I may try this with plain white. Will go great with the decoration in my booth! Thanks for sharing.
    Francine
    http://skyblupinkcreations.blogspot.com/

    Reply
  6. Debt Free Mommy says

    March 18, 2012 at 7:43 PM

    These are so cute and look super simple! I may try this with my kiddoes. Thanks! 🙂

    Reply
    • Trish - Mom On Timeout says

      March 18, 2012 at 8:35 PM

      They’re very simple as long as you can keep your yarn from getting tangled 🙂 Give it a try!

      Reply
  7. Lisa @ Flour Me With Love says

    March 18, 2012 at 6:55 PM

    Trish this is such a cute and clever idea! I can’t wait to try this with my daughter 🙂 I’d love for you to share some of your ideas at Mix it up Monday:

    http://www.flourmewithlove.com/2012/03/mix-it-up-monday_18.html

    I hope to see you soon!

    Reply
    • Lisa @ Flour Me With Love says

      March 21, 2012 at 6:33 AM

      Thanks so much for sharing at Mix it up Monday 🙂

      Reply
  8. Laurel Stephens says

    March 18, 2012 at 4:29 PM

    These are so cute, and the color combos are endless. Thanks for sharing!

    Reply
    • Trish - Mom On Timeout says

      March 18, 2012 at 4:33 PM

      Thank you for stopping by Laurel! Hope you are enjoying your weekend 🙂

      Reply
  9. Sewandthecity says

    March 18, 2012 at 2:52 PM

    Very nice idea…love how they turned out!

    Reply
  10. Lindy@Itsy Bitsy Paper says

    March 18, 2012 at 6:00 AM

    So cute! I love them. I hope you will link up to my Hippity Hop Easter Project Hop.

    http://www.itsybitsypaperblog.com/2012/03/hippity-hop-easter-project-hop.html

    Reply
  11. Laura at Ms. Smartie Pants says

    March 17, 2012 at 8:06 PM

    These are adorable, such a great idea!

    Reply
    • Trish - Mom On Timeout says

      March 17, 2012 at 9:30 PM

      Thank you! They were really fun and easy to make!

      Reply
  12. Tricia says

    March 17, 2012 at 6:02 AM

    These are really cute!

    makingitfeellikehome.blogspot.com

    Reply
  13. Cassidy says

    March 16, 2012 at 9:50 PM

    Oh wow these are so cute!

    http://fitcraftystylishandhappy.blogspot.com/

    Reply
  14. Carrie says

    March 16, 2012 at 8:06 PM

    How beautiful!!

    Reply
  15. Gluten Free and Loving It says

    March 16, 2012 at 7:52 PM

    What a cute idea! Nice.

    Reply
Newer Comments »

Leave a Reply Cancel reply

Your email address will not be published. Required fields are marked *

Recipe Rating


This site uses Akismet to reduce spam. Learn how your comment data is processed.

Hi, I’m Trish!

Welcome to Mom On Timeout where I’m serving up real food for real families! Dinners, desserts, and everything in between!
Read More…

categories

archives

Popular Posts

white bowl with handles filled with zuppa toscana soup and topped with cheese. Kale, sausage and bacon can be seen in the soup.
crockpot chili in a ladle held above the crockpot and the rest of the chili.
chicken-stir-fry
best-tater-tot-casserole-recipe-hamburger-green-beans

Some of my favorites…

Carrot cake bar on white round plate with bite taken. Cream cheese frosting on top with green sprinkles.
Two mint chocolate chip cookies with one half cookie on top with melty chocolate. Cookies are green with chocolate chips. Green cake stand can be seen in the background.
Homemade mint patties stacked five high with the top one split in half. A green cake stand in the background has more patties on it.
Single funfetti cookie with bite out of it sitting in front of glass of milk.
Orange pound cake with end cut off sitting on wood board topped with a glaze.

Copyright ©2026, Mom On Timeout. All Rights Reserved.
Design by Pixel Me Designs
  • Facebook
  • Twitter
  • Pinterest