↑
  • Dinner Recipes
  • Breakfast Recipes
  • Dessert Recipes
  • Side Dishes
  • Recipes
    • Dinners
    • Slow Cooker
    • Appetizers and Sides
    • Breakfast
    • Dessert
    • Beverages
    • Bread
    • Holiday Recipes
    • Kid-Friendly
  • Blog View
  • About
    • Disclosure/Privacy Policy
  • Facebook
  • Pinterest
  • Instagram
  • Twitter
  • Youtube
  • Blog View
  • About
  • Privacy Policy
  • Advertise/PR
  • DISNEY
  • DINNERS
  • DRINKS
  • DESSERTS

Mom On Timeout

Serving up real food for real families!

  • Home
  • Recipes
    • Slow Cooker
    • Appetizers and Sides
    • Breakfast
    • Entree
    • Dessert
    • Beverages
    • Holiday Recipes
      • Christmas Recipes
      • Thanksgiving Recipes
      • Valentine’s Day Recipes
      • St. Patrick’s Day Recipes
      • Easter Recipes
      • Halloween Recipes
    • Bread
    • Kid-Friendly
  • 5 Ingredients
  • Appetizers
  • Favorites


You are here: Home / Recipes / 5 Ingredients or Less / Best Nilla Wafer Pie Crust

Best Nilla Wafer Pie Crust

April 30, 2015

  • 263
Jump to Recipe

A step by step tutorial to your new favorite pie crust recipe! This is the BEST Nilla Wafer Pie Crust ever and so easy too!

Let’s be friends! Sign up to get my new recipes in your inbox! Follow me on Facebook and Instagram too!

PIN IT NOW!
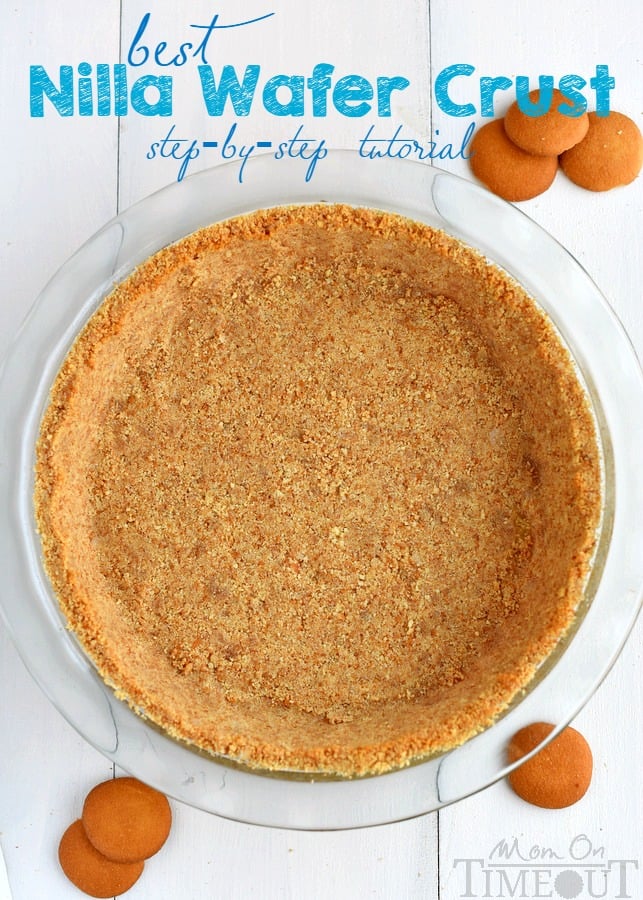
A step by step tutorial to your new favorite pie crust recipe! This is the BEST Nilla Wafer Pie Crust ever and so easy too! | MomOnTmeout.com

PIN IT NOW!

With summer quickly approaching I thought now would be a good time to share one of my favorite pie crusts with you – a Nilla Wafer Crust. I love how pretty this crust is and it’s so incredibly versatile. You can use it with fresh fruit pies, custards, puddings, no-bake cheesecakes and so much more.

The crust is so easy to make and I’m going to take you through it step by step right now.
A step by step tutorial to your new favorite pie crust! This is the BEST Nilla Wafer Pie Crust ever and so easy too! | Mom OnTmeout.com

free email course

5 SECRETS TO GETTING DINNER ON THE TABLE...FAST!

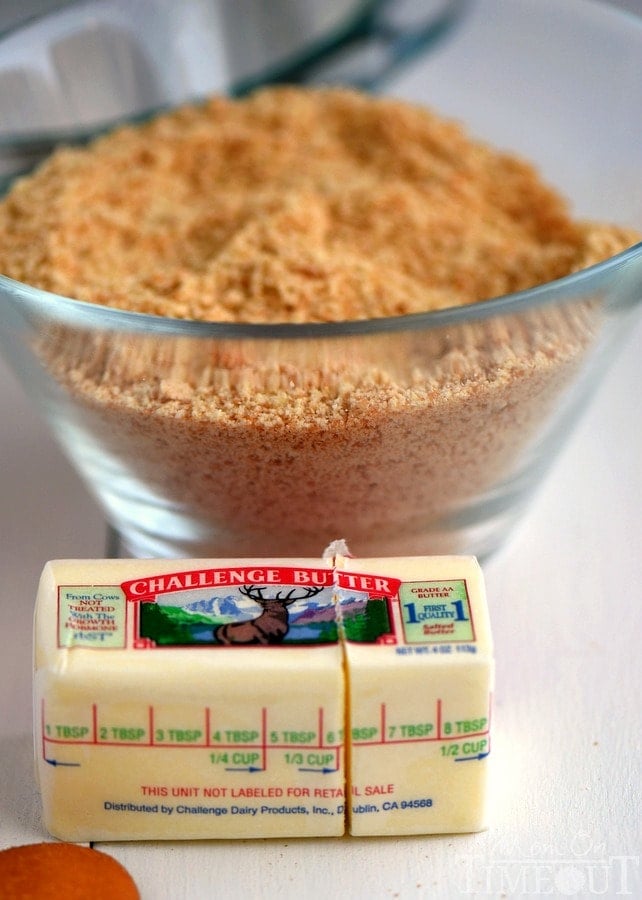
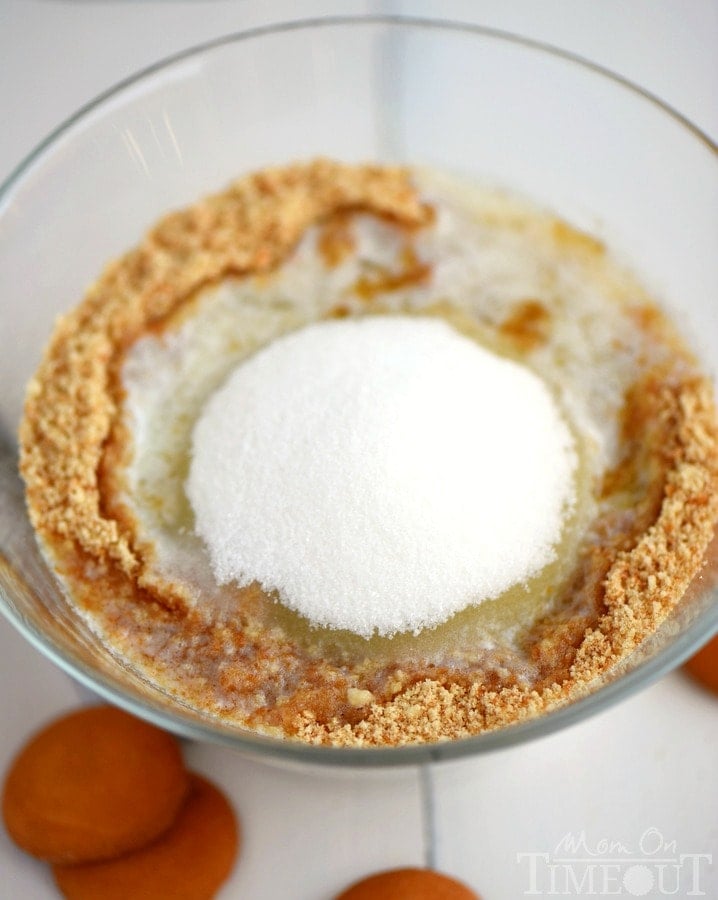
The first step is breaking down those Nilla wafers into crumbs. I use a food processor to do this but a ziploc bag and a rolling pin will work equally well. One you have the crumbs, pour them into a medium size bowl.

The next step is adding the butter and sugar. I use one-third cup butter for this pie crust. It’s the perfect amount to “glue” the crumbs together without resulting in a “greasy” pie crust.

The final ingredient is sugar. The Nilla wafers are already fairly sweet so I don’t like to go too crazy with the sugar. Just enough to keep the pie crust nice and sweet but not overwhelmingly so.
A step by step tutorial to your new favorite pie crust! This is the BEST Nilla Wafer Pie Crust ever and so easy too! | Mom OnTmeout.com

Now it’s time to mix these ingredients with a fork. You just want to mix until all the crumbs have been moistened with the butter and the sugar has been evenly distributed.

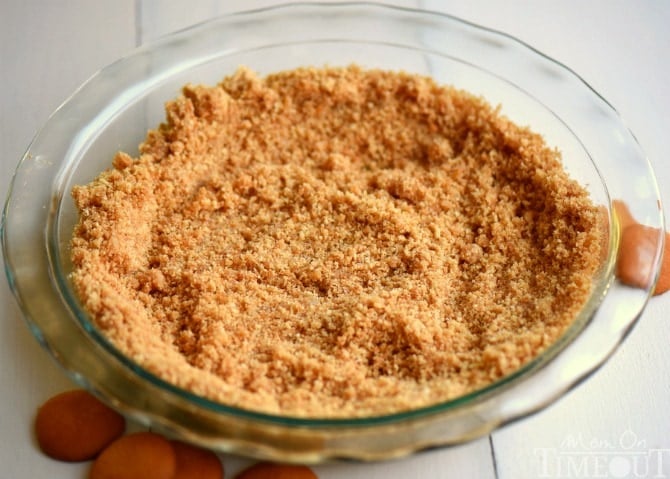
Dump everything into your pie plate. This recipe will work for any pie plate from 8 inches up to 9.5 inches.
A step by step tutorial to your new favorite pie crust! This is the BEST Nilla Wafer Pie Crust ever and so easy too! | Mom OnTmeout.com

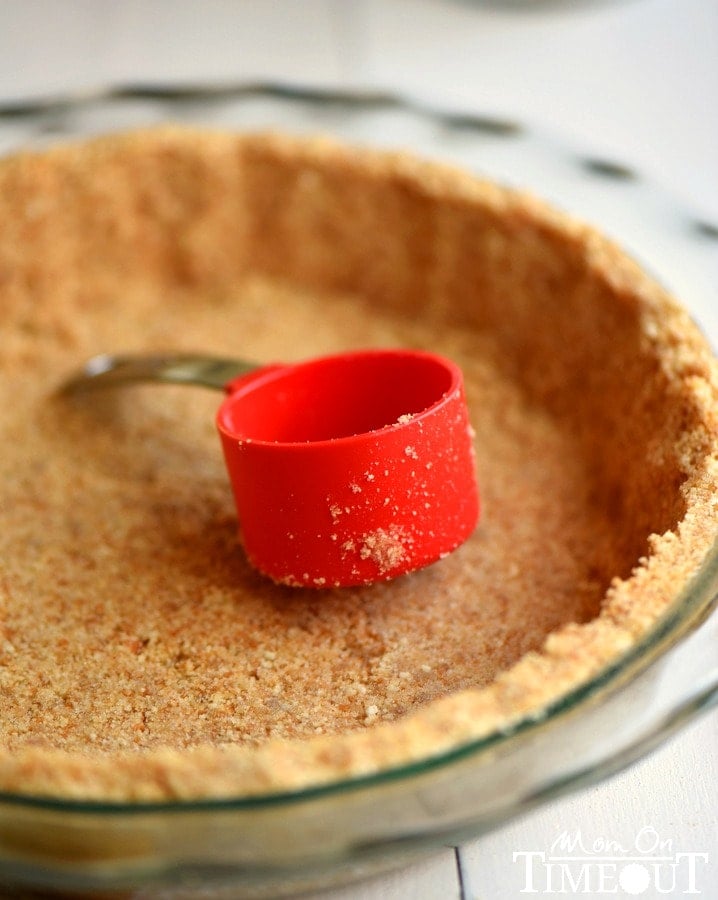
You will need something flat to compress the crumbs into the bottom of the pie plate and up the sides. I like using a small measuring cup to do this part. It’s important to really press down hard so that the crust won’t fall apart when you’re serving your pie.
A step by step tutorial to your new favorite pie crust! This is the BEST Nilla Wafer Pie Crust ever and so easy too! | Mom OnTmeout.com

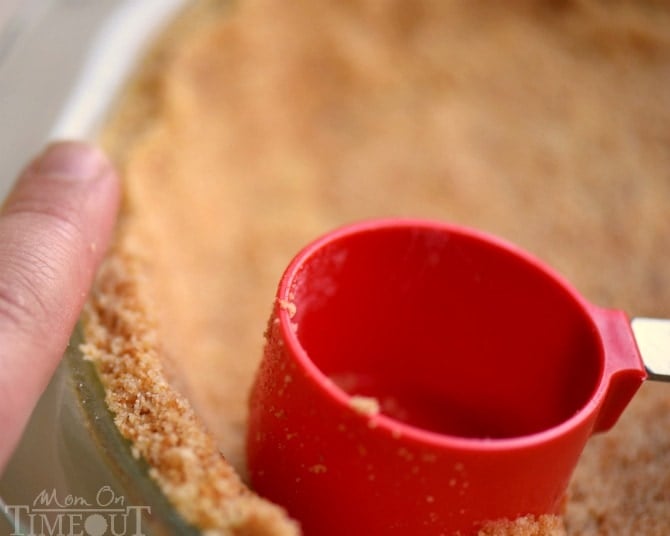
To make the sides of the pie crust nice and even, if you’re into that sort of thing, just use your finger as a stopping point. Press the measuring cup up against the side of the pie plate with your finger along the top. This keeps the crumbs in their place and helps achieve that “perfect” looking slice of pie. Also? Rustic is totally beautifully and a whole lot easier if you’re trying to save time 🙂
A step by step tutorial to your new favorite pie crust! This is the BEST Nilla Wafer Pie Crust ever and so easy too! | Mom OnTmeout.com

The pie crust gets baked for about 10 minutes. Let it cool completely before filling. Don’t have time to bake it? That’s okay too. Make sure the pie crust is refrigerated before filling or it will fall apart when you cut the pie. Unbaked will definitely result in a more crumbly crust but remember that discussion we had previously about rustic being beautiful? Yeah, that applies here too.
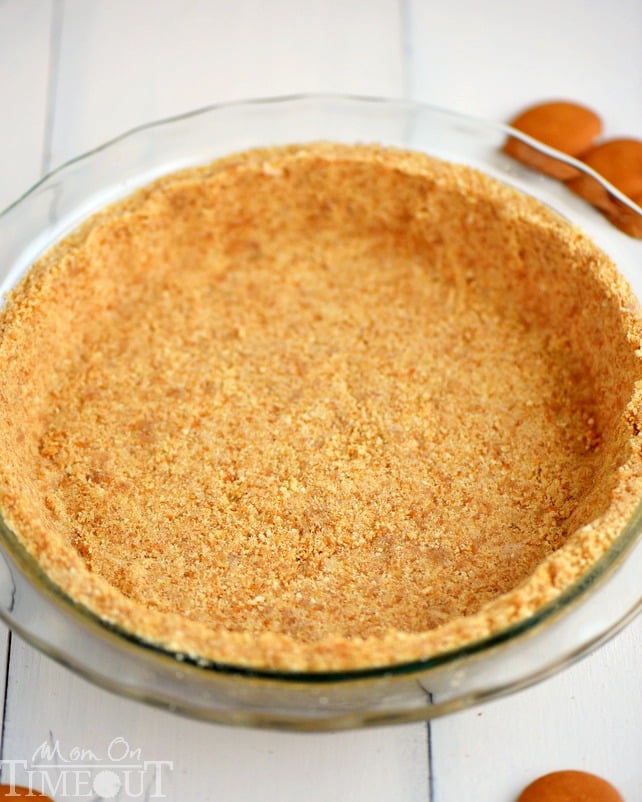
A step by step tutorial to your new favorite pie crust recipe! This is the BEST Nilla Wafer Pie Crust ever and so easy too! | MomOnTmeout.com

PIN IT NOW!

Print Pin
5 from 15 votes

Best Nilla Wafer Crust - A Step by Step Tutorial

A step by step tutorial to your new favorite pie crust recipe! This is the BEST Nilla Wafer Pie Crust ever and so easy too!
Course Dessert
Prep Time 5 minutes minutes
Cook Time 10 minutes minutes
Total Time 15 minutes minutes
Servings 1 pie crust
Calories 2399kcal
Author Trish - Mom On Timeout

Ingredients

  • 60 Nilla wafers
  • 1/4 cup granulated sugar
  • 1/3 cup butter melted

Instructions

  • Preheat oven to 350F. Lightly spray a pie plate with cooking spray and set aside.
  • Place Nilla wafers in a food processor and pulse until only crumbs remain. (You can also crush in a large ziploc bag)
  • Transfer crumbs to a medium size bowl and stir in sugar and melted butter.
  • Pres the crumbs firmly into the pie plate and up the sides.
  • Bake for 10 minutes or until edges are just starting to turn golden brown. Let cool completely on a wire rack before filling.

Nutrition

Calories: 2399kcal | Carbohydrates: 313g | Protein: 15g | Fat: 124g | Saturated Fat: 59g | Cholesterol: 166mg | Sodium: 1988mg | Potassium: 302mg | Fiber: 5g | Sugar: 164g | Vitamin A: 1891IU | Calcium: 18mg

A step by step tutorial to your new favorite pie crust recipe! This is the BEST Nilla Wafer Pie Crust ever and so easy too! | MomOnTmeout.com

Pie please!

best-key-lime-pie-recipe-easy

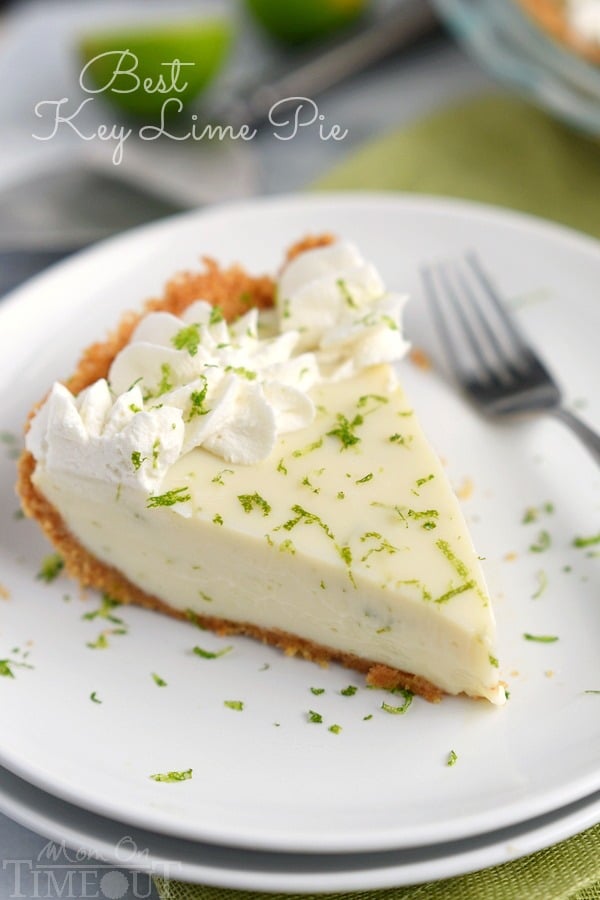
Best Key Lime Pie

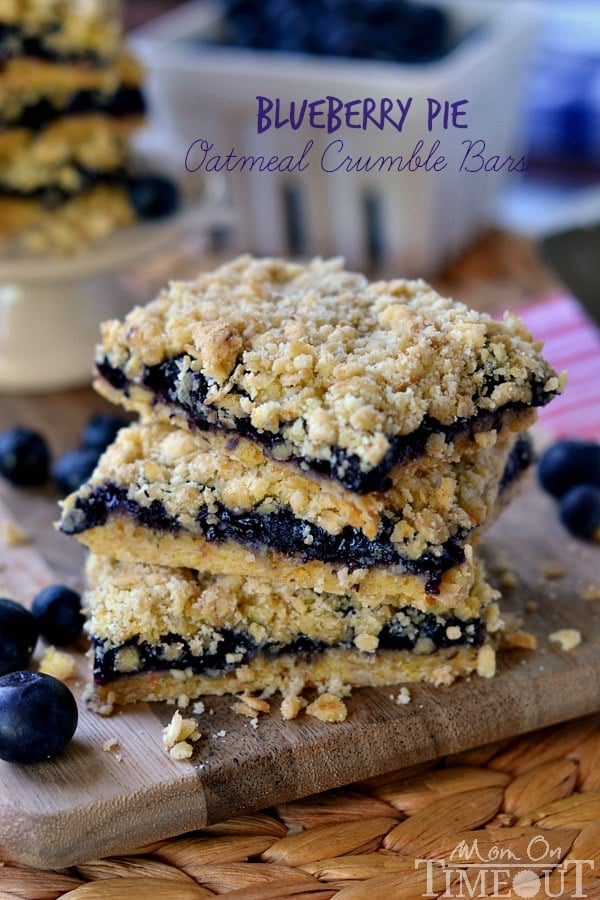
blueberry-pie-oatmeal-crumb-bars

Blueberry Pie Oatmeal Crumble Bars

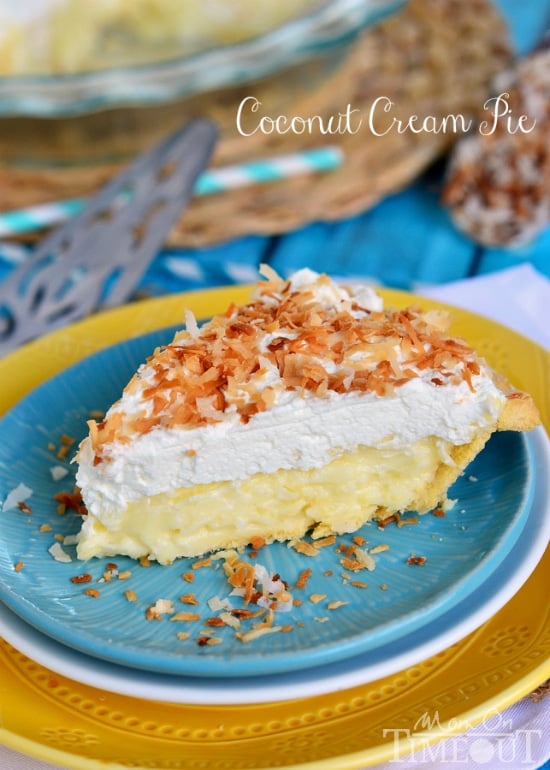
best-coconut-cream-pie-recipe

Coconut Cream Pie

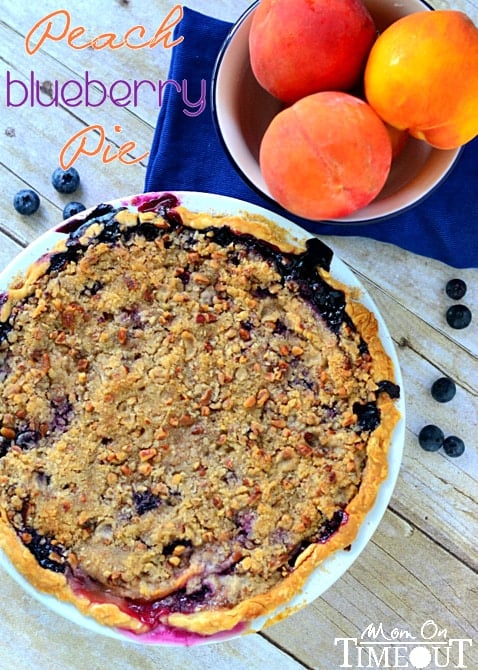
peach-blueberry-pie-whole

Peach Blueberry Pie

Trish Signature Block

For all pie recipes, go HERE.
For all dessert recipes, go HERE.
Sign up to get emails when I post new recipes!
For even more great ideas follow me on Facebook – Pinterest – Instagram – Twitter – Bloglovin’.

Have a great day!

  • 263

By Trish - Mom On Timeout April 30, 2015 5 Ingredients or Less, Dessert, Favorites, Pies, Recipes

Previous article:
« Pina Colada Banana Bread
Next article:
Double Chocolate Banana Applesauce Muffins »

Comments

  1. Mary Grenci` says

    October 25, 2020 at 3:29 PM

    I would like to try new things…running out of ideas…

    Reply
  2. Marilyn Parker says

    November 28, 2017 at 8:13 AM

    I used to have a similar recipe for a choc crust. How much coco powder do I need to add to make it chocolate. I don’t like the recipe that for Famous choc wafers.
    Thanks

    Reply
  3. Sloane says

    November 25, 2017 at 12:43 PM

    Mine turned out really hard. What did I do wrong?

    Reply
  4. Lisa says

    November 23, 2017 at 6:29 PM

    Can I pre-make a couple of these and freeze them for later use?

    Reply
  5. Maggie says

    November 18, 2017 at 7:30 PM

    I used with a banana cream pie and it was wonderful. I did bake it first to make it a sturdy vessel. I will use it again and again.

    Reply
    • Trish - Mom On Timeout says

      November 20, 2017 at 6:34 AM

      Yay! It’s one of my favorite pie crusts 🙂

      Reply
  6. Andromeda Nguyen says

    March 12, 2017 at 5:04 PM

    If I’m using this for a baked cheesecake, do I still need to pre-bake it?

    Reply
    • Marji says

      March 15, 2017 at 3:18 PM

      All the baked cheesecake recipes I know of say bake until golden, about 10 minutes. Cool completely on a rack, about 25 minutes while you work on your cheesecake mixture.

      Reply
    • Trish - Mom On Timeout says

      March 20, 2017 at 4:22 PM

      No you don’t.

      Reply
  7. Pkm says

    June 20, 2016 at 1:36 AM

    Tried this. My “pie crust” didn’t bond together at all. It was very dry and just crumbled. Disappointed. Probably need much more butter. ?

    Reply
  8. Jen says

    May 27, 2016 at 5:54 AM

    You actually count out 60 wafers? You never weighed them or measured them in any way?

    Reply
    • Amanda says

      December 25, 2017 at 1:39 PM

      Most recipes I see with similar ingredient ratios call for 1.5 cups crushed wafers. I used 2 cups whole mini wafers to yield 1.5 cups crushed.

      Reply
      • Laurie says

        October 16, 2023 at 2:20 PM

        THANKS for this post.

        Reply
  9. Thalia @ butter and brioche says

    June 14, 2015 at 4:07 PM

    Never made a pie crust quite like this before. Definitely need to try the recipe!

    Reply
  10. Erin says

    May 1, 2015 at 6:54 AM

    Oh yum! This is perfect for someone like me. You know… someone that doesn’t really like normal pie crust. {lol, don’t judge!} I’m definitely adding this to my list of “must tries” for next week!

    Reply
  11. Mir says

    May 1, 2015 at 6:51 AM

    This is such a perfect crust for any citrus pie! Or any pie at all. I love melting some white chocolate chips into the crust, too, if the filling is tangy. It makes a cool counterbalance!

    Reply
  12. Cristina says

    April 30, 2015 at 5:48 PM

    YUM! This looks delicious, and so easy! Love it, the perfect light crust for light desserts!

    Reply
  13. Dorothy @ Crazy for Crust says

    April 30, 2015 at 4:26 PM

    This is PERFECT Trish!! Absolute perfection.

    Reply
5 from 15 votes (15 ratings without comment)

Leave a Reply Cancel reply

Your email address will not be published. Required fields are marked *

Recipe Rating


This site uses Akismet to reduce spam. Learn how your comment data is processed.

Hi, I’m Trish!

Welcome to Mom On Timeout where I’m serving up real food for real families! Dinners, desserts, and everything in between!
Read More…

categories

archives

Popular Posts

white bowl with handles filled with zuppa toscana soup and topped with cheese. Kale, sausage and bacon can be seen in the soup.
crockpot chili in a ladle held above the crockpot and the rest of the chili.
chicken-stir-fry
best-tater-tot-casserole-recipe-hamburger-green-beans

Some of my favorites…

Strawberry Cake Roll with one slice cut off at the end sitting on wood board topped with powdered sugar and fresh strawberries.
Slice of hummingbird cake recipe on a white round plate sitting in front of cake stand with rest of cake on it.
Top down look at croissant french toast bake in baking dish made with blueberries and topped with a dusting of powdered sugar.
Top down view of recipe for cream cheese mints on parchment paper flattened with the tines of a fork. Four pastel colors are shown: pink, blue, green and yellow in a symmetrical grid layout.
Close up of Strawberry danish with cream cheese topped with a glaze and fresh strawberries.

Copyright ©2025, Mom On Timeout. All Rights Reserved.
Design by Pixel Me Designs
  • Facebook
  • Twitter
  • Pinterest

Rate This Recipe

Your vote:


A rating is required
A name is required
An email is required

Recipe Ratings without Comment

Something went wrong. Please try again.