
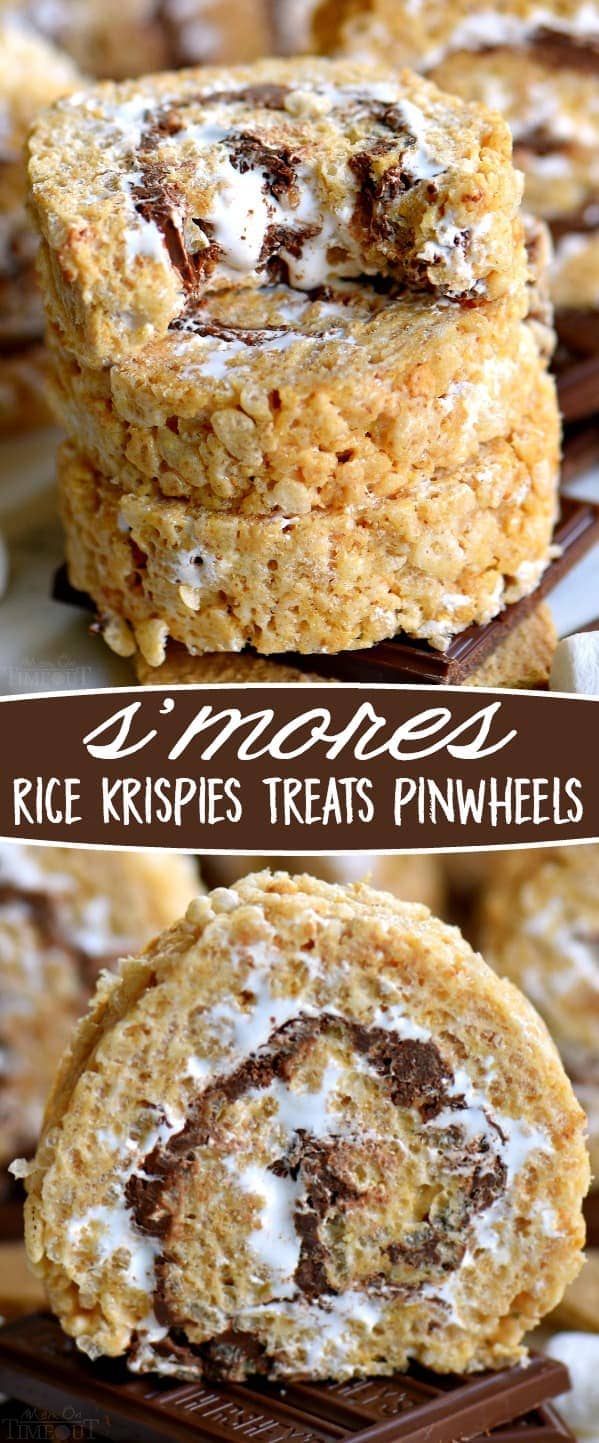
Say goodbye to boring squares and hello to these fun S’mores Rice Krispies Treats Pinwheels! Layers of marshmallow, chocolate, and graham cracker rice krispies treats are rolled up into the perfect bite-size package! Irresistible!
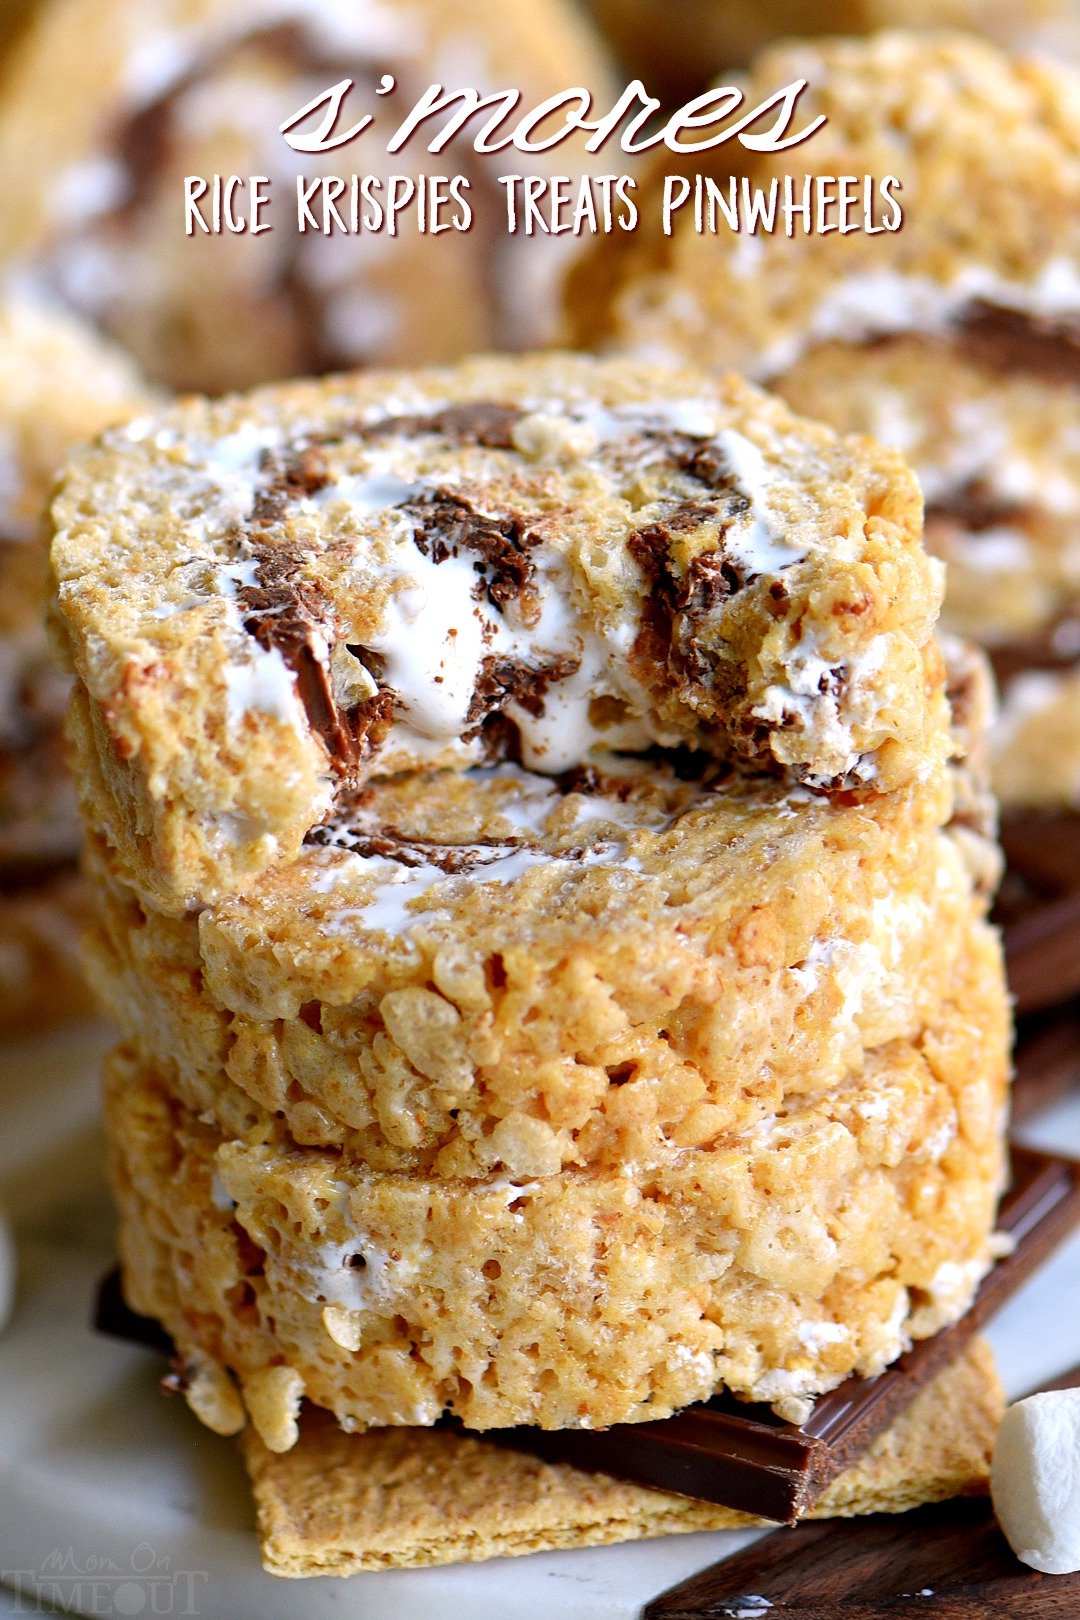
PIN IT NOW!!
I hope you guys aren’t tired of s’mores yet because I’ve got one more recipe that’s going to blow you away – S’mores Rice Krispies Treats Pinwheels! Not only are these treats easy on the eyes (totally impressive!), they are crazy easy to make!
Say good-bye to square rice krispies treats and hello to these fun pinwheels! I couldn’t resist making a rice krispies treat for s’mores week. BUT, I wanted to do something fun, something unexpected, and these pinwheels are just that.
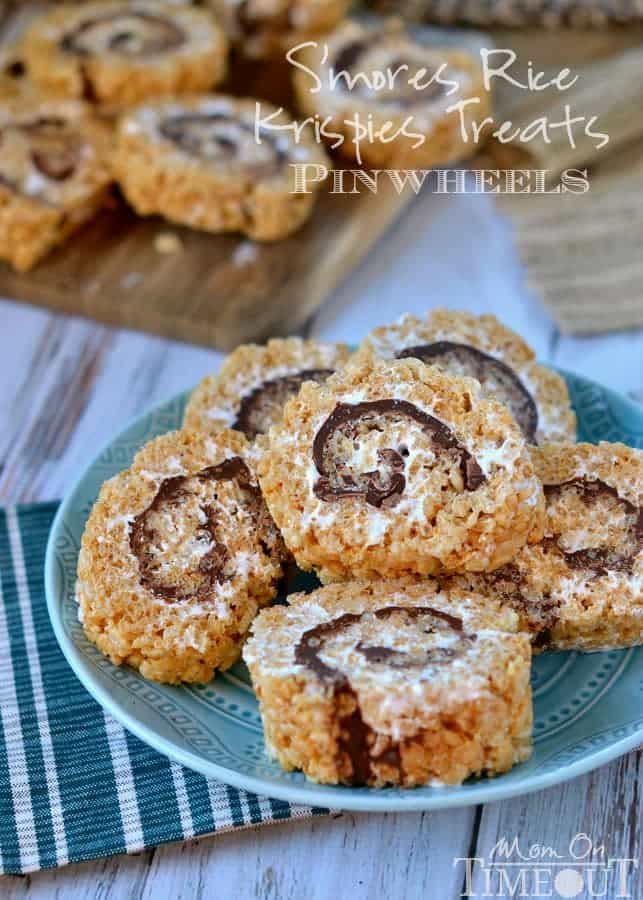
Pinwheels are always appreciated and they are just as easy to make as traditional treats. There’s a couple extra steps but really, SO worth it!
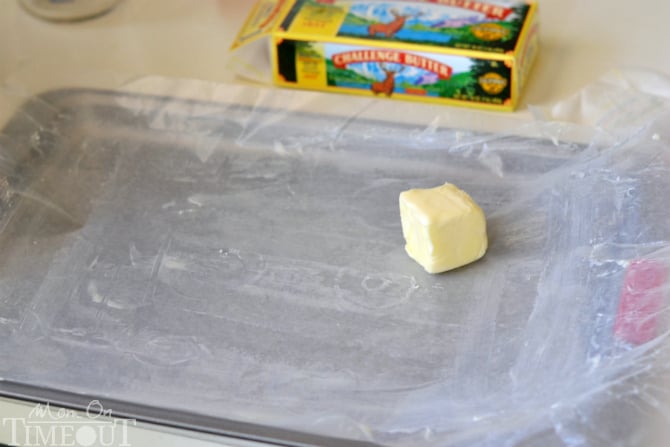
I started by buttering a waxed-paper lined jelly roll pan. You really want to butter it well so that the waxed paper is easy to peel away when you’re rolling up the treats.
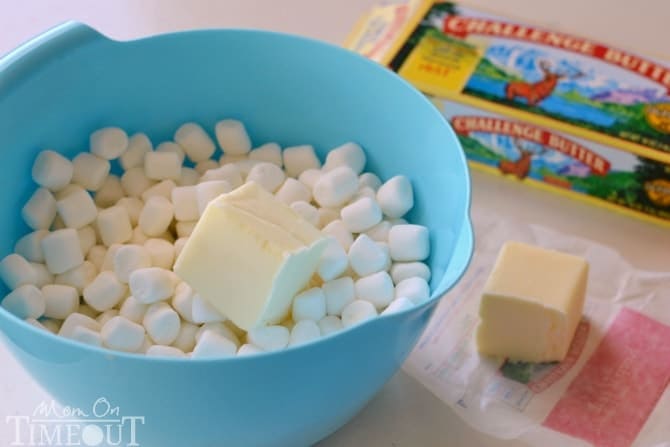
Next butter and marshmallows are microwaved until melted and then the cereal and graham cracker crumbs are stirred in.
Now here comes the fun part. I know we’ve already got the marshmallow component of these s’mores treats covered, but I really wanted that marshmallow flavor to pop. Soooo, I shmeared on a jar of marshmallow creme. See, that’s just how I roll.
Next comes a layer of Hershey’s bars that are gently melted and then spread over the top of the marshmallow creme layer.
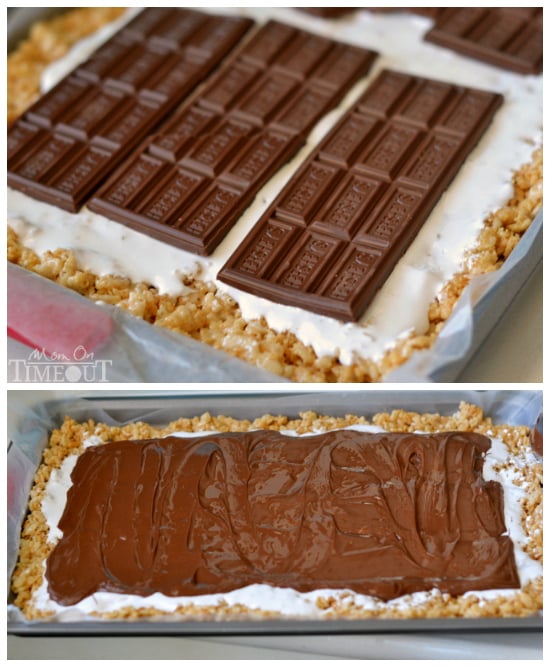
Whoops. You’ve got a little bit of drool dripping onto your keyboard…I don’t judge.
So finally, we roll it all up (cinnamon roll style) and throw it in the fridge to set.
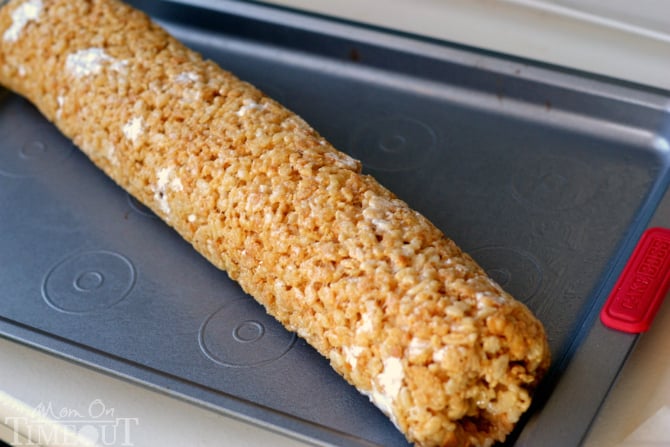
Slice and serve!
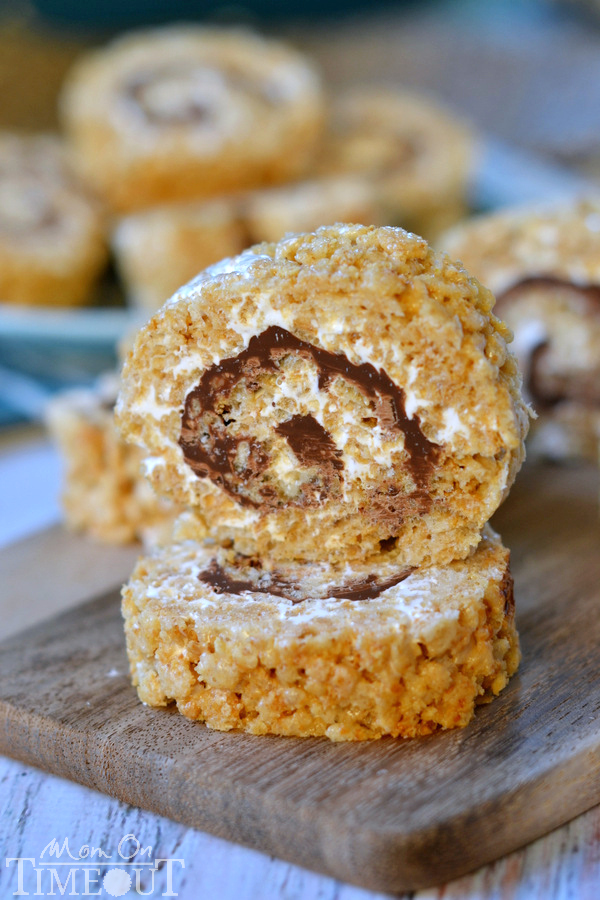
How fabulous are these? Trust me, if you want to make friends fast with a kid (or adult!), just show up with a plate of these pinwheels and you are IN – promise!
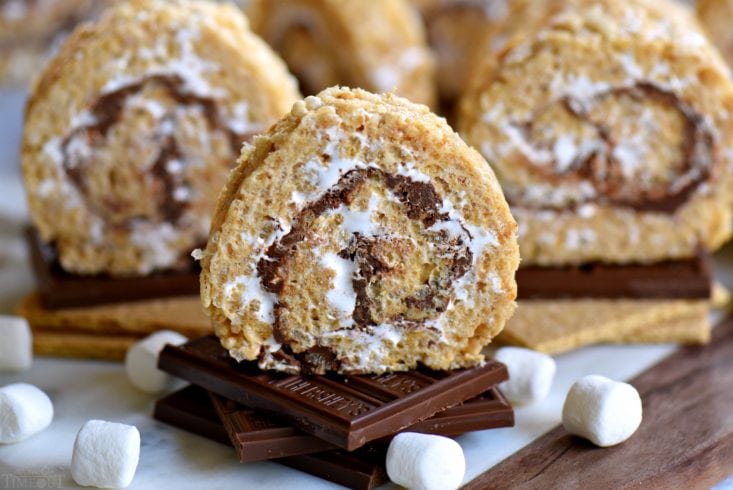
More S’mores Favorites
- S’mores Pudding Parfaits
- Reese’s Peanut Butter S’mores Oatmeal Cookie Bars
- No Bake S’mores Cheesecake Bars
- S’mores Cinnamon Rolls with Marshmallow Frosting
- 5 Minute Mocha S’mores Dip
How To Make S’mores Rice Krispies Treat Pinwheels
![[adthrive-in-post-video-player video-id="i2r3DDij" upload-date="2019-06-19T21:16:14.000Z" name="S'mores Rice Krispies Treats Pinwheels" description="Say goodbye to boring squares and hello to these fun S’mores Rice Krispies Treats Pinwheels! Layers of marshmallow, chocolate, and graham cracker rice krispies treats are rolled up into the perfect bite-size package! Irresistible!"]](https://www.momontimeout.com/wp-content/uploads/2014/07/smores-rice-krispies-treats-pinwheels-title-150x150.jpg)
S’mores Rice Krispies Treats Pinwheels
Ingredients
- 10 oz miniature marshmallows
- 1/4 cup Challenge butter plus more for greasing
- 5 cup Rice Krispies cereal
- 3/4 cup graham cracker crumbs
- 7 oz jar marshmallow creme
- 6 Hershey's chocolate bars 1.55 oz each
Instructions
- Preheat oven to 200 degrees.
- Line a 10x15 jellyroll pan with waxed paper. Butter the waxed paper and set aside.
- Combine marshmallows and one quarter cup of butter in a microwave-safe bowl. Cover and heat on high for 30 seconds, stir. Repeat until completely blended.
- Stir in cereal and graham cracker crumbs.
- Press mixture into prepared pan.
- Spread marshmallow creme on top using an offset spatula.
- Place Hershey's bars on top of the marshmallow creme.
- Place in oven for two minutes. Use a spatula to spread the softened chocolate.
- Let cool for 10 minutes.
- Roll up jellyroll style (like a cinnamon roll), starting on the long side. Peel away the waxed paper as you roll. Pinch the seams together.
- Place seam side down and refrigerate for 30-45 minutes or until chocolate has set.
- Slice and serve!
Video
Nutrition
Disclaimer: I was provided product for this post by Challenge Butter, but all opinions are, as always 100% my own. I LOVE Challenge Butter!


Francine says
These were a sticky mess….not sure I would try these again. They stuck terribly bad and went really soft when trying to roll. I dumped them into another greased jelly roll pan and will have to eat them just as a messed up S’mores roll.
Trish - Mom On Timeout says
Sounds like maybe you didn’t let the chocolate cool enough? And the rice krispies treats will obviously be a bit sticky – they are made with marshmallows after all – but they should peel off EASILY. Maybe you need to grease the paper more?
breanna Morse says
Can you freeze after you make them ??
Leah Christie says
These were delicious but as a beginner, by my third roll I have some hints I’d include…
1. Make sure you REALLY REALLY butter the wax paper before laying the rice krispies down. Like a SUPER Thick butter layer. Lol
2. To smash the rice mix down onto the sheet without it sticking to you…slather your hands in butter first!
3. Don’t spread the marsh crème or chocolates too close to edges. Leave maybe half inch on both long edges or it mushes out too much
4. Melt the chocolate as LITTLE as possible too. Or it’s runny and makes a big mush mess.I suggest
After you have it all spread out, probably refridg the whole thing for 15 min to let the choc set up before rolling. I made mistake of rolling too soon and chocol squished out EVERYwhere. but I live in a warmer climate too, and that added to my challenges Lol
6. Don’t roll it tight. Roll it gently, then use the way paper to “form” it round like a sushi roll.
Trish - Mom On Timeout says
These tips are PERFECT Leah and I completely agree with every single one of them! Thanks for sharing!
Eileen says
Haha this is an old post, but i made these tonight for friends and they were a huge hit! Plus I have extras at home to enjoy
Chelsea says
I made these for Memorial day and they were a huge hit! I did one batch per instructions and then another with 1/2 the chocolate and 1/3 cup peanut butter. Everyone loved them all! I used parchement paper instead since i was out of wax paper and it worked great! It even helped to use a piece of paper when pushing the rice krispies down in the pan since they are super sticky. Thank you for this delicious recipe, I look forward to making them again!
Cindy says
Oh my mercy! Cannot wait to try some of these goodies! Thanks so much! Hugs and blessings, Cindy
Kallee says
Can you make these the night before? Like roll them up and leave them in the fridge till the next day 16 hours or so or will they get hard? I wasn’t sure how this would turn out if made in advance
Trish - Mom On Timeout says
Absolutely Kallee! You’ll want to let them come to room temperature before serving though because they will harden.
Frances says
Not Sure what Challenge Butter is??
Eliza says
“Challenge” is a brand of butter. It is excellent quality!
Trish - Mom On Timeout says
Agreed Eliza! I love using Challenge butter in my recipes!
Trish - Mom On Timeout says
It’s a brand that I use Frances 🙂
Kelsey says
I feel compelled to comment on this because I made this recently, took it into work, and the reception was unbelievably positive. I used dark chocolate instead of milk chocolate. I used parchment paper to roll it up, which worked really well, though I think the roll turned out too fat, so if I do it again I think I’m going to split it across two sheets. Anyway, these turned out to be the most popular thing I’ve ever brought in. I sent this page out to everyone I work with, but I think they’re wanting me to make them again. I’ve been getting comments for days now.
IRene B says
Where did I go wrong. I buttered my waxed paper and everything was going great UNTIL i tried to roll them the wax paper stuck and I mean stuck.. There in the fridge right now but it doesnt look so good. My mouth was watering
Improv Oven says
This looks absolutely amazing. We’re drooling for sure….
Deanna Segrave-Daly says
I need to make something for school’s talent show bake sale and I wanted something unique yet something somewhat familiar – these are PERFECT!
Mary jo says
made first time according to instructions. Second time I added a few easier ways to make these – first using Pam is better than butter – so spray wax paper or parchment paper with Pam – 2nd make sure all your ingredients are measured out and ready to mix. Then lay mixture on paper prepared for this and grab another piece of was paper or parchment with Pam and press down to spread Rice Krispies – this way it is even and you don’t get the messy sticky pulling up on a spoon or your hands. That works fantastic – 3rd heat the marshmallow cream in microwave before spreading – don’t even need 1/4 of the jar -it’ll spread nicely and I used Nutella instead of chocolate – heated also in microwave only 20 -30 seconds and spread on top of that – used less also – Wella. Done!
Trish - Mom On Timeout says
LOVE all of this Mary Jo! Thanks so much for your tips!
Jayne says
Hi, want to try this but what are Graham crackers? I’m in uk
Rose Theobald says
These are so darned good and wandering if you could toast the marshmallow fluff under the broiler then put the Hershey’s bars on