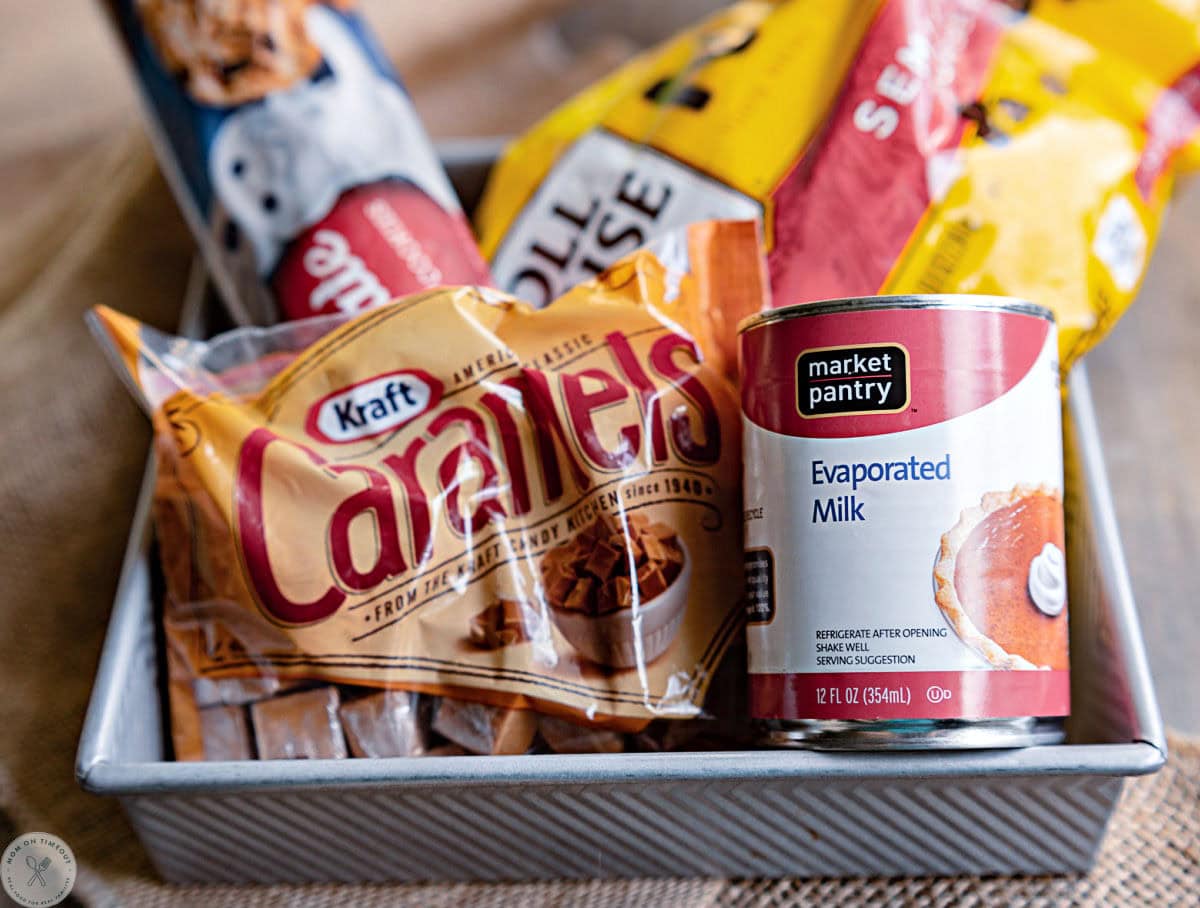
These easy Carmelitas are rich, decadent and always a crowd pleaser! Made with layers of chocolate chip cookie dough, gooey caramel and plenty of chocolate chips, they’re an irresistible treat for parties, holidays or anytime a sweet craving strikes.
Can’t get enough caramel? Make sure to try these favorites: Caramel Cake, Caramel Apple Empanadas and these Salted Caramel Pretzel Blondies.
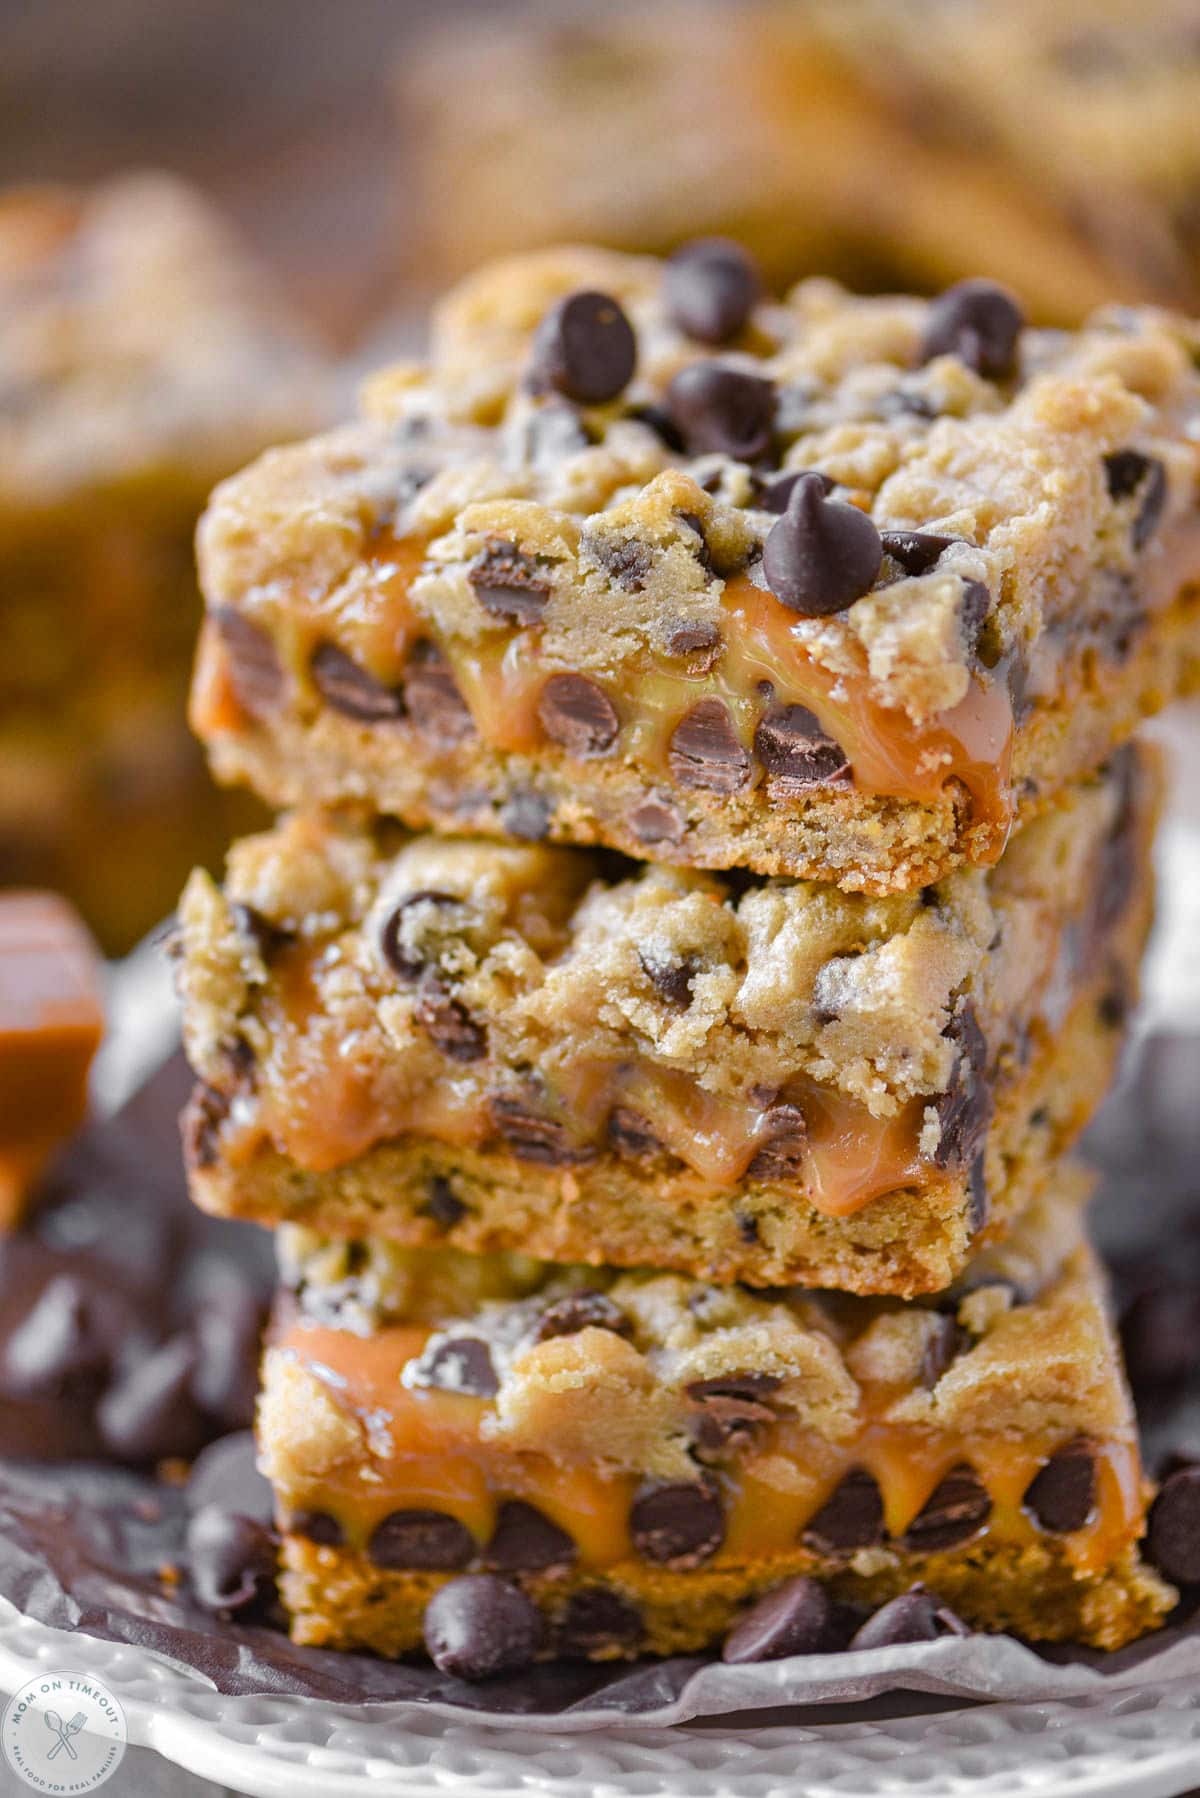
Carmelitas Recipe
Carmelitas are one of those desserts that always disappear fast. With layers of chewy chocolate chip cookie dough, sweet caramel and rich chocolate chips, every bite is decadent, gooey and completely satisfying. The best part is that this recipe keeps things incredibly simple with just four ingredients.
These bars are the kind of dessert that works for almost any occasion. They look bakery-worthy but are made with just a handful of easy ingredients. Bring a pan to a party, add them to a holiday dessert tray or make them for a fun weekend treat. They’re easy enough for a last-minute sweet craving but impressive enough to share.
This recipe is perfect for busy days when you want something homemade without a lot of fuss. The bottom cookie layer bakes first, then gets topped with chocolate chips, melted caramel and more cookie dough. After a quick chill, the bars slice beautifully and are ready to serve.
⭐️⭐️⭐️⭐️⭐️
“Made these for a baby shower and they were like a magic act, disappearing off the plate before our very eyes! This is as easy and delicious as anyone can imagine. THANK YOU!!!!” – Holly
Why You’ll Love These Carmelitas
We love making these Carmelitas for all sorts of occasions – from holiday gatherings to family barbecues and even just a sweet after-school treat. They’re so easy to make and can even be prepared ahead of time!
- Great for Any Occasion: These Carmelitas are always a hit at any gathering—whether it’s a family dinner, a holiday celebration, or just a casual get-together. They’re so easy to make, and they disappear just as quickly as you put them on the table!
- Make-Ahead of Time: One of the best things about these Carmelitas is that you can make them ahead of time! Let them cool, refrigerate for a couple of hours, and then they’re ready to serve or store them in the fridge for up to a week.
- Four Ingredients: With just a few simple pantry staples – cookie dough, caramels, chocolate chips, and evaporated milk – you can whip up these indulgent treats in no time.
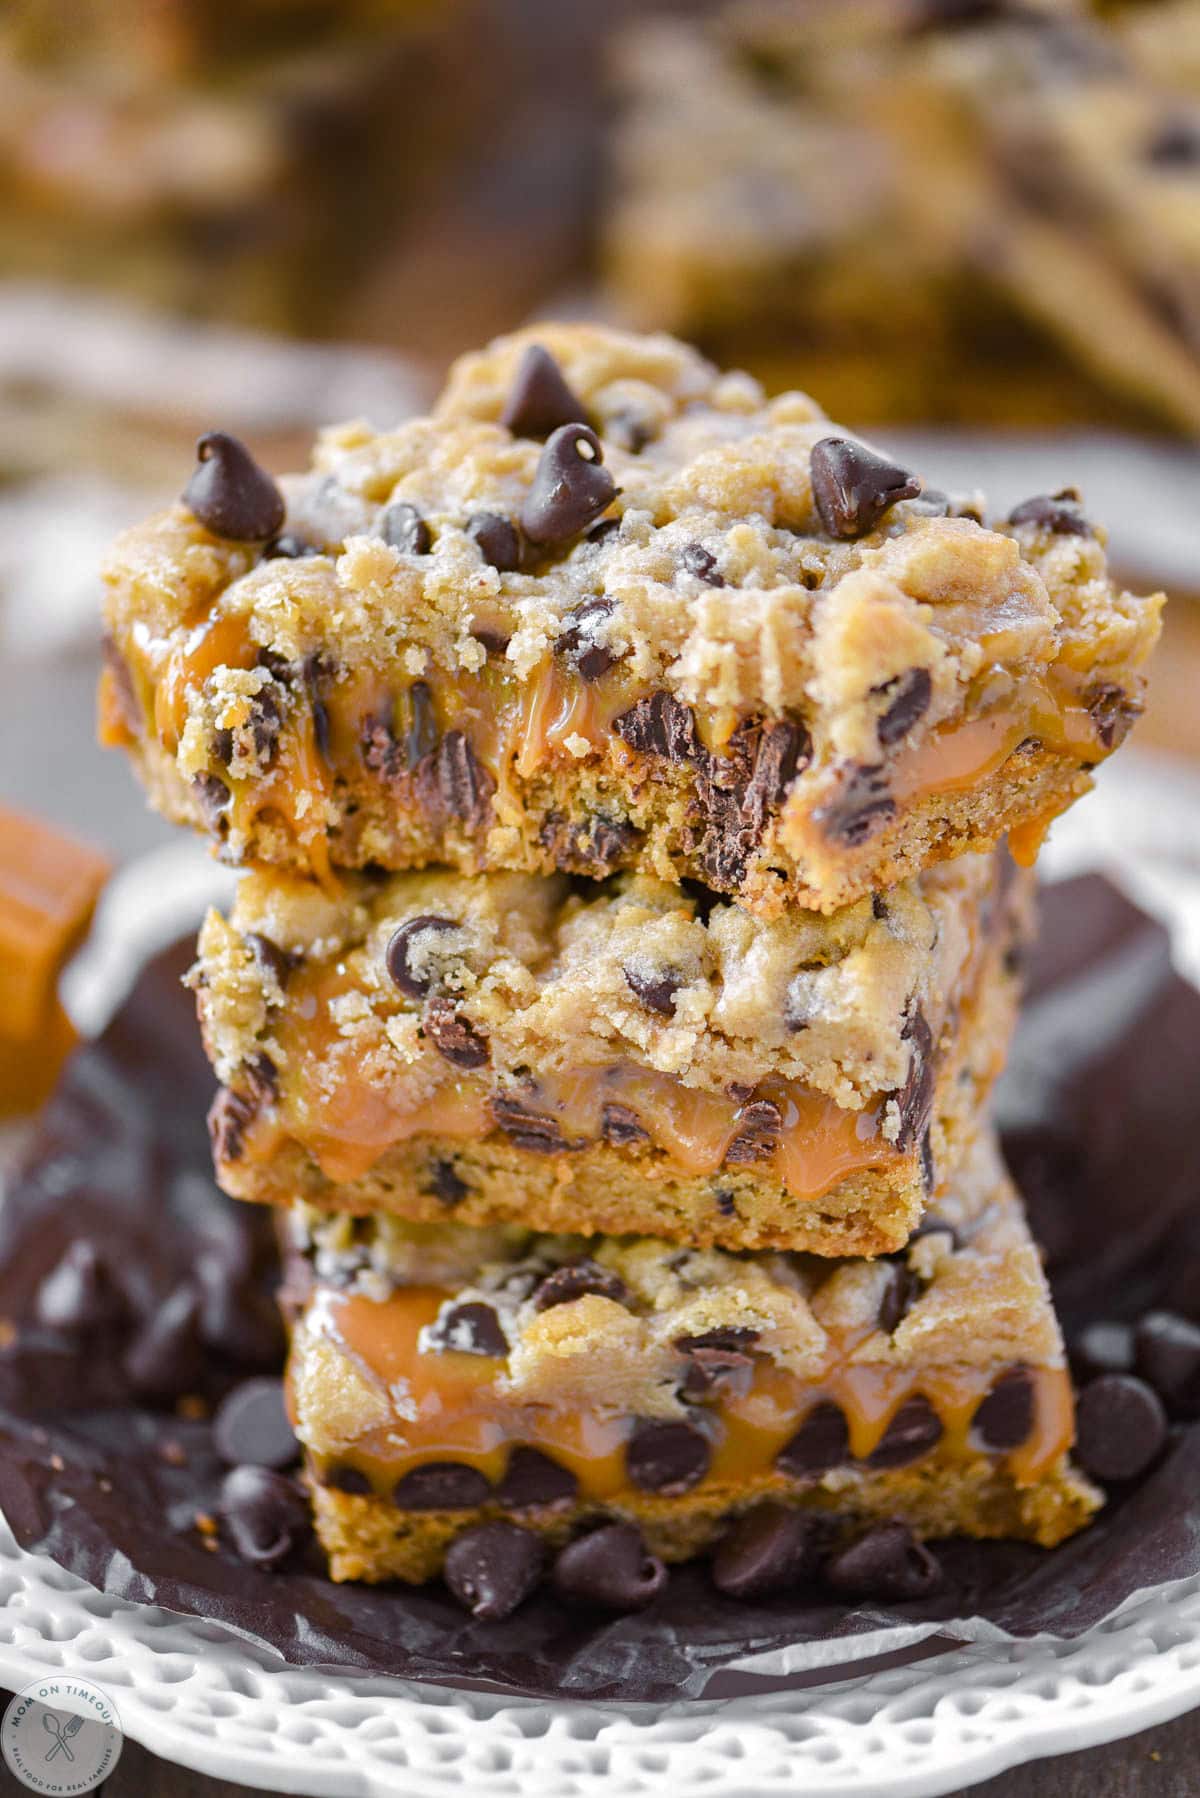
Carmelitas Ingredients
Making the recipe as written below, you will need just 4 ingredients. FOUR. You guys. It just doesn’t get any easier:
- refrigerated chocolate chip cookie dough
- KRAFT caramels
- evaporated milk
- semi-sweet chocolate chips
Yep, folks, it’s really that easy.
How to Make Carmelitas
These Carmelitas are gooey and downright irresistible! With just four ingredients, they come together in a flash! Whether you’re making them for a special occasion or just to enjoy at home, these bars are sure to become a favorite treat that everyone will love.
Let’s take quick look at how to make this recipe and, as always, you can find the full printable recipe card at the end of this post.
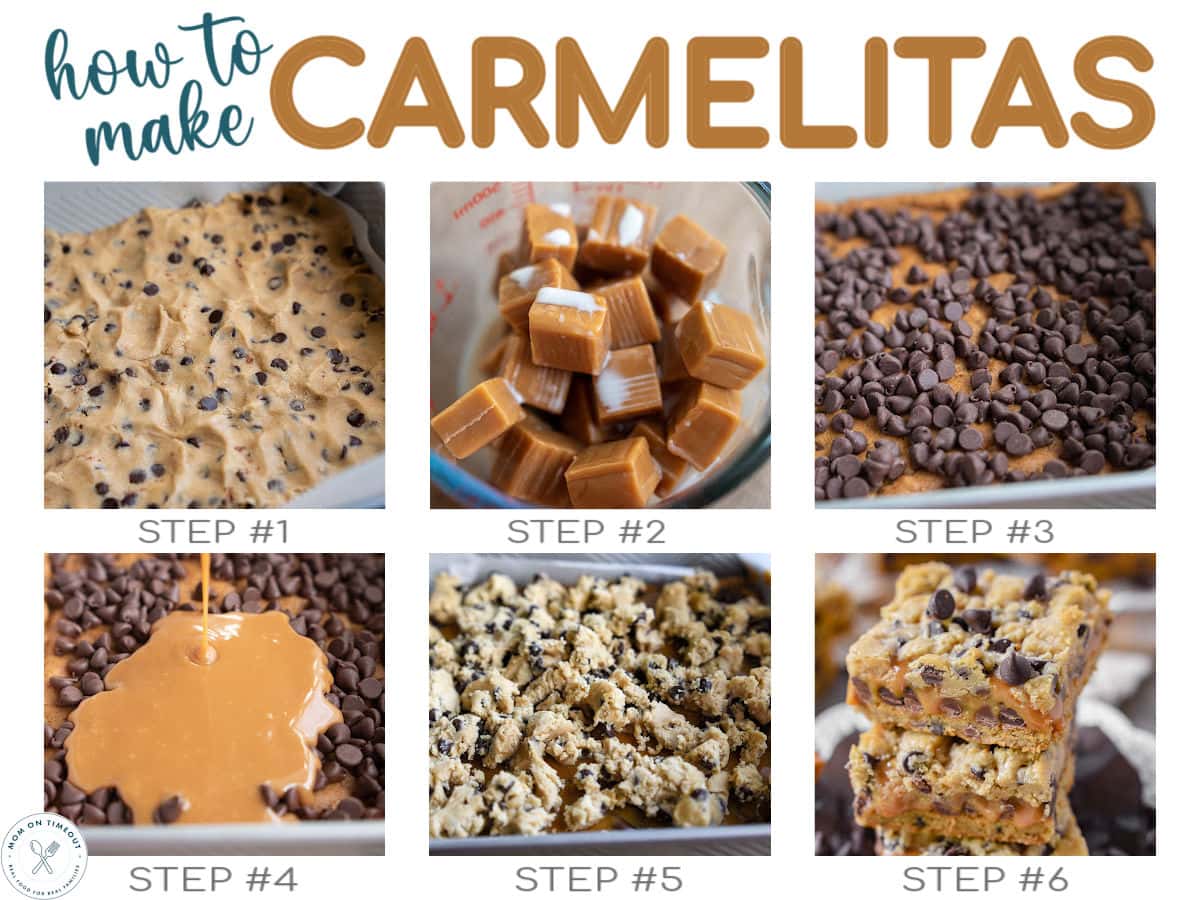
- Press a little over half of the cookie dough onto the bottom of a parchment lined 9-inch square baking pan. Bake at 350°F for 20 to 25 minutes or just until golden brown. Let cool slightly.
- Combine unwrapped caramels and evaporated milk and heat on high in 30 second intervals until caramel is completely melted.
- Sprinkle chocolate chips over the slightly cooled chocolate chip cookie crust.
- Drizzle caramel on top of the chocolate chips.
- Crumble the remaining cookie dough (should be less than half remaining) over the top of the caramel.
- Bake for another 12-15 minutes or until just beginning to turn golden brown. Let cool to room temperature, refrigerate for at least 2 hours before cutting and serving.
Storage Information
- Room Temperature: Once they’ve cooled completely, store the bars in an airtight container at room temperature for up to 3 days. If the caramel gets too gooey, store in the refrigerator.
- Refrigerator: Store in an airtight container and refrigerate them for up to 5 days. Place parchment paper between layers to keep the bars from sticking together. The caramel becomes firmer when chilled, so let the bars sit at room temperature for 10 to 15 minutes before serving. This allows the cookie layers to soften and the caramel to become perfectly gooey again.
- Freezer: Wrap the bars tightly in plastic wrap and store in a freezer-safe container for up to 3 months. Just let them sit at room temperature for about 15 minutes before serving for the best texture!
- Make Ahead: These bars are an excellent make-ahead dessert because they need at least 2 hours to chill before slicing. Prepare them up to two days in advance and keep them covered in the refrigerator until ready to serve. For the cleanest slices, leave the bars uncut until shortly before serving.
Variations to Try
When a dessert starts with chocolate chip cookie dough and ends with gooey caramel, you know it’s going to be good. Here are some delicious variations to consider:
- Add some chopped nuts, like pecans or walnuts, to the layers for an extra crunch and nutty flavor.
- Sprinkle a handful of toffee bits on top of the chocolate chips before drizzling with caramel for an extra layer of sweetness and texture.
- Swirl in a little peanut butter into the melted caramel before drizzling it over the bars for a creamy, nutty twist.
- For a touch of salty contrast, sprinkle a pinch of sea salt on top of the caramel before or on top of the bars after baking.
- Swap the semi-sweet chocolate chips for milk or dark chocolate chips for a sweeter or deeper chocolate flavor.
Can I use homemade cookie dough and caramel?
FOR SURE. Seriously, if I’m not in a hurry, I use this chocolate chip cookie recipe or this chewy chocolate chip cookies recipe – just make sure you let the dough chill for a couple hours first.
Likewise, you can also use homemade caramel. My caramel sauce recipe is really amazing in this recipe and if you want to go the homemade route, make it. You won’t regret it. It is a bit thinner so it makes the bars extra gooey – keep that in mind.
Do Carmelitas need to be chilled?
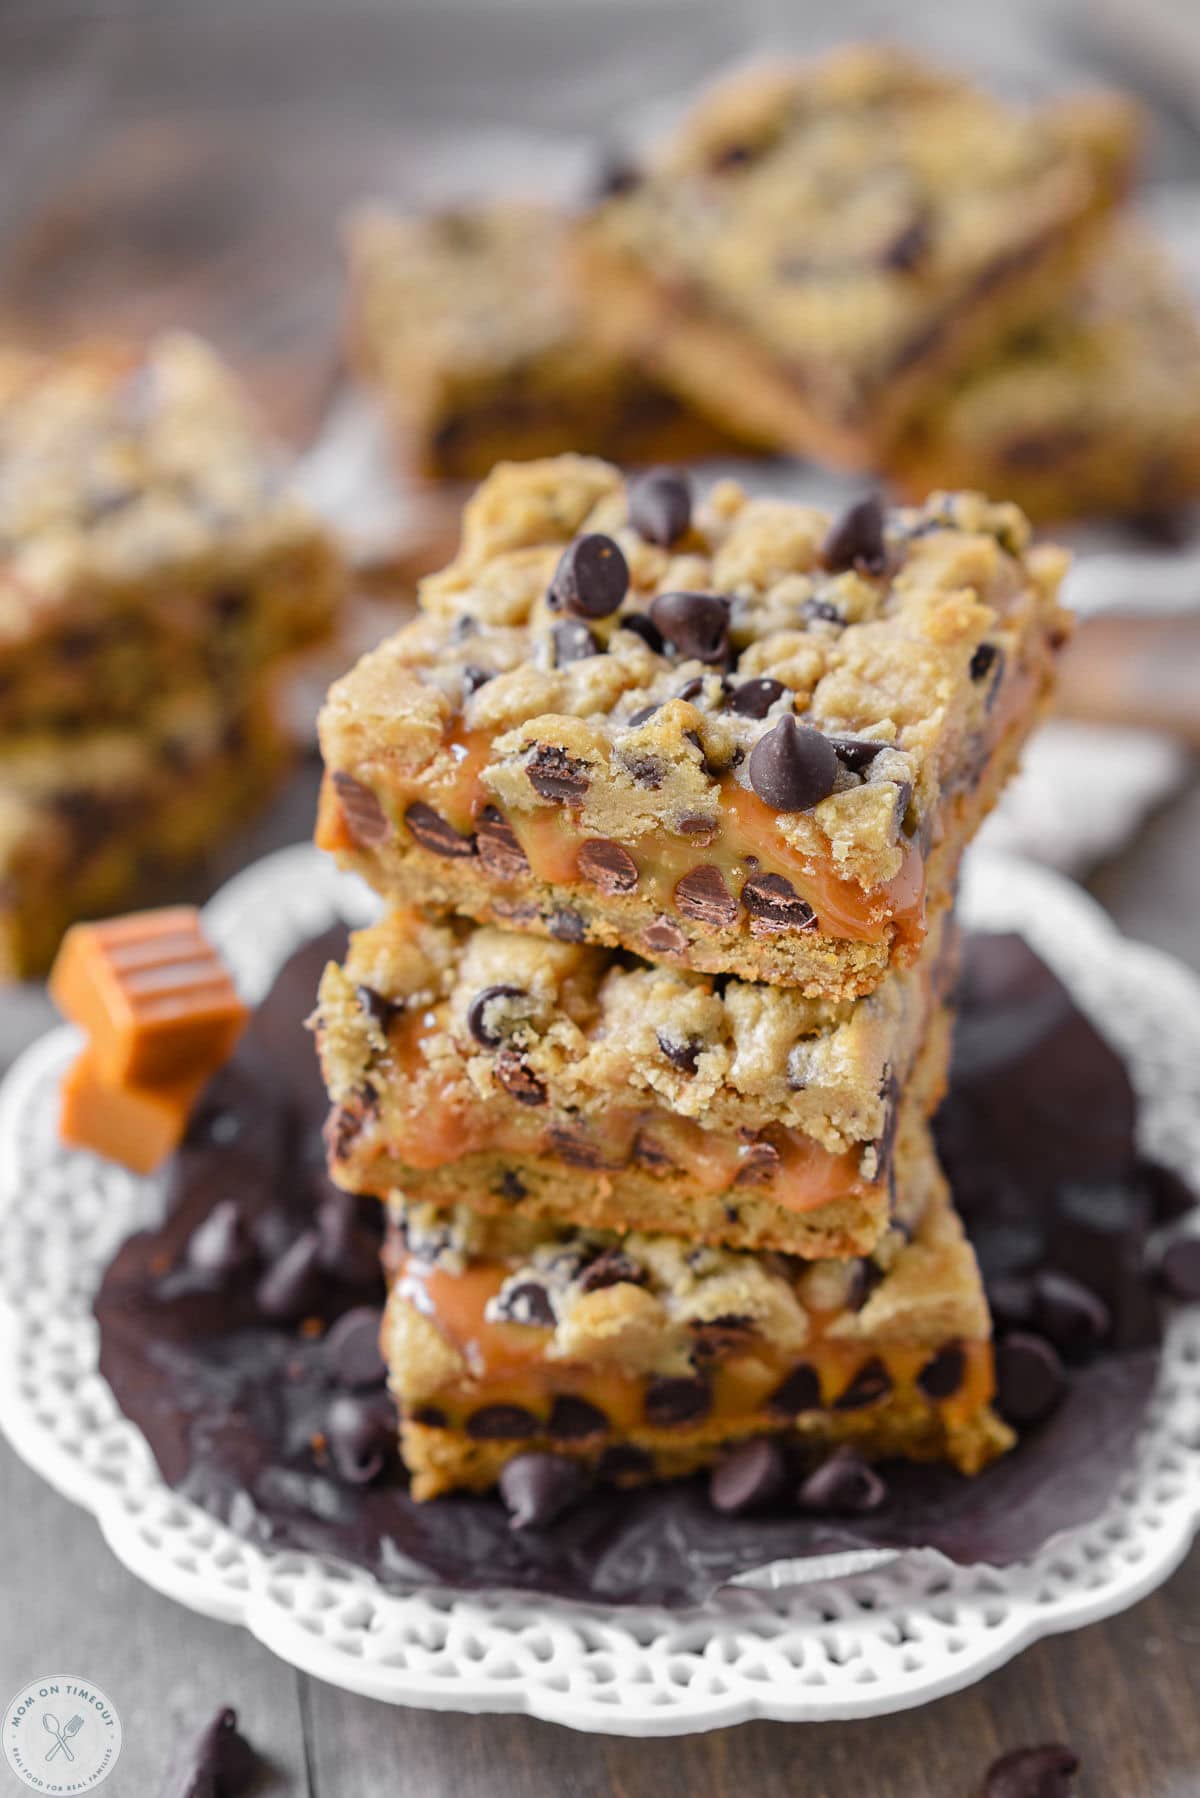
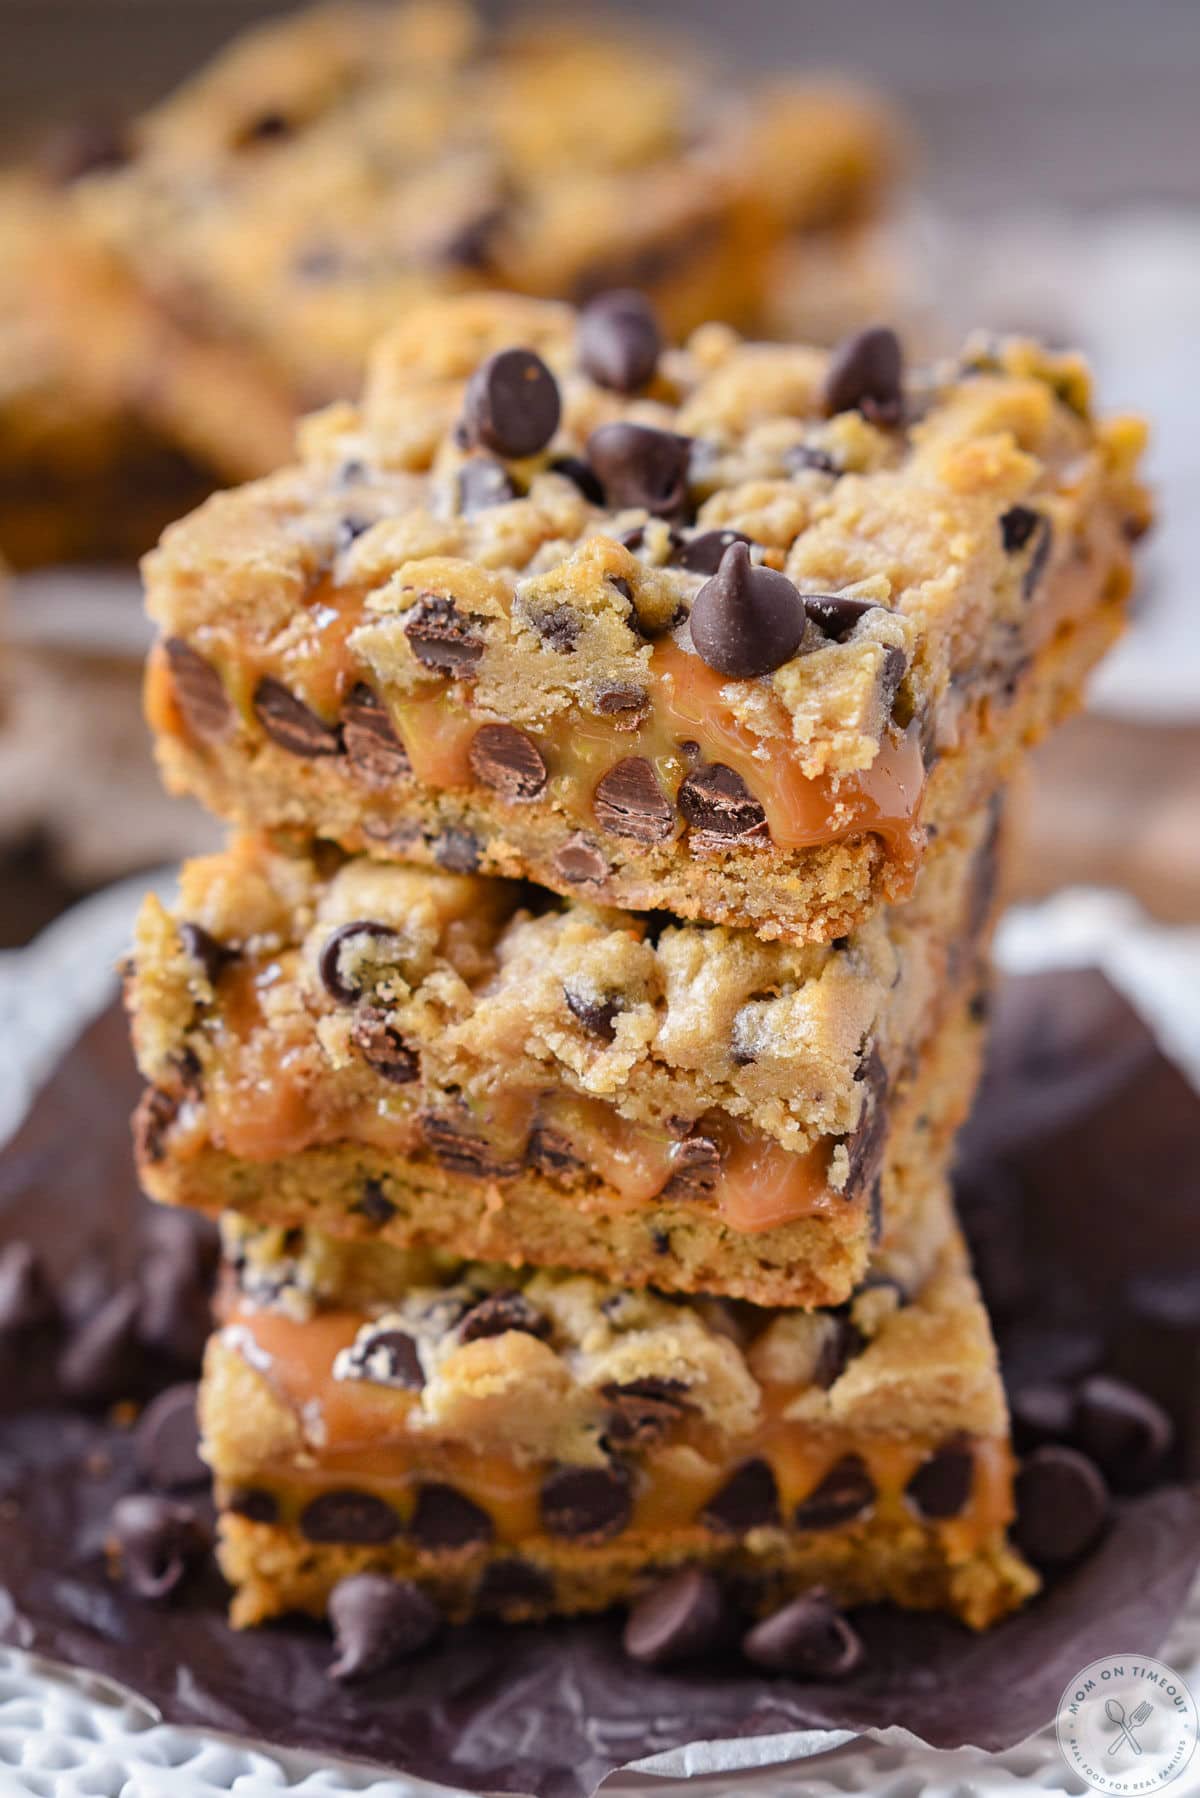
Here’s the thing with Carmelitas though – they have to be refrigerated. The caramel has to set up or the bars would be a hot mess when you cut them. You can see how even after hours in the fridge, the caramel still oozes out when you cut them. It’s AH-MAZING. That’s what MAKES a Carmelita a Carmelita.
How do I keep the bars from sticking to the pan?
Line the pan with parchment paper and leave some extra parchment extending over the sides. Once the bars are completely chilled, use the parchment as handles to lift the entire dessert out of the pan before slicing.
Trish’s Tips
- Let the bars come to room temperature before serving for that gooey caramel layer. About 15 minutes at room temperature gives the cookie layers a softer texture and makes the caramel deliciously gooey.
- When baking the first layer of cookie dough, keep an eye on it so it doesn’t get too dark. You want it golden, not overbaked, as it will bake again once the caramel and top layer of dough are added.
- Allow the Carmelitas to cool to room temperature, and then refrigerate for at least 2 hours before cutting. This helps the bars set properly and makes them easier to slice without falling apart.
- Line your baking pan with parchment paper to make removing the bars from the pan a breeze.
- When pressing the dough into the pan, make sure it’s evenly spread out to avoid uneven baking. You can use your fingers or a spoon to gently press the dough down.
- For perfect, clean slices, refrigerate the Carmelitas for a few hours or overnight before cutting. It helps the bars firm up, making them easier to cut into neat squares. Run a large knife under hot water, wipe it dry and slice the chilled bars. Clean and reheat the knife between cuts for the neatest results.
More Dessert Bars You’ll Love
- Snickers Bars
- Chocolate Chip Cookie Cheesecake Bars
- 100 Grand Candy Bars
- Fantasy Bars
- Heavenly Hash Truffle Bars
Carmelitas
Ingredients
- 30 ounces chocolate chip cookie dough refrigerated, store-bought dough, or homemade
- 11 ounces caramels
- ¼ cup evaporated milk
- 1 cup semi-sweet chocolate chips
Instructions
- Preheat oven to 350°F. Slice a little more than half of the cookie dough into 1/4" rounds and lay in a single layer on a parchment lined 9-inch square baking pan.30 ounces chocolate chip cookie dough
- Use your fingers to press into a single, solid, even layer.
- Bake for 20 to 25 minutes or just until golden brown. Removed from the oven and let cool slightly.
- Combine unwrapped caramels and evaporated milk in a microwave-safe container and heat on high for 1 minute. Stir and heat on high in 30 second intervals until caramel is completely melted.11 ounces caramels, ¼ cup evaporated milk
- Sprinkle chocolate chips over the slightly cooled chocolate chip cookie crust.1 cup semi-sweet chocolate chips
- Drizzle caramel on top of the chocolate chips.
- Crumble the remaining cookie dough (should be less than half remaining) over the top of the caramel. It doesn’t have to be perfect or even.
- Return the carmelitas to the oven and bake for another 12-15 minutes or until just beginning to turn golden brown.
- Let cool to room temperature and then refrigerate for at least 2 hours.
- Sit out for 15 minutes before cutting and serving.
Video
Notes
- Room Temperature: Once they’ve cooled completely, store the bars in an airtight container at room temperature for up to 3 days. If the caramel gets too gooey, store in the refrigerator.
- Refrigerator: Store in an airtight container and refrigerate them for up to 5 days. Place parchment paper between layers to keep the bars from sticking together. The caramel becomes firmer when chilled, so let the bars sit at room temperature for 10 to 15 minutes before serving. This allows the cookie layers to soften and the caramel to become perfectly gooey again.
- Freezer: Wrap the bars tightly in plastic wrap and store in a freezer-safe container for up to 3 months. Just let them sit at room temperature for about 15 minutes before serving for the best texture!
- Make Ahead: These bars are an excellent make-ahead dessert because they need at least 2 hours to chill before slicing. Prepare them up to two days in advance and keep them covered in the refrigerator until ready to serve. For the cleanest slices, leave the bars uncut until shortly before serving.
Tools and Equipment (affiliate links): Mixing Bowls | Whisk | Measuring Cups | Measuring Spoons | 9- Inch Square Baking Pan
Please see post above for more information, step-by-step process photos, recipe tips and frequently asked questions.
Nutrition
Originally published August 8, 2015.


Diana Wille says
AMAZING. We were in town for just a week and needed a pot luck dessert. Being able to buy everything and just assemble-made this the perfect recipe. Absolutely delish! And do ahead! Bought 3 packages of 14 oz cookies and made in a 9×13. Adding a few more chips, but same Carmel (as I didn’t want left overs!).
Karry Stocker says
If you want to double this recipe, “what would I need”? Please email me with what you recommend.
Trish - Mom On Timeout says
You would just double the ingredients Karry. You can put the bars in a 9×13 but they will definitely be thicker.
Rose says
Delicious. Easy and quick. My husband planned on eating two but couldn’t. Very rich and tasty. Thank you
Karry says
Trish, Have you tried making these in a 9×13 in baking pan? If so, did you have to add more time to the recipe? I would also like to make them for family.
Trish - Mom On Timeout says
You can make them in a 9×13 but the bars will be thinner so you would reduce the time. Hope that helps!
Kristi says
These were so delicious! Everyone loved them and raved!! Any idea how to incorporate peanut butter into them as well?
Trish - Mom On Timeout says
You could try maybe adding some to the cookie dough? I’ve never tried but I think it would work. Maybe start with 1/2 cup and go from there.
Michele says
You could use peanut butter chips instead of chocolate chips in the middle.
Julie says
Fingers crossed. I just made them
Tammie says
I make these with peanut butter and powdered sugar….. there yummy