Scrappy Pumpkins are a fun way to decorate for the Fall season!

As Halloween quickly approaches, I have had fun recalling some “oldies but goodies” pumpkin crafts. One of these classics makes use of a cardboard roll and strips of paper to make a pumpkin. I put my own spin on this craft using decorative scrapbook paper and some felt – hence the name “Scrappy Pumpkins”. This craft is wonderful because you can make a variety of shapes and sizes of pumpkins just by changing the height of your roll. Use any colors you want to create pumpkins that are uniquely your own.

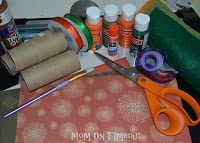
Materials Needed:
12×12 scrapbook paper
tape
glue
scissors or paper cutter
cardboard rolls
assorted card stock for stems
felt – optional
paint – optional
Directions:
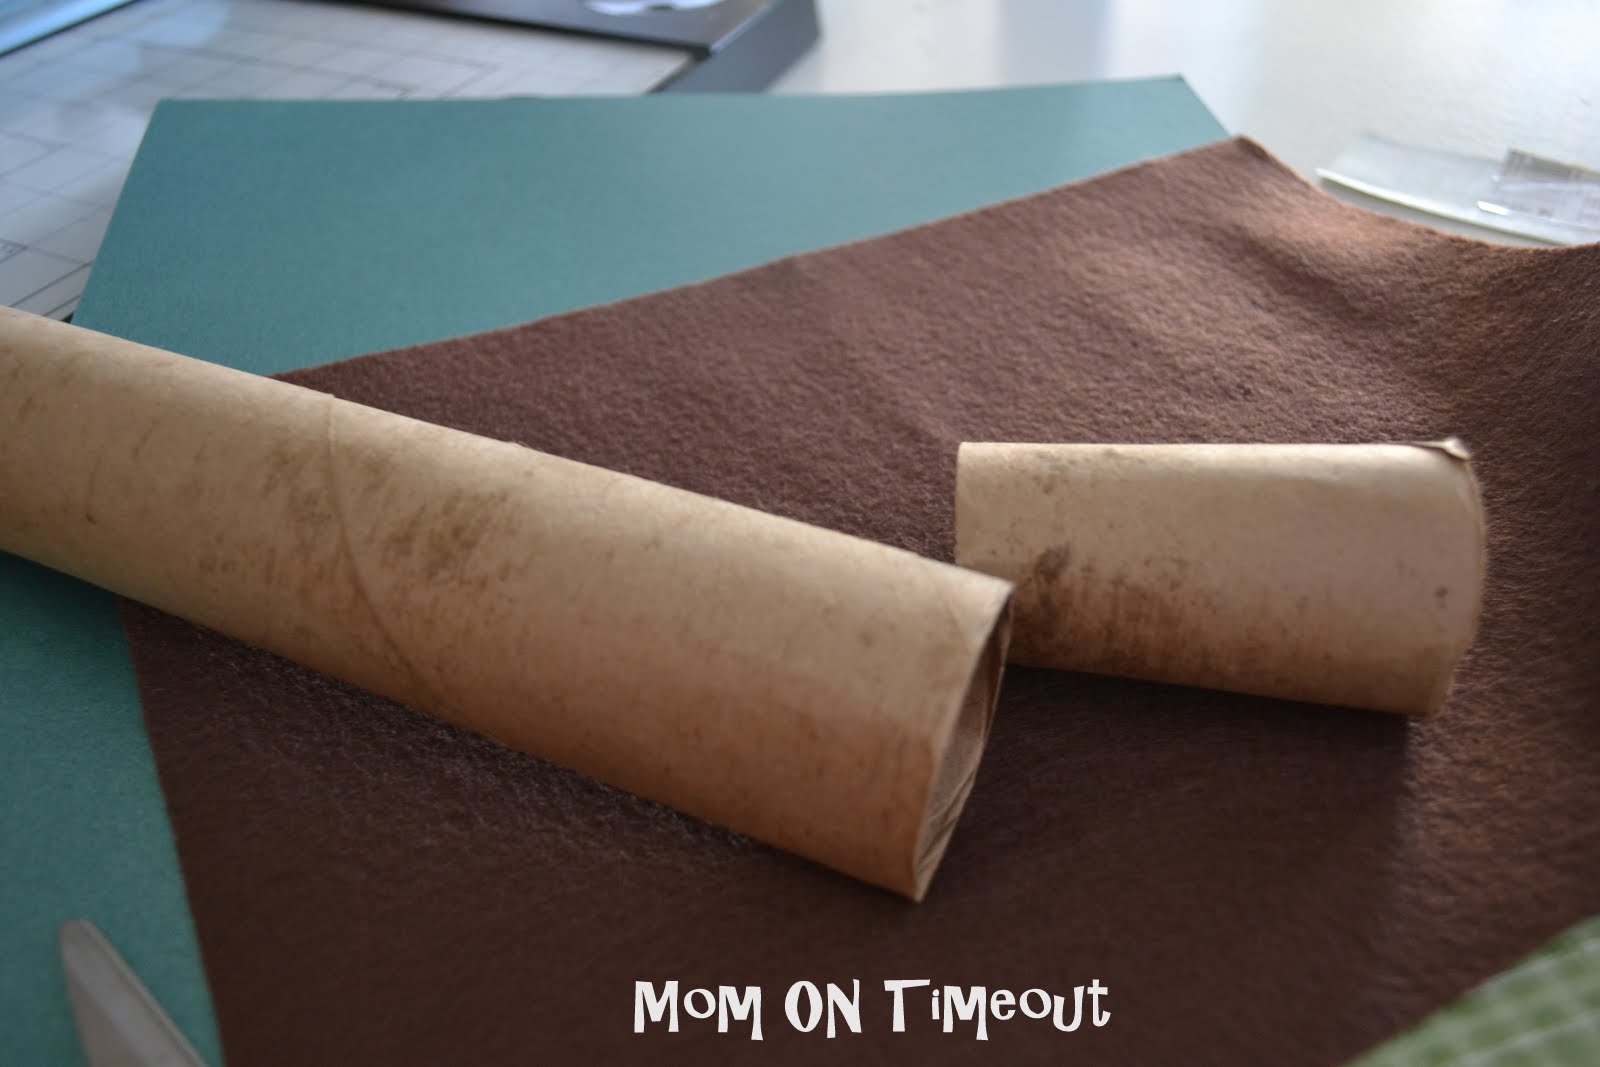
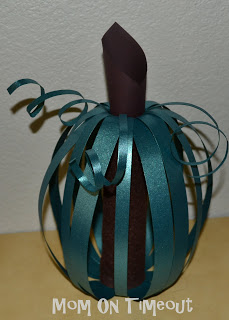
The base of the pumpkin is a cardboard roll (from either a roll of toilet paper or paper towels). There are many ways to decorate the base: paint, felt, or paper. For this pumpkin I chose brown felt and an 8″ roll. (I cut a paper towel roll down to 8 inches.)
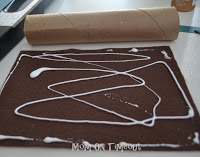
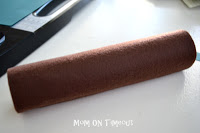 To cover your roll with felt, cut the felt as wide as the roll and then as long as it takes to cover the roll. It is okay if there is some overlap. Put glue on the felt and then roll the felt around the cardboard roll making sure to smooth the felt.
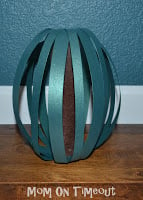
After deciding on the height of your pumpkin (mine ranged from 3 – 8 inches), pick out your paper. I used a variety of papers, all 12×12 inches. My favorite was the double-sided metallic teal paper. (If you don’t have double-sided paper and you don’t want the white showing, use a glue-stick to glue two pieces together. It really makes for some neat color combinations and gives the pumpkin some added dimension as well.)
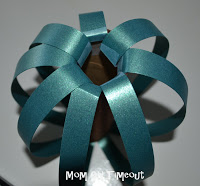
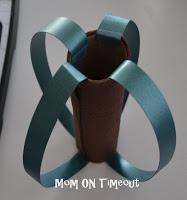
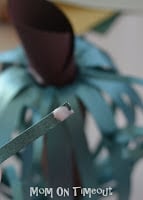
Cut your paper into strips. I used 3/4″ strips to start and then finished with 1/2″ strips but you can make them whatever width you want. Put a piece of tape on one of your strip of paper and press it firmly to the inside of the roll. Put a piece of tape on the other end of the strip and press it to the inside of the bottom of the roll. Keep repeating until your pumpkin has the look you desire.
The height of your roll will determine the size and shape of your pumpkin. A taller roll results in a taller, narrower pumpkin while a short roll results in a shorter, wider pumpkin.
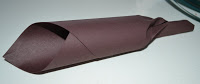
For the stem, I rolled up a piece of brown cardstock and stuck it in the opening at the top.
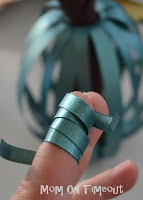
 I cut some thin strips of paper and rolled it around my finger creating some curl. I glued the tip of those strips and pressed it to the inside of the roll.
Here is the finished product:
Here are some others that we made…

I hope you get crafty this week and make yourself some “Scrappy Pumpkins”!
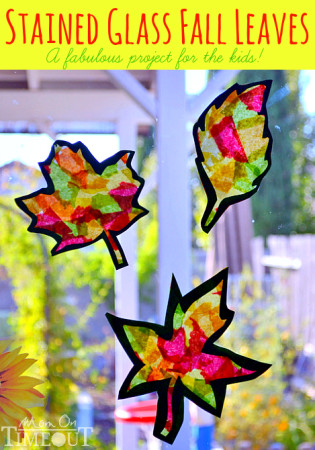
More Fall fun:
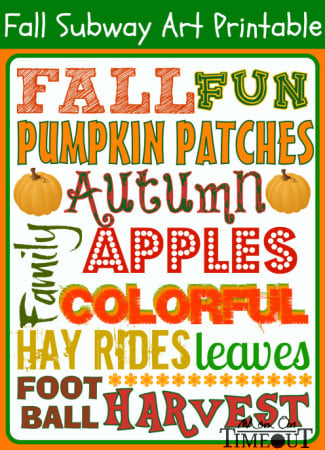
FREE Fall Subway Art Printable

Connect with me!


Twigs and Twirls says
I love the idea of the tp tube. This is a definate craft to do with my daughter
Catch A Falling Star says
Very cute idea!
It would be great for a preschool class.
Thanks for sharing!
Mandi says
I just wanted to tell you, since I’m so excited about how cute these pumpkins are, I’ve set up a scrappy pumpkin playdate for my 7-year-old tomorrow after dinner. He and his buddies are going to make a bunch of these guys! 🙂
Mandi says
These are some of the best scrappy pumpkins I’ve seen! Awesome job!
Mandi at BBM
Amy C says
I love that simmery paper you used, and the curly vines are so cute! I’m going to have to give these are try! Thanks for sharing. Visiting from TT&J.
Candace @ Candace Creations says
This project rocks how awesome and I love that it uses scraps!!!
Come link this up to scrappy saturdays tomorrow at http://www.candacecreations.blogspot.com!
Candace
Reflections from Granny says
Fabulous, I enjoy Fall decoration ideas and always look for new things, this is perfect.
Thank you for the great step by step tutorial.
🙂 Lori m
Coming from WhipperBerry’s Link Party
Melanie @ bear rabbit bear says
These are so cute. Thanks for sharing. Thanks for linking to Things I’ve Done Thursday.
Melanie
bearrabbitbear.blogspot.com
The mum of all trades says
Great idea! I’d love if you would share it at my blog party this weekend, hope you can make it!
Stephanie says
These are super cute! I love the metallic paper!
cheapcraftymama says
those are so cute!!
Courtney McAulay says
You are very talented! Thanks so much for stopping by at The Crazy Cute Link Party and linking up all your awesome projects! Looking forward to seeing you next week!
http://www.betweenuandme.com
Courtney McAulay says
I’m follower 150! Woot-woot! This is so awesome! I just love it! I would love if you would come share this at The Crazy Cute Link Party @ Between U & Me! 😀
http://www.betweenuandme.com/2011/10/crazy-cute-link-party-22.html
Kelley @ TheGrantLife.com says
(found ya on a link party)
These are awesome! Im going to have to try making these 🙂
Blog Hops Everyday says
Hello
I am a new follower. Please stop by and check out our new blog Blog Hops Everyday. Feel free to add your blog hop button if you have one and/or add our button to your site to help us grow. Thank you and Blog Hop Till You Drop!
Bobby
Your One Stop Blog Hop Shop
Blog Hops Everyday
A Mommy’s Blog Design Studio
The Blogger’s Guide to Online Marketing