A couple of days ago, Bryce and I were walking Reece to kindergarten and we noticed some acorns lying on the ground. Bryce picked them up and was playing with what he referred to as their “hats”. We collected quite a number of acorns in addition to the sticks that we pick up on a daily basis. (Bryce has to have a stick when walking his brother to and from school for some reason.) After playing with the acorns and sticks I started thinking about what we could do with them…
Acorns
Sticks/Twigs
Glue gun
Gold metallic paint
paint brush
vase
colored glass rocks
spray paint (optional)
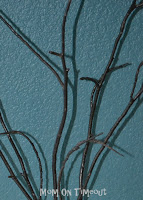
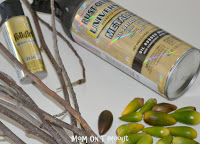
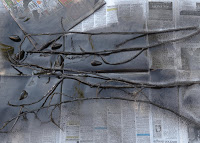 After collecting the sticks we spray painted them with some spray paint we had on hand. I also chose a handful of acorns to spray paint too. (I used RUST-OLEUM Metallic All-Surface Paint in Oil Rubbed Bronze.) It’s hard to tell but the metallic spray paint adds a lovely sheen to the branches. If you prefer to leave your sticks natural, just skip this step.
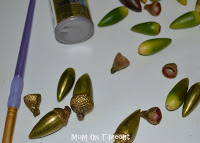
I took the rest of the acorns and painted them with a metallic gold acrylic paint.
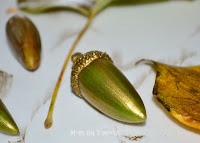
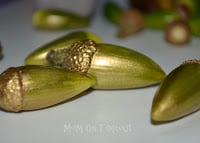
I could have stopped right here because these acorns are just beautiful with a light coat of the gold. You can see the green of the acorn peeking through – I think they are gorgeous!
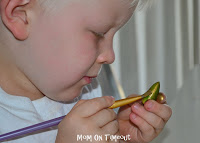
After picking up Reece from school, he saw what we had going on and wanted to help paint acorns. I think he did a great job.
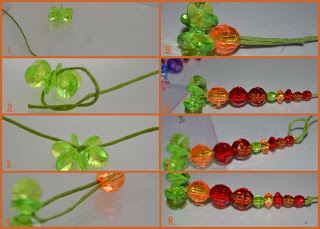
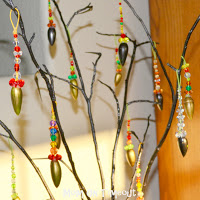
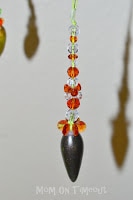
While the acorns and sticks were drying, I was figuring out how we could hang them from the tree. Many of the acorns were missing their “hats” so I made new hats using beads. The beads were so fun that I kept on going and you can see how they ended up looking. So pretty!
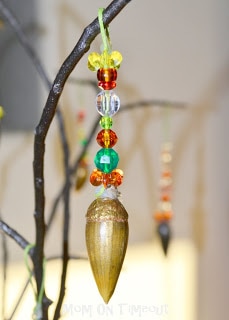
I started with a large bead and some string (I used braiding cord). I threaded the bead and then tied a knot. I continued threading beads until I achieved the length I wanted and tied a knot at the end to secure the beads.
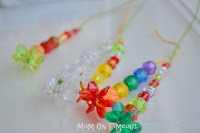
I made several at a time. The color of beads is up to you. I let my kids help me with some and I did some on my own.

Next I needed to make a loop at the end so I could hang the acorns from the “tree”.
I used my trusty glue gun (yes I roll with the mini) and put a small dollop of glue on the top knot and folded over the cord and pressed it onto the glue dot.
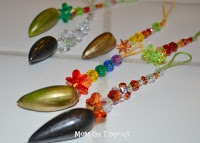
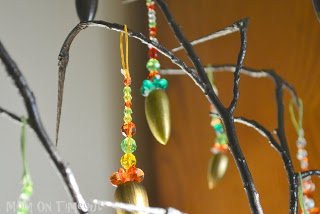
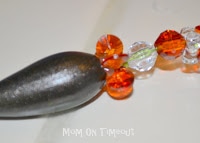 Finally I hot glued the acorns to the threaded beads and we’re ready to roll.
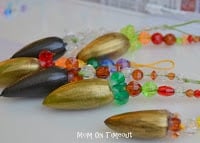 Here are the acorns all ready to be hung on the tree. I ended up making 15 altogether. I think a really fun spin on this would be to use letter beads and make one for each member of your family with their name on it.
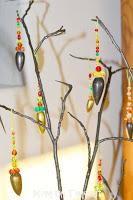
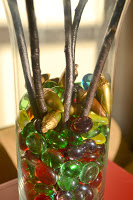
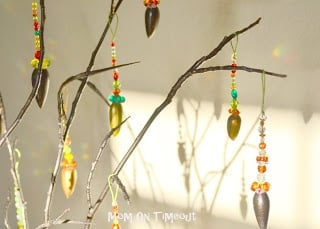
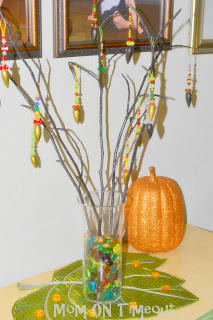
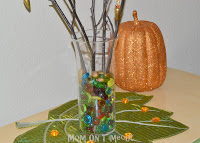
I used a clear glass vase from Dollar Tree and threw in some colored glass rocks and also some of my painted acorns. It’s unbelievable when the light hits it – I just love pretty things!
Here are some more pictures of my acorn tree for you to enjoy. I hope you will send me a picture of yours if you make one. I’d love to see what you come up with.
 Happy Acorn Hunting!


turkcell t20 says
Great images. Thank you for your share.
ekonomik yaşam says
Magnificent. Liked it.
türkiye ekonomi says
Fascinating. Liked it very much.
promosyon usb says
I love it. Thank you so much for sharing.
promosyon ürünler says
Thanks for great sharing. I like it.
Trish @MomOnTimeout says
@dogsmom That sounds loveley! Send me a picture if you make the wreath.
dogsmom says
Very pretty and sounds as if all had a fun time making them.
What amazes me most is the shape of your acorns. The ones near me are shorter, rounder.
I just picked up some acorn bells at the craft store yesterday. Now you have me thinking of decorating a wreath with natural acorns, acorn bells and brightly colored beads.
Thank you for the inspiration.
poindextr says
very clever – I love adding sparkle to natural elements – this is such a wonderful idea and looks beautiful grouped together the way you’ve made your arrangement 🙂
Brandi says
Very pretty! such a neat idea too! It’s always fun to get the kids involved!
Rachel says
What a fun project. I love how you made something from the stuff you’re kids bring home. Now I need to think of something to do with all those rocks my son collects!
Rachel
adventuresofadiymom.blogspot.com
Doreen Grace says
I love that picture of your son painting the acorns. So very sweet! Thanks for sharing this fall craft project. It looks like fun!