
After tackling Homemade Pasta Sauce last week I finally got up the courage to make my own jam. Turns out it’s super simple and fun! My sister is the jam and jelly maker in the family. She mixes and matches all kinds of yummy flavors: Cherry Almond, Apricot Plum, Blackberry Raspberry – you get the idea! I was always in complete awe of her as she would show me her cases and cases of jams that she had made. I rarely buy jam or jellies in the store because my sister has always provided me with such amazing homemade jams.
So the thing with jam or jelly is that your recipe will depend a lot on the type of pectin you use. They are all very similar but you always want to check your packaging to make sure you are following their recommendations. One tip my sister gave me was to add a little butter to reduce foaming and in fact that same tip was mentioned on my Ball Pectin packaging.
Now I realize that not everybody has a completely overloaded plum tree in their backyard like I do 🙂 Keep a look out at your local Farmer’s Market for markdowns on large quantities of fruit or really terrific sales at your favorite grocery store.
What You’ll Need:
Plums, lots of plums
Sugar, lots of sugar
Bottle Lemon Juice
Pectin
Butter
My measurements:
12 cups of prepared {chopped} plums
12 cups of granulated sugar
27 tsp {9 Tbls} of lemon juice
13 1/2 Tbls pectin
1/4 tsp butter
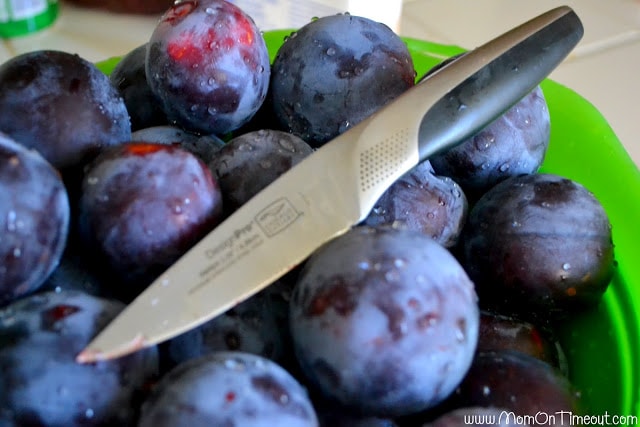
Step 1. Rinse the fruit. You want to start with really clean fruit because in this recipe we won’t be removing the skins -hallelujah! The skins mostly kind of dissolve during the cooking process and are unnoticeable in the final product. One less step for us and more vitamins and nutritional value in the jam!
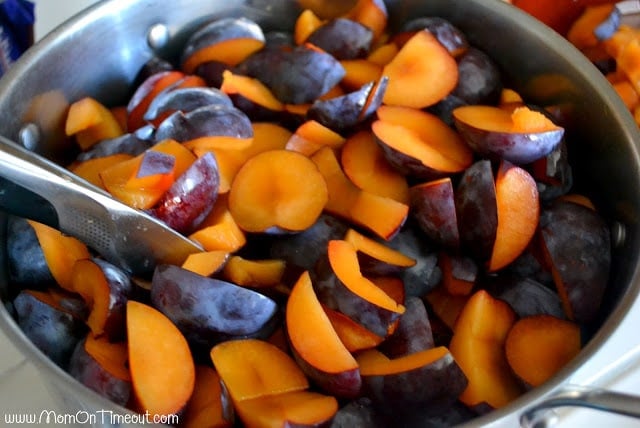
Step 2. Prep the fruit. Using a paring knife, remove the cheeks of the plum and then cut off the top and bottom. Make sure to pare away any bruises or other blemishes on the fruit. Cut the fruit into small pieces so they will cook down faster. Stir frequently
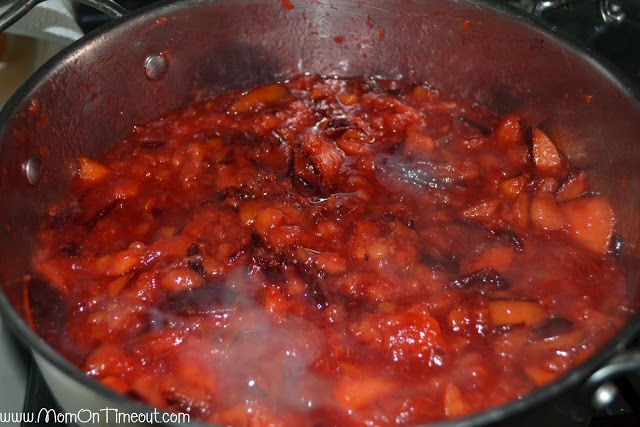
Step 3. Cook the fruit. Throw all of the fruit into a heavy-bottomed pot and start cooking. Add in the lemon juice now. For every 1 1/3 cups of prepared fruit, you need to add 3 tsp of bottled lemon juice. I let my fruit cook down for 10-15 minutes before adding in the pectin. Stir frequently.
Step 4. Add in the pectin and butter. Bring to a full rolling boil that cannot be stirred down over high heat. Stir constantly.
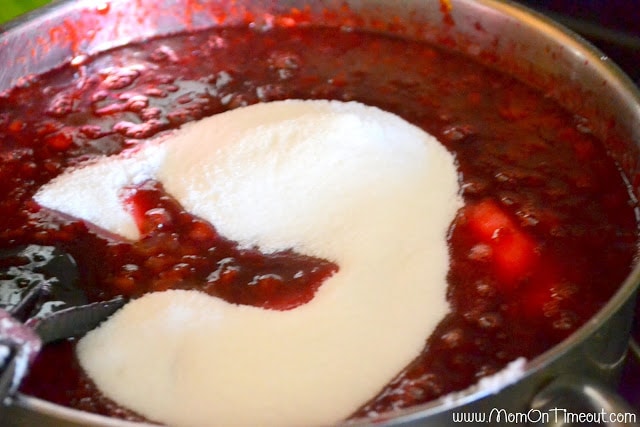
Step 5. Add the sugar. Stir to dissolve and return the mixture to a full rolling boil.
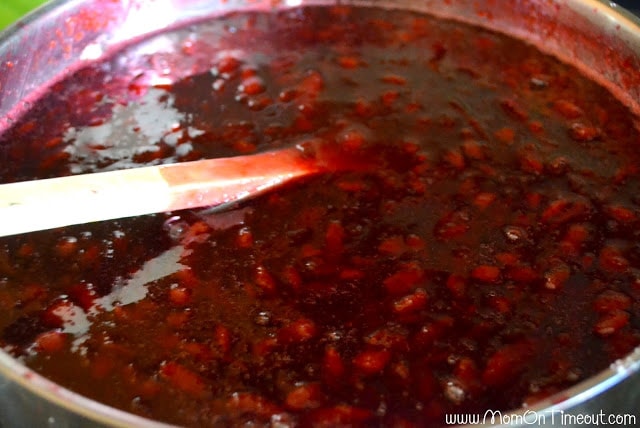
Step 6. Boil hard for EXACTLY ONE MINUTE stirring constantly and then remove from heat.
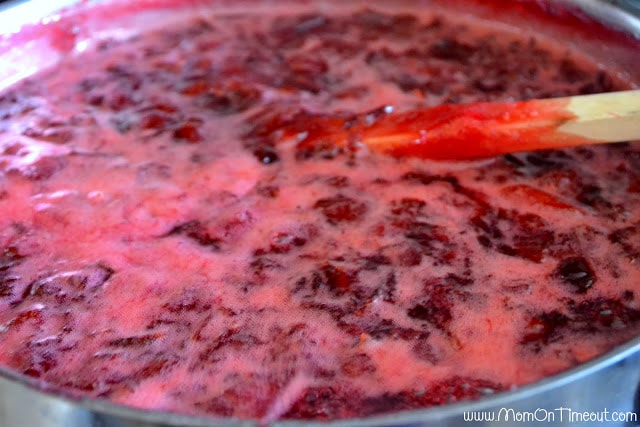
Step 7. Skim foam. I didn’t have a lot of foam but I noticed that what skins hadn’t dissolved were hanging out with the foam and they got tossed too.
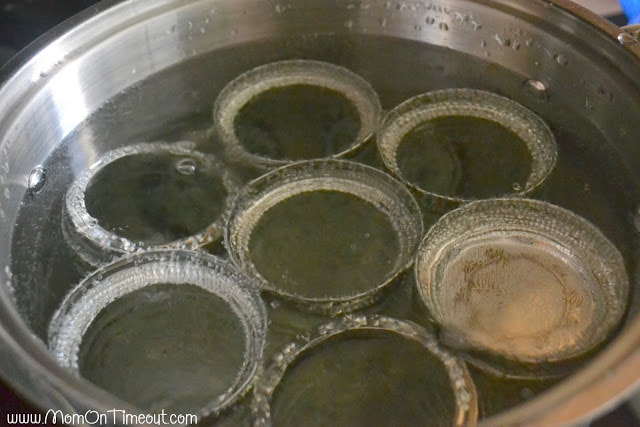
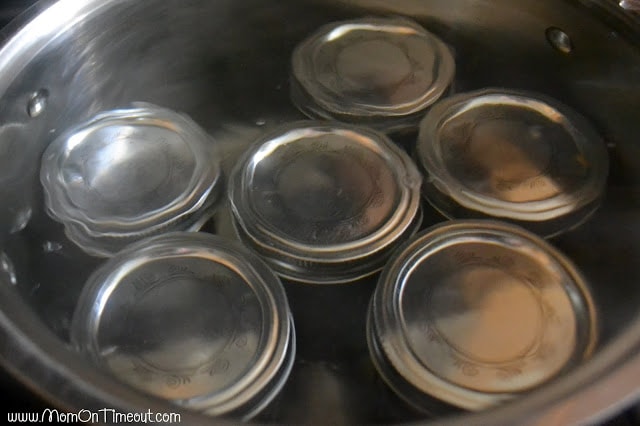
Step 8. Prepare the waterbath canner, jars and lids. This should be done while the jam is being made. I boiled all components to make sure they were sanitized completely. I know many people run them through the dishwasher and that’s fine too.
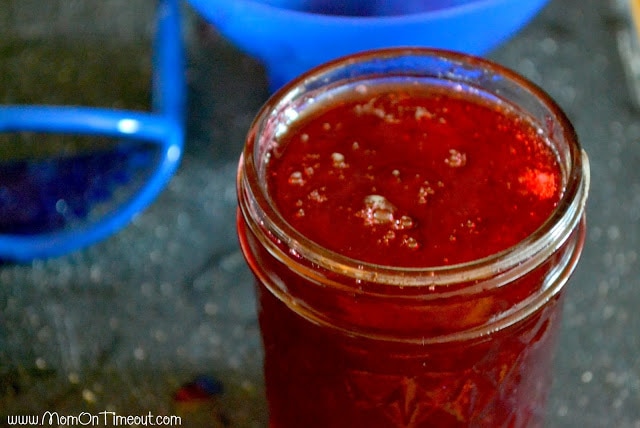
Step 9. Ladle the hot jam into the hot jars using a funnel. Trust me. Funnels keep the mess to a minimum and keep you from getting burned. Handle all jars with care because they are HOT. Leave 1/4 inch headspace and wipe the rims of the jars. Place the lids on the jars and finger tighten the bands.
Step 10. Next it’s time to place the jars in the canner. The jars need to be covered by at least 1-2 inches of water. Place the lid on the canner and bring water to a boil. Process the jars for 10 minutes and then turn off the heat. Let jars stand for 5 minutes before removing.
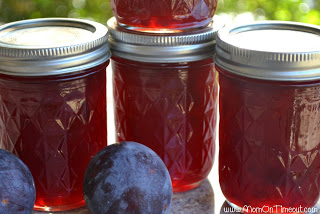
Let the jars cool for 24 hours. Check the lids for a proper seal by pressing on the center. The lid should not flex at all. Loosen the band to prevent any moisture from being trapped and store. You’ve just jammed!

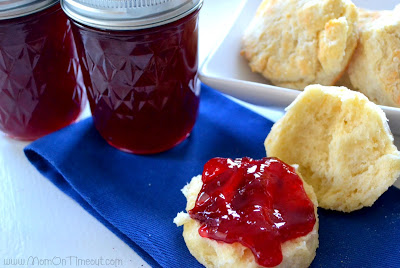
We’ve already enjoyed our Homemade Plum Jam on many PB&J sandwiches and had some on Perfect Biscuits this morning – yum! I’d love to know if any of you can and what sorts of things you make. I’m really starting to get into this 🙂
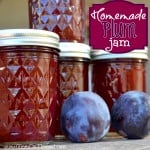
Homemade Plum Jam
I finally got up the courage to make my own jam. Turns out it’s super simple and fun!
Servings 24 jars
Calories 454kcal
Ingredients
- 12 cups plums prepared, chopped
- 12 cups granulated sugar
- 9 tbsp lemon juice
- 13 1/2 tbsp pectin
- 1/4 tsp butter
Instructions
- Rinse the fruit. You want to start with really clean fruit because in this recipe we won’t be removing the skins -hallelujah! The skins mostly kind of dissolve during the cooking process and are unnoticeable in the final product. One less step for us and more vitamins and nutritional value in the jam!
- Prep the fruit. Using a paring knife, remove the cheeks of the plum and then cut off the top and bottom. Make sure to pare away any bruises or other blemishes on the fruit. Cut the fruit into small pieces so they will cook down faster. Stir frequently.
- Cook the fruit. Throw all of the fruit into a heavy-bottomed pot and start cooking. Add in the lemon juice now. For every 1 1/3 cups of prepared fruit, you need to add 3 tsp of bottled lemon juice. I let my fruit cook down for 10-15 minutes before adding in the pectin. Stir frequently.
- Add in the pectin and butter. Bring to a full rolling boil that cannot be stirred down over high heat. Stir constantly.
- Add the sugar. Stir to dissolve and return the mixture to a full rolling boil.
- Boil hard for EXACTLY ONE MINUTE stirring constantly and then remove from heat.
- Skim foam. I didn’t have a lot of foam but I noticed that what skins hadn’t dissolved were hanging out with the foam and they got tossed too.
- Prepare the waterbath canner, jars and lids. This should be done while the jam is being made. I boiled all components to make sure they were sanitized completely. I know many people run them through the dishwasher and that’s fine too.
- Ladle the hot jam into the hot jars using a funnel. Trust me. Funnels keep the mess to a minimum and keep you from getting burned. Handle all jars with care because they are HOT. Leave 1/4 inch headspace and wipe the rims of the jars. Place the lids on the jars and finger tighten the bands.
- Next it’s time to place the jars in the canner. The jars need to be covered by at least 1-2 inches of water. Place the lid on the canner and bring water to a boil. Process the jars for 10 minutes and then turn off the heat. Let jars stand for 5 minutes before removing.
- Let the jars cool for 24 hours. Check the lids for a proper seal by pressing on the center. The lid should not flex at all. Loosen the band to prevent any moisture from being trapped and store. You’ve just jammed!
Nutrition
Calories: 454kcal | Carbohydrates: 117g | Protein: 1g | Fat: 1g | Saturated Fat: 1g | Cholesterol: 1mg | Sodium: 18mg | Potassium: 137mg | Fiber: 2g | Sugar: 108g | Vitamin A: 285IU | Vitamin C: 10mg | Calcium: 7mg | Iron: 1mg


Rayne Herzog says
May I ask what the butter is for and if you can make the recipe without it?
Kristina says
I make my plum jam a little differently. I mix black and red plums together – about 3 lbs and about 1.5 cups of sugar. You can always add more to taste towards the end of the cooking process. I caramelized the sugar first a little before doing some red wine (the alcohol mostly cooks out but leaves a nice flavor behind) and the cut up plums. I cook the whole thing continuously stirring for 2 hours with a bottle of pectin. I usually don’t see much foam and I don’t get rid of the skin either because I like that tart flavor of it. Besides, after 2 hours of cooking the skin is very tender. Finally I fill the jam in glasses.
Little tip: if you want to cut the cooking time in half cut up the plums and freeze them for a few days. Then thaw them out overnight before making the jam. It makes the somewhat hard plums super soft and easy to cook.
Karen Alcala says
Last year I canned homemade salsa and this I did your pasta sauce but with some variations, I added zucchini….It turned out awesome.
We bought a box of pears from the eastern slope of Colorado and did canned pears!! Haven’t tried them yet
Trish - Mom On Timeout says
Love it! I wish I had pears to can – we LOVE pears 🙂 I actually have a pear tree but I’ve never had any fruit from it. I’m crossing my fingers for next year 🙂
Elizabeth says
Just made plum jam tonight! Turned out wonderful! I realized half way through that I didn’t have enough pectin, so I cooked the plums down and added only about 2/3 of the pectin and it seemed to turn out just fine. I also had 18 cups of plums from our tree, so I just added an extra half of the original recipe! Thank you for the great recipe! 🙂
Trish - Mom On Timeout says
You are so welcome Elizabeth! So glad you gave it a try!
Dawn says
Love plum jam. Plum ANYTHING! Since I do can and make jams, I’m ready for the season.
Trish - Mom On Timeout says
Ours are almost ripe this year. My sister’s tree ripened last week and she brought some of hers over while we are patiently waiting 🙂 Well not too patiently! Can’t wait! Thanks for stopping by Dawn!
Michele says
How pretty is that jam? It looks delish too! I’ll try it out over the winter, thanks for sharing. Here is my latest canning project.
http://mrsgardengirl.blogspot.com/2012/10/fire-roasted-red-peppers.html
SherryBee says
I’ve never had Plum jam! Wish I had a plum tree now! hehehe
I’be been making prickly pear jelly the past few years! LOVE it! I’ve even made syrup with it, and since, the prickly pear has so many health benefits, I freeze some of the juice *before any processing* in ice cube trays…we add it to our juices, and wine! AWESOME…It also takes the citric-y taste out of lemonade..gives it a totally different taste.
I’ve enjoyed my visit to your blog!
SherryBee in AZ
Bethany@http://thislittleestate.blogspot.ca/ says
I was searching for a way to use my plums from the market and came across your blog! I cant wait to try this recipe! You take beautiful pictures and do a lovely tutorial. Cant wait to look around more!
Maria says
Mmmm your jam looks wonderful! My grandma always used to make plum jam and it was one of my favorites, I’ll have to give it a try too one day! Yours looks great!
Our Pinteresting Family says
This looks amazing! I’ve never had plum jam. Megan
allisamazing says
Oh yummm, it has been years since I have tasted plum jam!
Jessi @ Practically Functional says
Yum, I’ve really been wanting to can some stuff and make some jam recently, so this is perfect! Thanks for sharing at The Fun In Functional!
Laurel Leaf Cottage says
Your jam looks wonderful!! Your pictures are great too and thanks for breaking it down step by step. I make jam occasionally, but then I always get freaked out and think it has botulism or something, so I usually end up throwing most of it out! Weird I know!! I’m now following you! =)Deanna
Micki Sellers says
yum yum! I did plum jam last week. And, I also did a strawberry plum. Substitute out maybe 1/4 of your plums for strawberries. it’s amazing 😉
Katie Adams says
Oh how I love plum Jam! I have never made it myself but a good friend at work always gives us a jar at Christmas time. So yummy! Thanks for sharing!