This Easy Homemade Pasta Sauce recipe is a great way to use all those fresh veggies in your garden! Not into canning? No worries, this sauce can be frozen in ziploc bags as well!

Our tomato plants have been quite prolific this year. Early last week I walked out to the garden and was greeted with so many red-ripe tomatoes and absolutely no plans for using them. I decided right then and there to confront my fear of canning and tackle this head-on. Why am I afraid of canning? First off – why is it called canning when everything is being put into a glass jar? How do you know if you’ve “canned” properly? What if I waste all my time and it doesn’t taste good? The list goes on and on. So the first thing I did was do some research. I found tons of recipes online and then I started getting to the good stuff that actually answered all my questions. Once I found out the methods behind the madness I felt more comfortable and went for it!
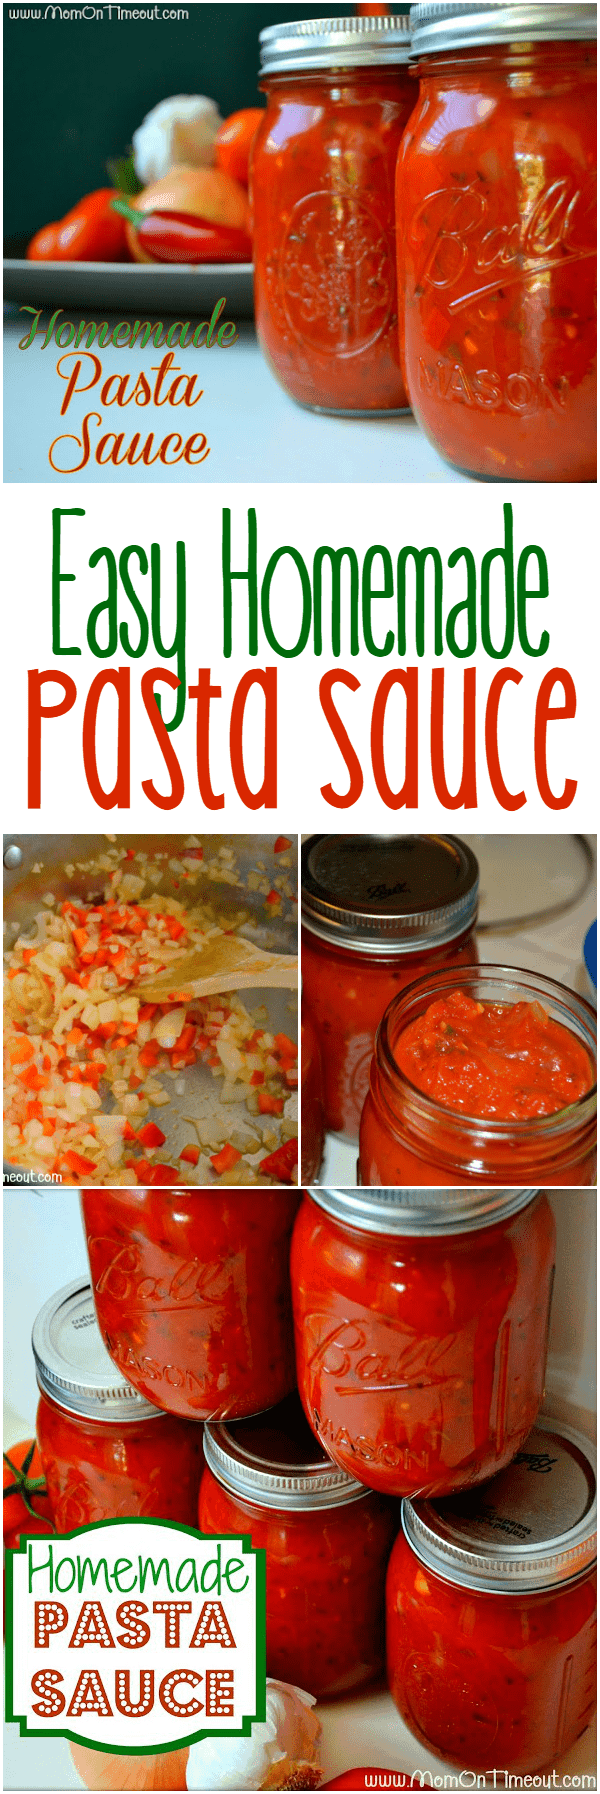
{Not into canning? No worries! Just make up the sauce and freeze in freezer bags.}
Ingredients {resulted in 5 pints of sauce plus a little extra}:
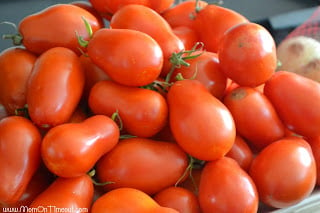
15 lbs of tomatoes (I used mostly Roma)
2 med onions, chopped
1 red bell pepper, chopped
5 cloves of garlic, minced
1 Tbls vegetable oil
2 Tbls fresh basil
1 tsp salt
1/2 tsp black pepper
1 Tbls sugar
1 tsp dried parsley
1/2 tsp red pepper flakes (optional)
2 Tbls dried oregano
2 bay leaves
dash of Worcestershire sauce
1 small can of tomato paste {optional; use if your sauce is not thick enough for you}
1/4 c lemon juice (from a bottle; used to acidify)
Directions:
Add the tomatoes and let them cook for 10-15 minutes before adding all the other ingredients. Stir to combine and let simmer until the sauce has cooked down to your desired thickness. If you want to use a masher to speed the break-down of the tomatoes that’s totally fine. Mine took a little over an hour to get nice and thick but it will totally depend on the type of tomatoes you are using and the amount of liquid you start with.


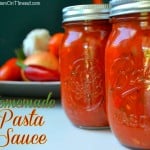
Homemade Pasta Sauce
Ingredients
- 15 lbs tomatoes I used mostly Roma
- 2 onions medium - chopped
- 1 red bell pepper chopped
- 5 cloves garlic minced
- 1 tbsp vegetable oil
- 2 tbsp fresh basil
- 1 tsp salt
- 1/2 tsp black pepper
- 1 tbsp sugar
- 1 tsp dried parsley
- 1/2 tsp red pepper flakes optional
- 2 tbsp dried oregano
- 2 bay leaves
- 1 dash Worcestershire sauce
- 6 oz tomato paste 1 small can - optional; use if your sauce is not thick enough for you
- 1/4 cup lemon juice from a bottle; used to acidify
Instructions
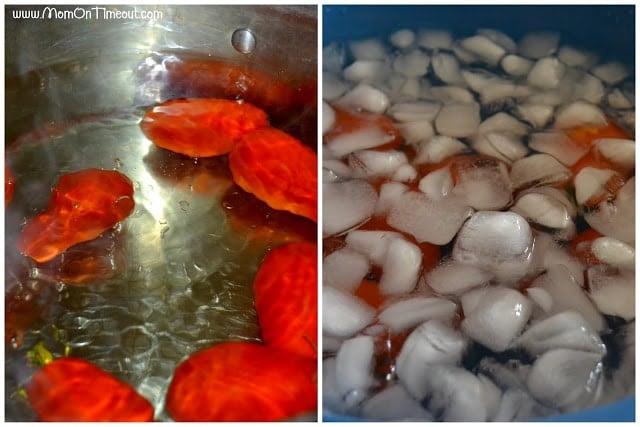
- First we are going to remove the skins. Get a pot of water boiling and prepare an ice bath {a large bowl filled with ice and water}. Submerge the tomatoes {5-6 at a time} in the boiling water for about 45 seconds. Immediately remove to the ice bath. The skin can now be removed very easily - most of my tomato skins just slid right off!
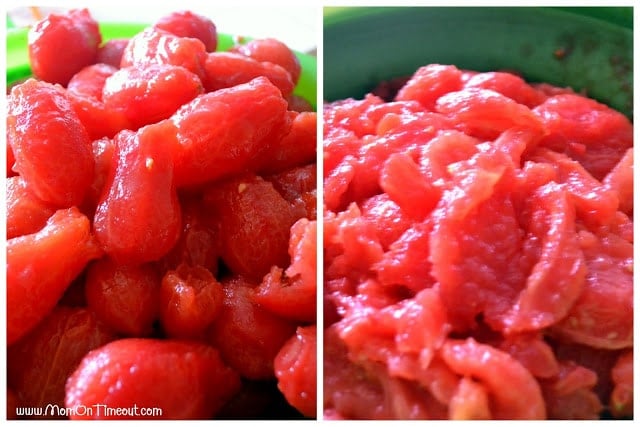
- Next up is removing the seeds and excess tomato juice. I'm sure there is a more technical way to do this, such as cutting open the tomatoes and scraping the seeds out, but how I actually did it was to use my hands to open the tomato up and shake those seeds out. Once I removed the seeds and squeezed the tomatoes to get rid of the juice, I placed the tomatoes into a colander so more tomato juice could drip out. Why get rid of the tomato juice? Because we're looking for a nice thick sauce and the longer you cook the tomatoes letting the juices evaporate, the more vitamins we lose from the tomatoes. By ridding the tomatoes of excess liquids early on, we actually cut down on the cooking time and increase the nutritional value of the sauce. Pretty smart huh?
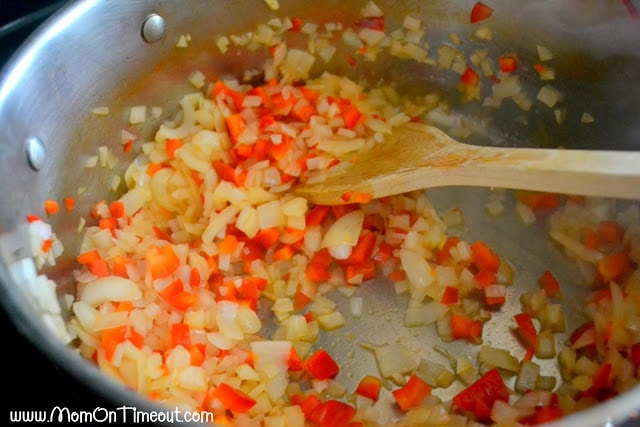
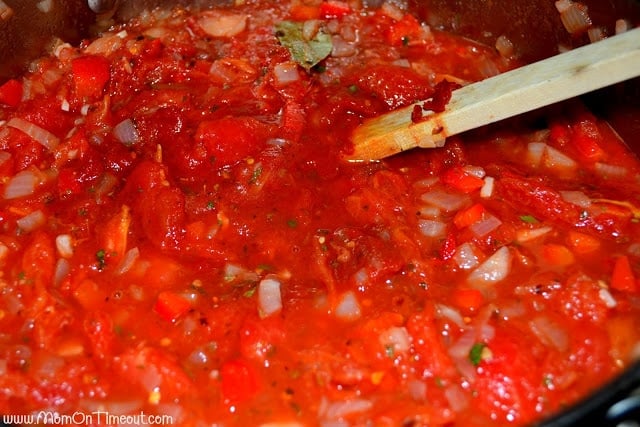
- Saute the onions and peppers in the oil in a large pot for several minutes until they are translucent and soft. Add in the garlic and saute for another few minutes.
- Add the tomatoes and let them cook for 10-15 minutes before adding all the other ingredients. Stir to combine and let simmer until the sauce has cooked down to your desired thickness. If you want to use a masher to speed the break-down of the tomatoes that's totally fine. Mine took a little over an hour to get nice and thick but it will totally depend on the type of tomatoes you are using and the amount of liquid you start with.
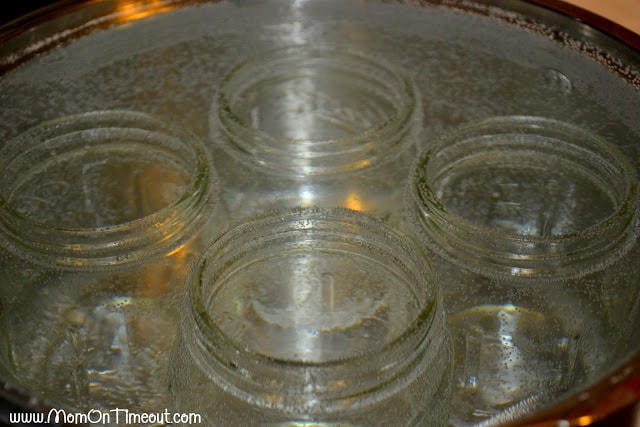
- Before canning it's important to sterilize every utensil, jar, and lid you will be using. I read a lot about people using their dishwasher but I like to see my water boiling so I know it's really doing what it's supposed to. I used my canning bath to sanitize my jars and then it was ready to go for the actual canning process.
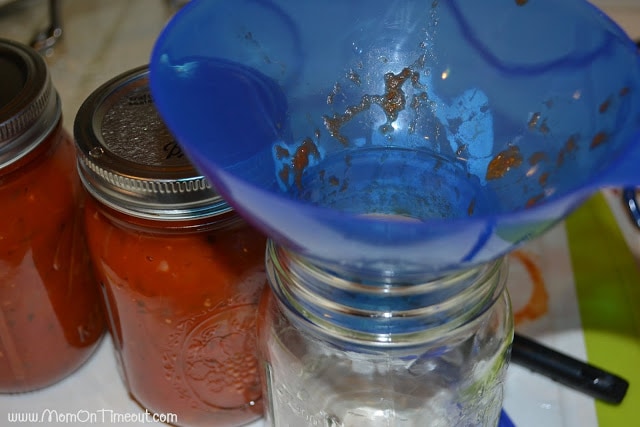
- Once everything has been sterilized you will want to set up your jars and funnel. The jars should still be warm/hot and the sauce going into it should be hot as well. Get the canning bath up to a full boil while you are filling your jars. I found the funnel to be indispensable. It made the process so easy and kept the mess to a minimum. {Trust me, there is enough of a mess with all those tomato skins!} Note: If you are freezing your sauce, just let the sauce cool and ladle into freezer bags, remove all the air, and freeze.
- Once the jars have been filled to within 1/4 inch from the top, wipe the top of the jar with a towel to remove any sauce that may get in the way of a tight seal. Place the lid on and hand-tighten the ring. Now the filled jars go into the canner where they need to be covered with at least 1 inch of water - the more the better! Keep that water boiling for the entire duration of the process. For pints you need to have the jars in a boiling water bath for 35 minutes and 40 minutes for quarts. If at any time the water stops boiling for any reason, start your time over again.
- When the time is up lift the jars out of the water using jar tongs and let them cool. DO NOT touch the jars, bump the jars, move the jars, for 24 HOURS. The rings can then be removed or loosened so they do not rust in place. Once the jars have cooled you can verify that they have sealed properly by checking to see if the lid has been sucked down. Press lightly in the center and if the lid pops up and down - it did not seal. Put the jar immediately into the fridge and you can still use it. All of mine successfully sealed so you shouldn't have a problem.
Nutrition


M Higgins says
I used this recipe and really liked it! The sauce has a very nice taste! I used beefsteaks and did use the paste — it turned out really well. I wanted to confirm though if the 15lbs of tomatoes is supposed to be the picked weight or the weight after cleaning skins, stems, seeds, etc? Thank you!
Trish - Mom On Timeout says
That was the picked weight for me. Thanks so much!
Linda Smith says
I had an abundance of Roma tomatoes from the garden and followed your recipe. I was only able to make 4 cups of sauce!!! I think another time I might not seed the tomatoes after peeling them and see if I can get more out of my Roma’s!
alarmsinwindows says
Thank you so much for your help and this wonderful recipe.
Jhon Simth says
Do you see the kind of the lemon squeeze in your sauce? I typically weight can my sauce since I don’t include corrosive, in addition to I utilize a huge amount of new herbs and Merlot! I might want to have a go at including the corrosive on the off chance that it doesn’t adjust the flavor excessively, with the goal.
fireboy and watergirl 4 says
I would be happy if you could help us.
Alicia Hoffman says
Can’t think of a better way to spend a Saturday afternoon than watching BIG 10 football and canning the remnants of our garden’s seemingly infinite supply of tomatoes! This sauce is easy to make, beautiful, and delicious. Thank you for such a wonderful day, Trish!
Ann S. Foster says
nice any more uppdate plz contact me
Jen says
I got 11 pints out of 1 batch.. I do not have a scale to weight the tomatoes.. Will it still be good?? All the jars sealed.. The sauce taste good.. I followed the recipe but like I said I can not weight the tomatoes.. I used 2 peck baskets but they were not full..
Windows tech support says
Awesome post, this recipe is best for the making the sauce. thanks for sharing the post.
safari support says
i tried this recipe and it was damn tasty