Find out just how easy it is to remove those pesky labels from jars! Here are two easy ways to remove jar labels!
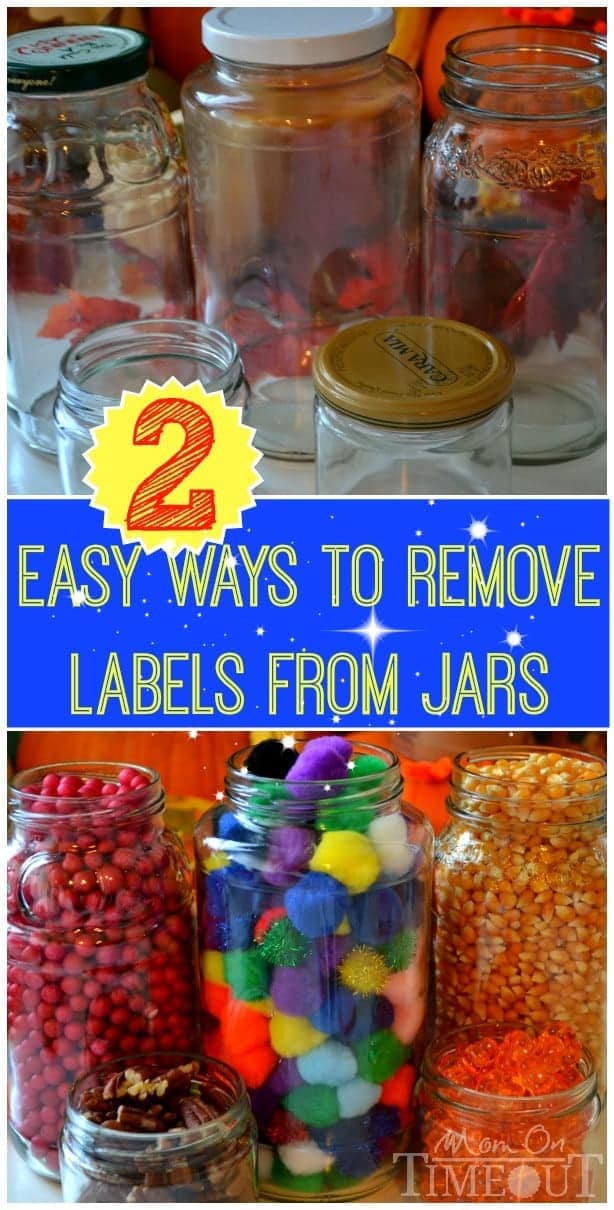
The holidays are just around the corner and to me that means more crafts. Glass jars are a great way to recycle for not only craft projects but are wonderfully useful for storage, rustic vases, and even for cleaning solutions.
Cleaning the labels and the sticky residue off of jars can be an intimidating and time-consuming process. I’m sure we’ve all tried peanut butter, vinegar, hot water, soap, dishwasher, oils, etc. The list goes on and on when you ask people how they remove their labels. I’ve tried a variety of methods and have narrowed it down to the two that I find most effective and efficient. You pick which one works for you!
Gather up several jars at a time to be more efficient. I like to do lots of different sizes and shapes – some of the jars even have really beautiful designs on them.
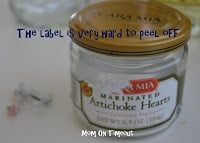
For each method, remove as much of the label as possible first. An easy way to get the adhesive to release is to fill the jar with really hot water. Be careful when handling the jar and don’t burn yourself!
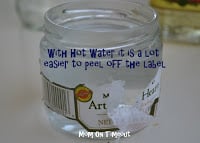
Let the jar sit for a few minutes so the adhesive can turn more to a liquid and then start gently peeling off the label.
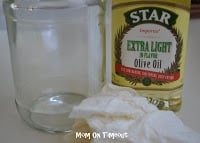 First Method: Olive Oil
Olive Oil is my favorite method because it’s eco-friendly and is super easy. Pour a couple drops of oil onto a paper towel and rub at the remaining residue from the label. Keep rubbing until all residue is gone. This should only take a minute or two. Make sure to wash your jar afterward to get the oil off. I just run mine through the dishwasher.
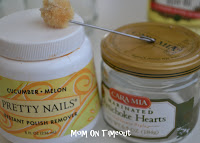
This method is actually a little faster than the olive oil but you have to deal with the fumes from the nail polish remover. (You can see here that I combat this issue with “cucumber melon” scented remover 🙂 ) Pour the polish remover onto a paper towel or use the applicator if yours came with one. Scrub away at that label and adhesive and it will just slide right off. Quick and easy! Again, make sure to wash the jar afterwards.
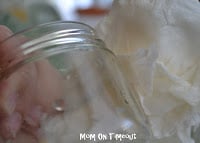
These two methods are fail-proof. I have never had a jar label that I couldn’t remove using one of these two methods. Next time you are about to throw out a glass jar think of how easy it is to re-use it and try one of these methods. Let me know what you think.






Anonymous says
I usually just use water, but on the hard to remove residue I usually use a little WD-40. Of course, you want to wash the jar well after, but it gets rid of the glue. WD-40 is also great for getting bumper skickers, and the like, off of cars/etc.
Doreen says
Hi there – hopped over from More The Merrier! I love re-purposing glass jars, but it seems the labels are really tough to get out these days. So, thanks for the tips. I can’t wait to use the gazillion jars that await me…..
altered-artworks.blogspot.com
c.w.frosting says
I’ve tried a bunch of cumbersome methods but never the 2 you described! Definitely going to try the olive oil. Thanks for sharing!!
-caroline @ c.w.frosting
Jennifer @ The Brilliant Crafty Type says
Great tip! Thanks!
HI THERE! says
Great tips to remember! I HATE removing labels from jars (and price tags from purchases!) Thanks so much for sharing at The Creative Spark. I’ll be featuring this on my facebook page. Enjoy your Sunday!
Jenn 🙂
SJ @ Homemaker On A Dime says
Just to let you know that this is the fave blog post of the week at the Creative Bloggers’ Party & Hop 🙂 This will be featured tomorrow. Really appreciate you linking up to CBPH.
EvA. . . says
wow this was so helpful! thank u so much!
Andrea @ Frugally Sustainable says
This is perfect:) I am seriously loving your post! It is so informative and I think my subscribers would really enjoy reading this. I would love for you to come share it at Frugal Days, Sustainable Ways on Frugally Sustainable (http://frugallysustainable.blogspot.com/2011/11/frugal-days-sustainable-ways-2.html). I really hope that you will put Frugal Days, Sustainable Ways on your list of carnivals to visit and link to each Wednesday!
Warmly,
Andrea @ Frugally Sustainable
Here’s the link: http://www.frugallysustainable.com
folkhaven says
Olive oil, of course, yet I never thought of it on my own! Thank you!
Shay says
I needed this! Thanks! Shay 🙂 http://raisingdieter.blogspot.com/
Andrea @Oasis Accents says
Awesome tips! Thanks so much for sharing at Sunday’s Best =)
KelliB says
This is great tip, wish I would of known this when I was taking off wine labels for our wedding and putting ours on. It was a process. I would love for you to share this at Totally Inspired Tuesdays at The Inspired Collection!
Kelli
http://www.theinspiredcollection.blogspot.com
Pati @ A Crafty Escape says
Great tips! I will definitely put them to some use. I just had to go to Goodwill this week to get jars because I didn’t have any ‘clean’ ones at home.
G Inspires says
Thanks for the tips, I am definitely going to try them! Visiting from Creative Bloggers Party Hop!
Cathy @My 1929 Charmer says
This is great, I swear they don’t want you to get the labels off, I think they sitting therein corporate world laughing at us knowning we are struggling with the labels. But alas, now we know how to remove them. thanks for sharing at Sunday’s Best, you come up with the best stuff.