
Materials Needed:
Walnut Half Shells
Felt (gray, red, black)
cotton balls
glue
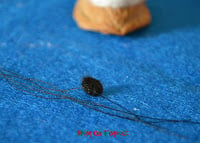
black thread
small googly eyes
Directions:
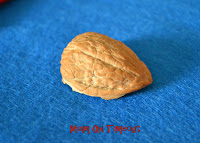
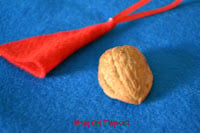
First clean out your walnut shells. It was necessary for me to sacrifice one half of each shell in order to extract a complete half of a shell. You may be a better nut cracker than me though 😉
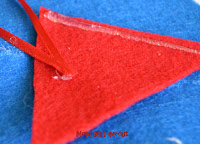
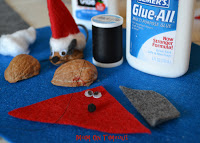
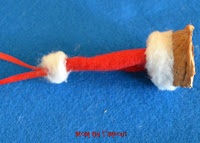
 Cut a length of ribbon for the hanger. Glue the ends together. Cut a triangle from the red felt. Glue two sides together, with the hanger inside, to make the Santa hat.
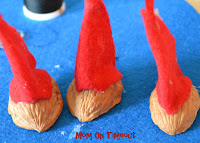
Glue to the top of the walnut. Make sure to leave enough room at the front of the walnut for the nose, whiskers, and eyes.
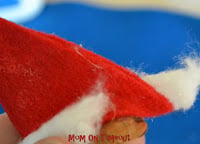
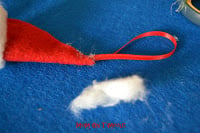
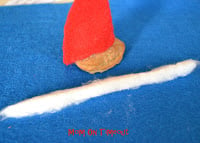 Unroll the cotton ball and pull out a length of cotton to use for Santa’s hat. Glue the cotton around the base of the hat covering up the seam between the felt and the walnut.
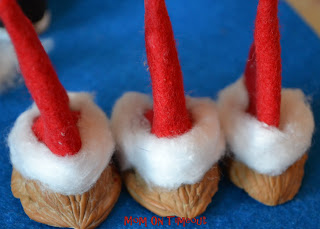
 Pull off another small amount of cotton and glue it to the top of the Santa hat.
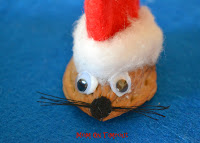
 Time for the nose and eyes. Cut out a small circle from the black felt. Cut lengths of black thread for the whiskers. Glue on to the tip of the walnut. Glue on googly eyes.
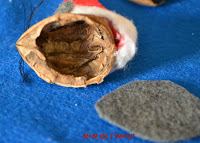
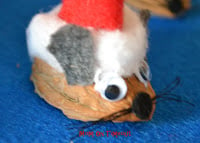 Cut out small ears from the gray felt and glue on. Trace the bottom of the walnut onto the gray felt and cut out. Cut out the body shape and a tail at the same time.
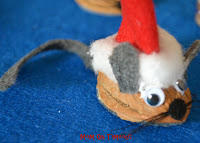
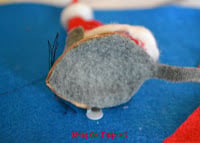 Glue onto the bottom of the walnut and you’re done!
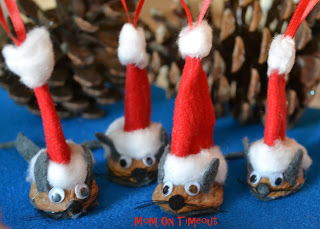
I made four little mice for our family and Bryce hung them on the tree for me today. Aren’t they cute??


Connect with me!
Facebook | Twitter | Pinterest | Google+ | RSS
Linking up here, Home Stories A2Z, and My Repurposed Life.


Noreen says
These are so cute! I have a couple to hang on my tree each year, too, that have been hung many times before.
Trish - Mom On Timeout says
I just love mine! They add a bit of nostalgia to our tree each year 🙂 Thanks for stopping by Noreen!
Chatty Chics says
Adorable. I’ll have to make these next year with my son! So stinking cute! Thank you for sharing!
Melody
ChattyChics.com
The Sunshine Crew says
Love these! Pinned them to my Crafts board on Pinterest. Second pin this morning from your lovely blog. So glad I discovered your blog through Sunday Showcase. Am going to subscribe so that I will get your daily posts.
Have a great day!
Colleen
🙂
Steph @ Crafting in the Rain says
Cute! My kids would love this!
OhioMomPatriot says
Just adorable! Thanks for the tut!
Artsy VaVa says
These are so cute!
Judy says
My kids are going to love this. I have to show it to them and I’m sure they are going to want to make these. Thanks for sharing at DIYbyDesign.
Carrie says
Thank you for sharing them at Sharing Saturday, Trish! Merry Christmas!
Anonymous says
what a cute idea.. have such a fun I am your newest follower!! If you would like to follow me to that would be so wonderful! I actually have a giveaway going on right now. So you will have to check it out. Its $70.00 worth of mineral makeup…
-Brooke
blushboutiquestyle.blogspot.com
Trish@MomOnTimeout says
@Megan I sure haven’t but it sounds like I need to! Thanks for letting me know about them and have fun with the craft. Merry Christmas!
E @ Act Fast Chef says
I love this! It reminds me of my childhood too. thank you for sharing 🙂 Stopping by from the Southern Institute linky
Trish@MomOnTimeout says
@Karan Thank you! My son just moved them to his little tree in his room 🙂 He likes them!
Trish@MomOnTimeout says
@Cheryl Thanks Cheryl! Don’t forget the nutcracker! (Actually I used some tools from the garage 😉 )
Karan says
Oh my those are just the cutest little mice. Love them.
Karan
Cheryl says
So darling! Must go find some walnuts! Squeak squeak! I’m pinning this…