
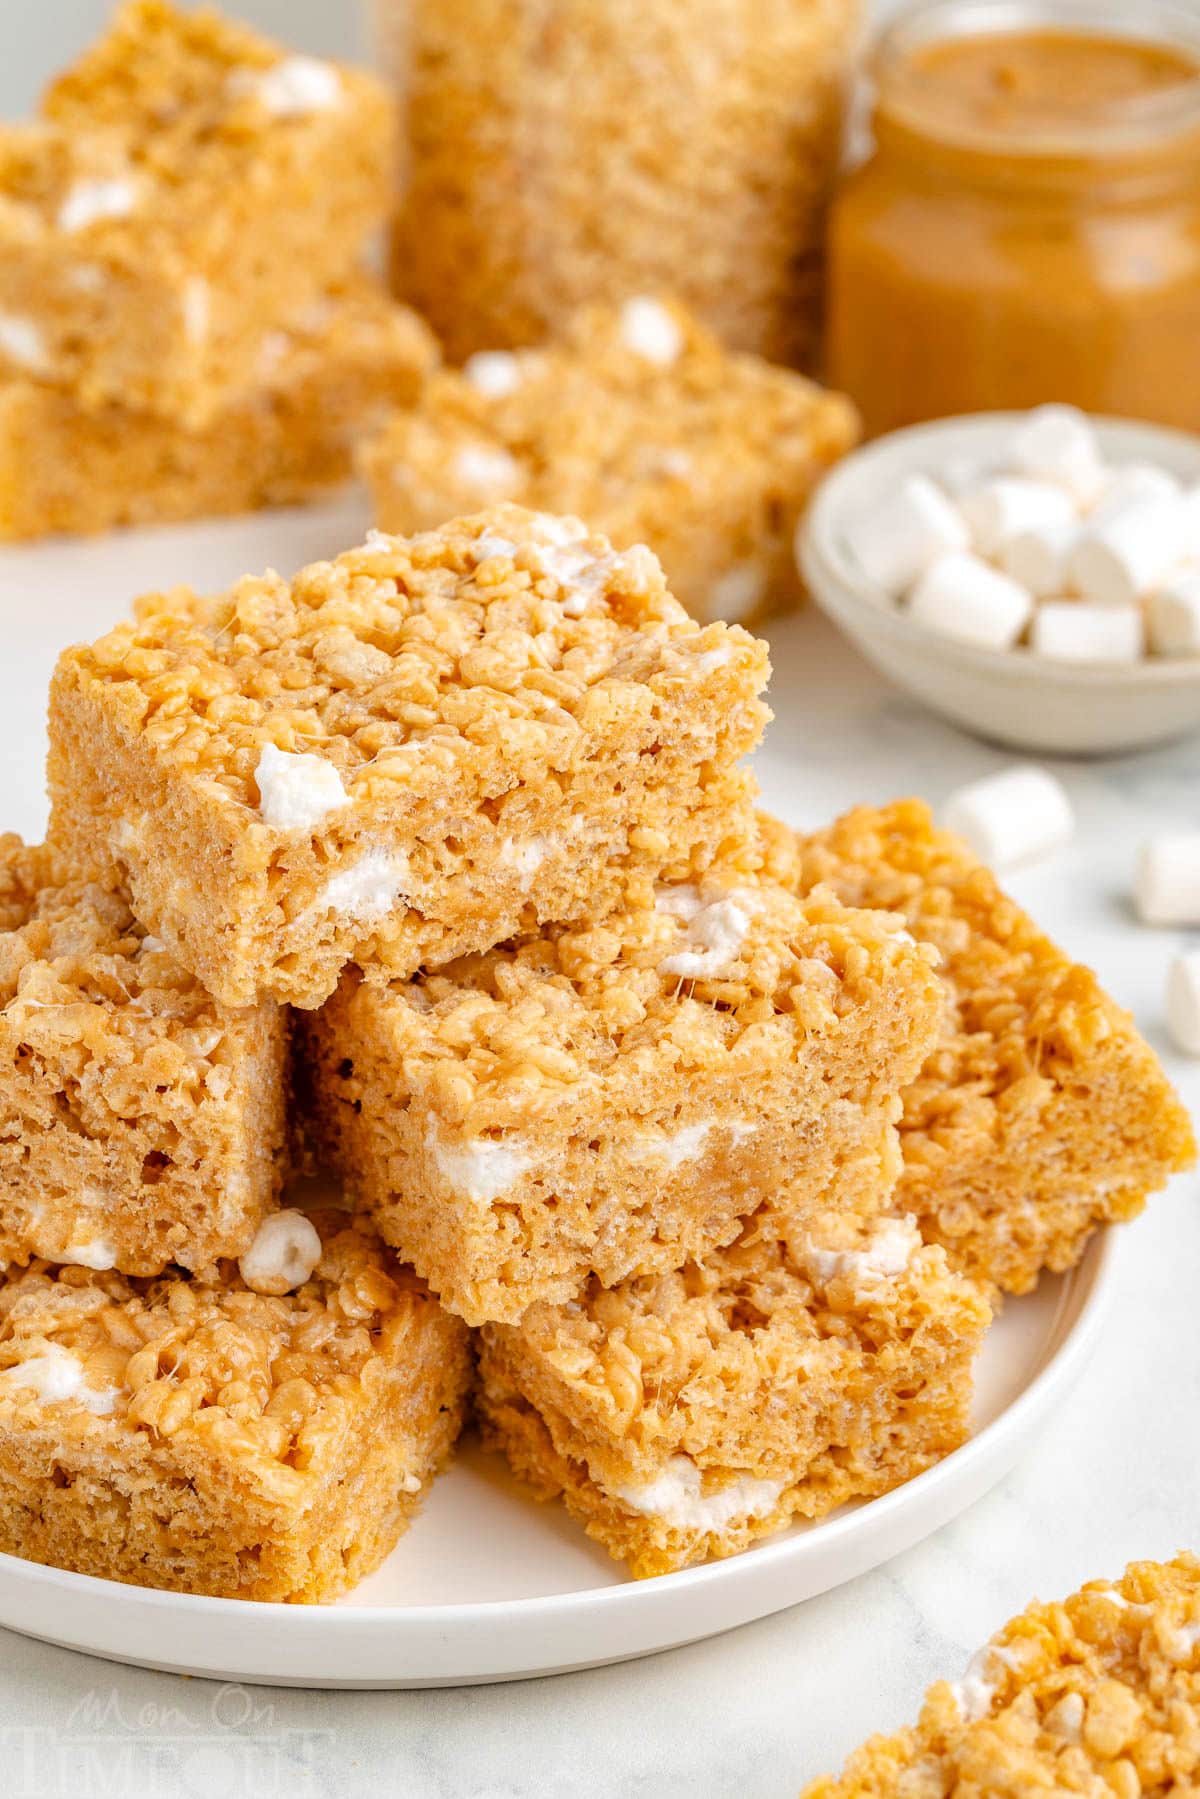
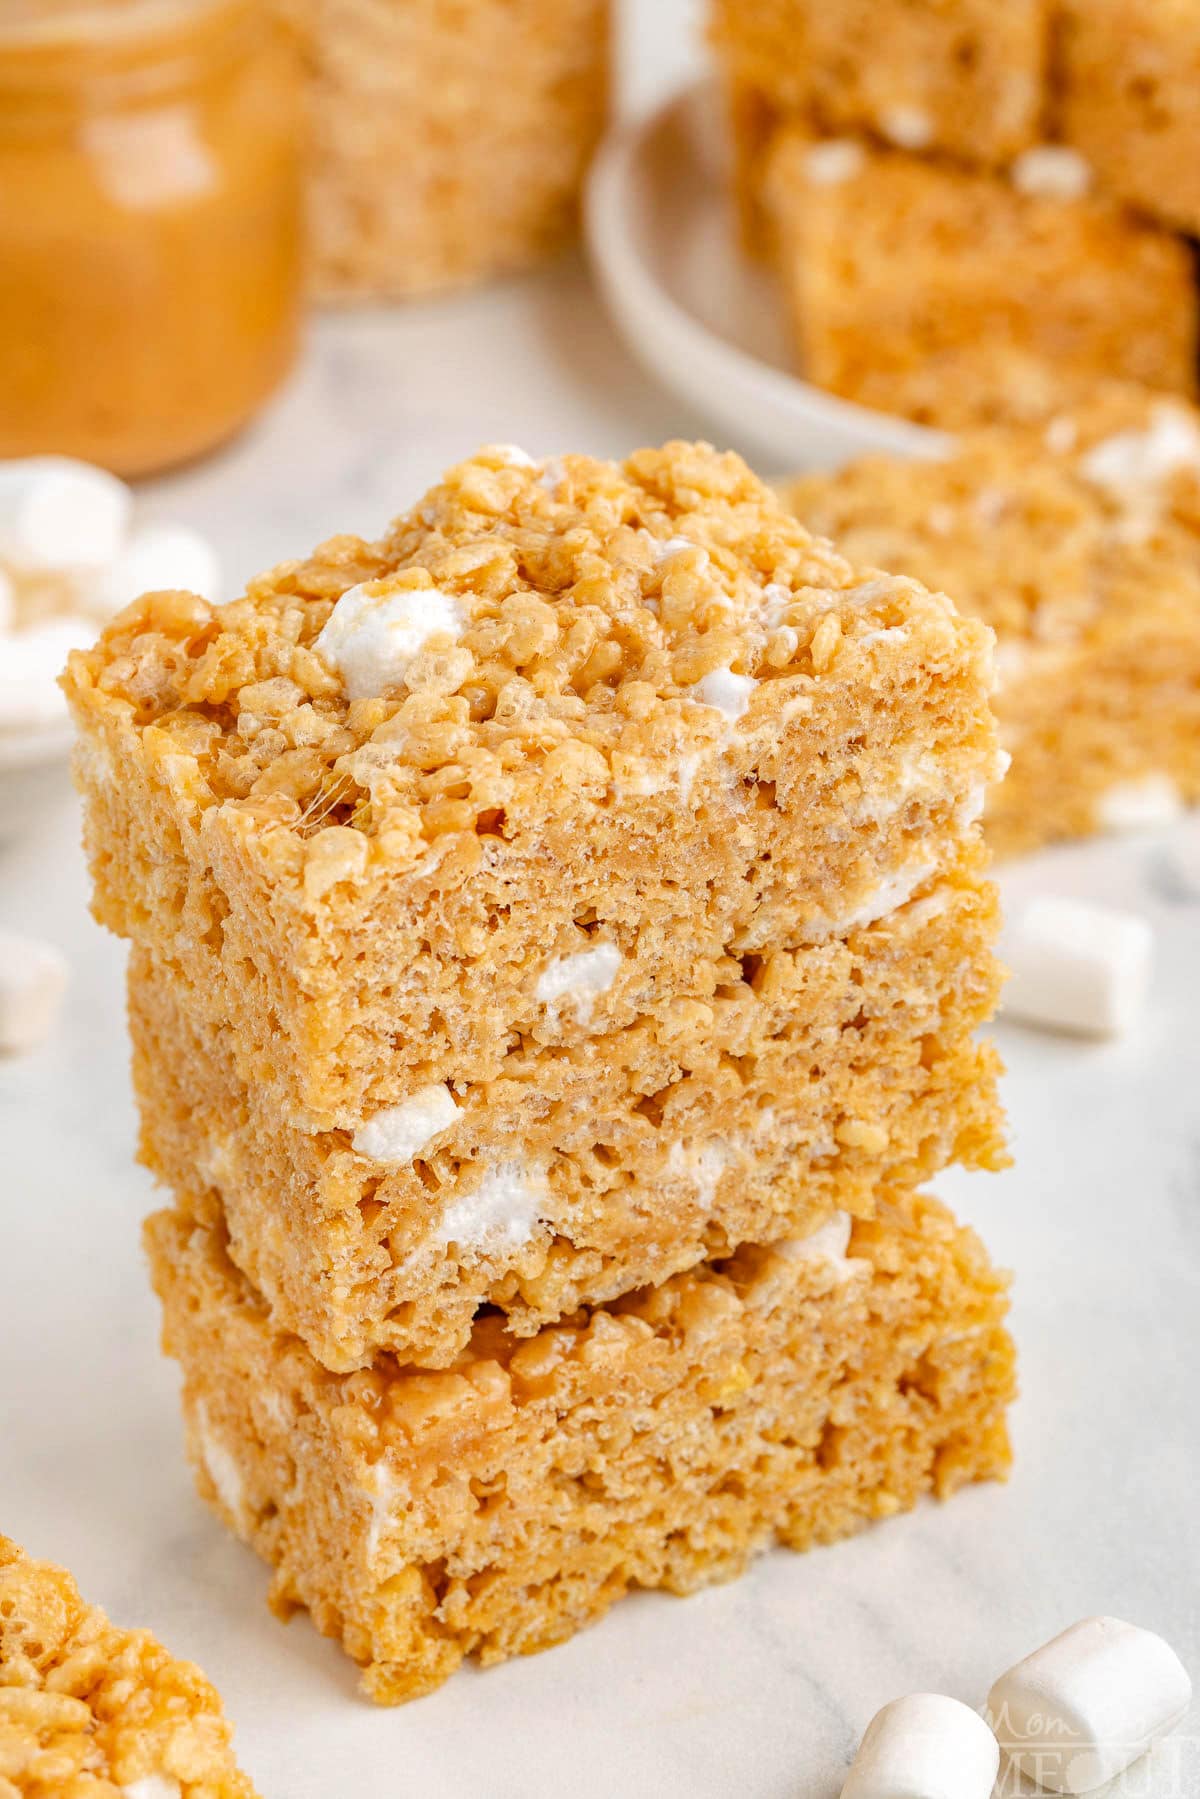
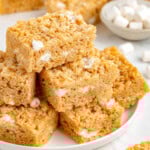
These Peanut Butter Rice Krispie Treats are soft, chewy and packed with rich, peanut butter flavor! These irresistible treats come together fast and deliver big on flavor – a quick and easy no-bake treat that is always a hit! Perfect for after-school snacks, bake sales, parties and more!
Love rice krispie treats? Make sure to try my Lemon Rice Krispie Treats, S’mores Rice Krispies Treats Pinwheels and these Rainbow Rice Krispie Treats!
Peanut Butter Rice Krispie Treat Recipe
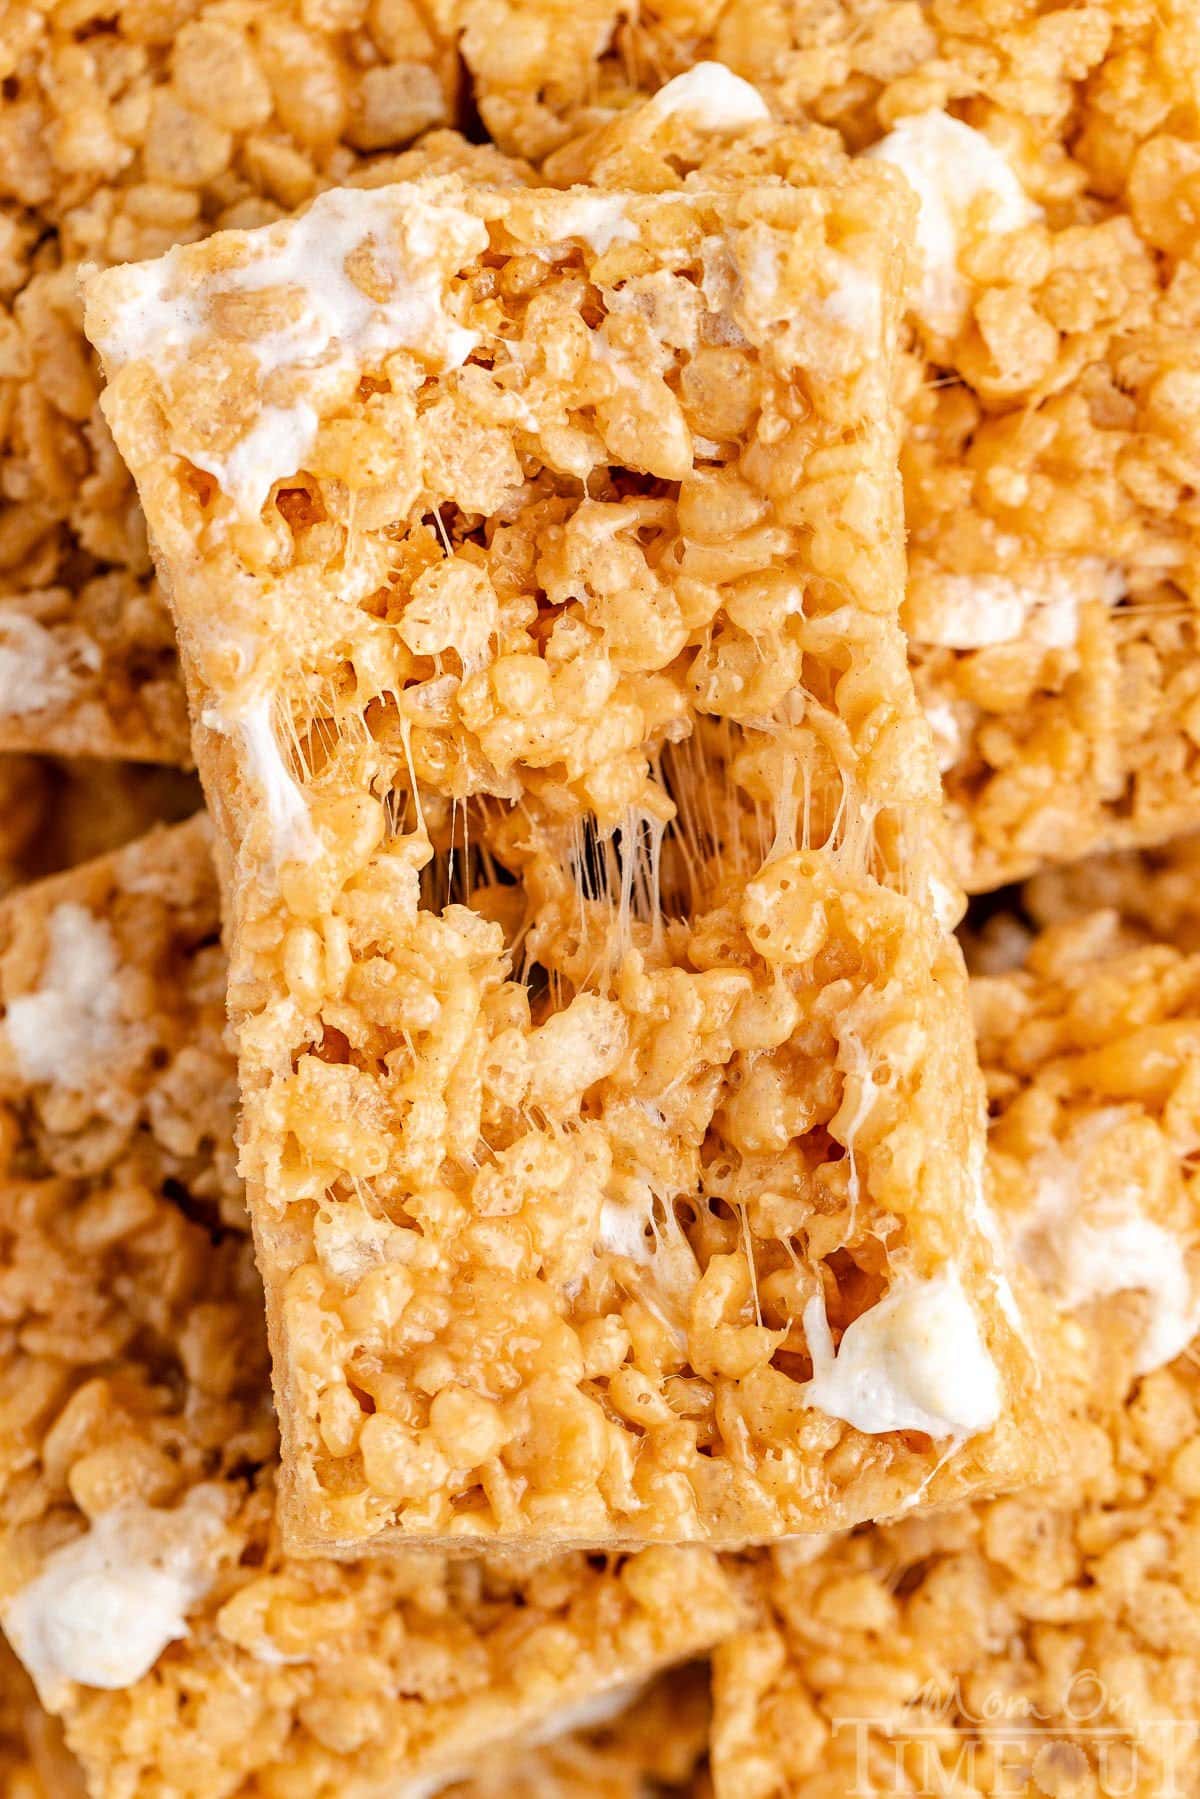
These Peanut Butter Rice Krispie Treats take the classic to the next level with creamy peanut butter and extra mini marshmallows for added gooeyness, softness and texture. This classic no bake treat uses pantry staples and comes together quickly which makes them perfect for after-school snacks, bake sales, or anytime you need a quick and satisfying treat!
Combining creamy peanut butter with gooey marshmallows and crispy rice cereal, ensures these treats are soft, chewy, and packed with rich, nutty flavor. With extra marshmallows folded in at the end, each square stays soft and fluffy with just the right amount of sweetness in every bite.
Why You’ll Love This Recipe
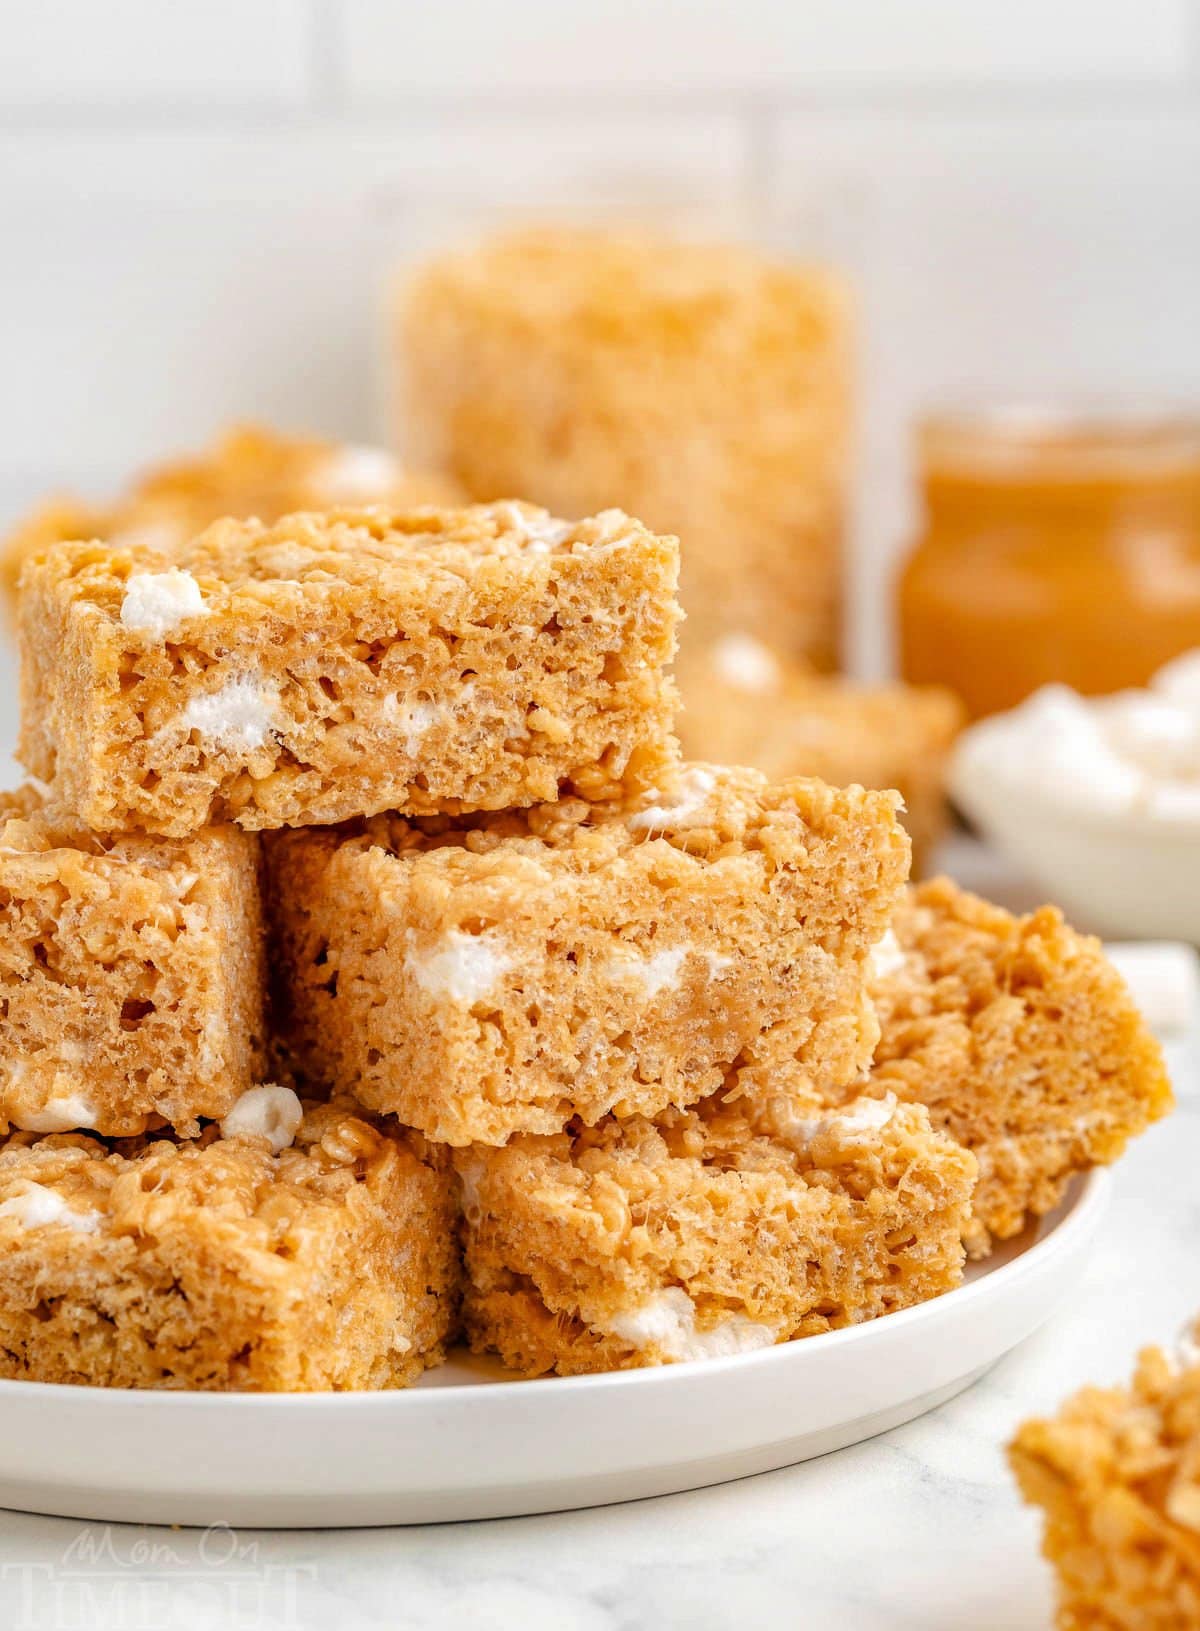
With the perfect blend of peanut butter and gooey marshmallows, this no-bake peanut butter Rice Krispie Treats recipe is a deliciously nostalgic treat with a creamy, crunchy upgrade. Simple, sweet and oh-so satisfying!
- Quick & Easy – Just one pot, no oven and ready in minutes which make this peanut butter rice krispie treat a go-to when quick and easy treats are required.
- Simple Ingredients – You’ll love that this recipe uses pantry staples you likely already have on hand. Easier to satisfy those peanut butter cravings!
- Family Favorite – I’ve yet to meet a kid or kid-at-heart that didn’t love these peanut butter treats – the perfect addition to any occasion!
What You’ll Need
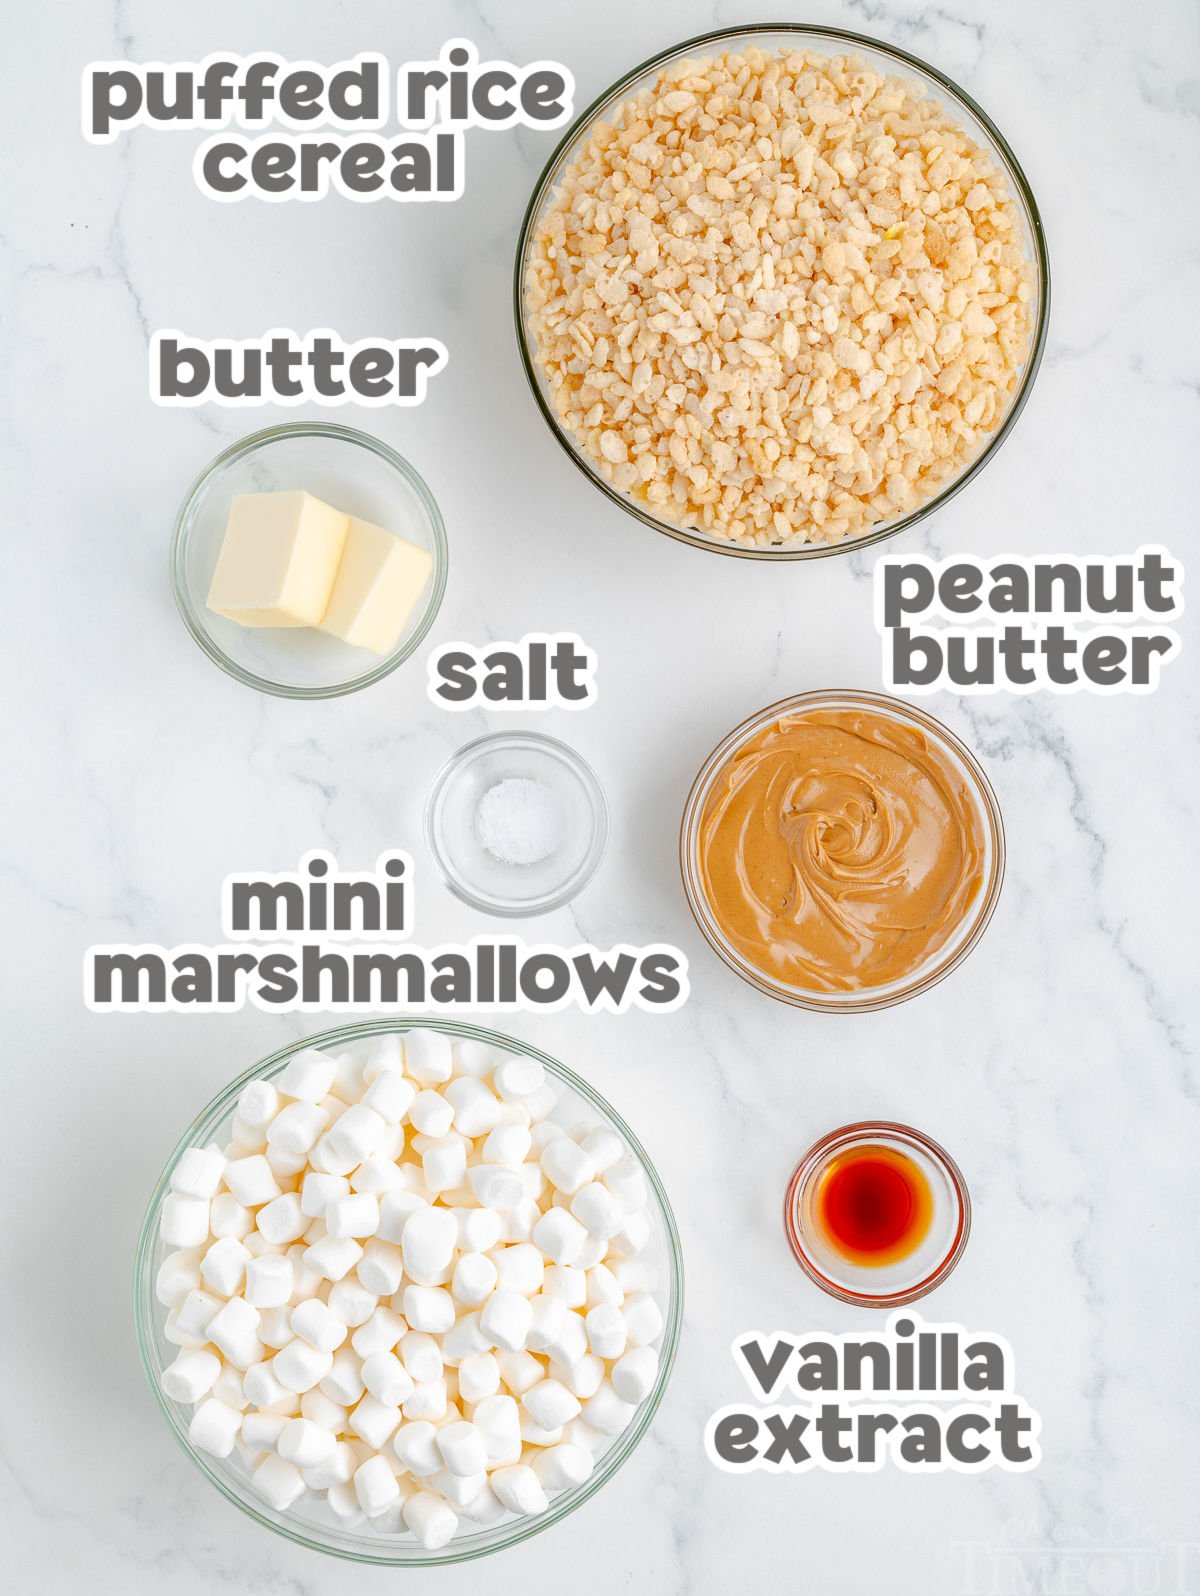
- Creamy Peanut Butter – Brings in that big peanut butter flavor and creaminess. We recommend a non-natural peanut butter for the best results in this peanut butter rice krispie treat recipe.
- Vanilla Extract – Enhances the overall flavor with warm, sweet notes – use the good stuff!
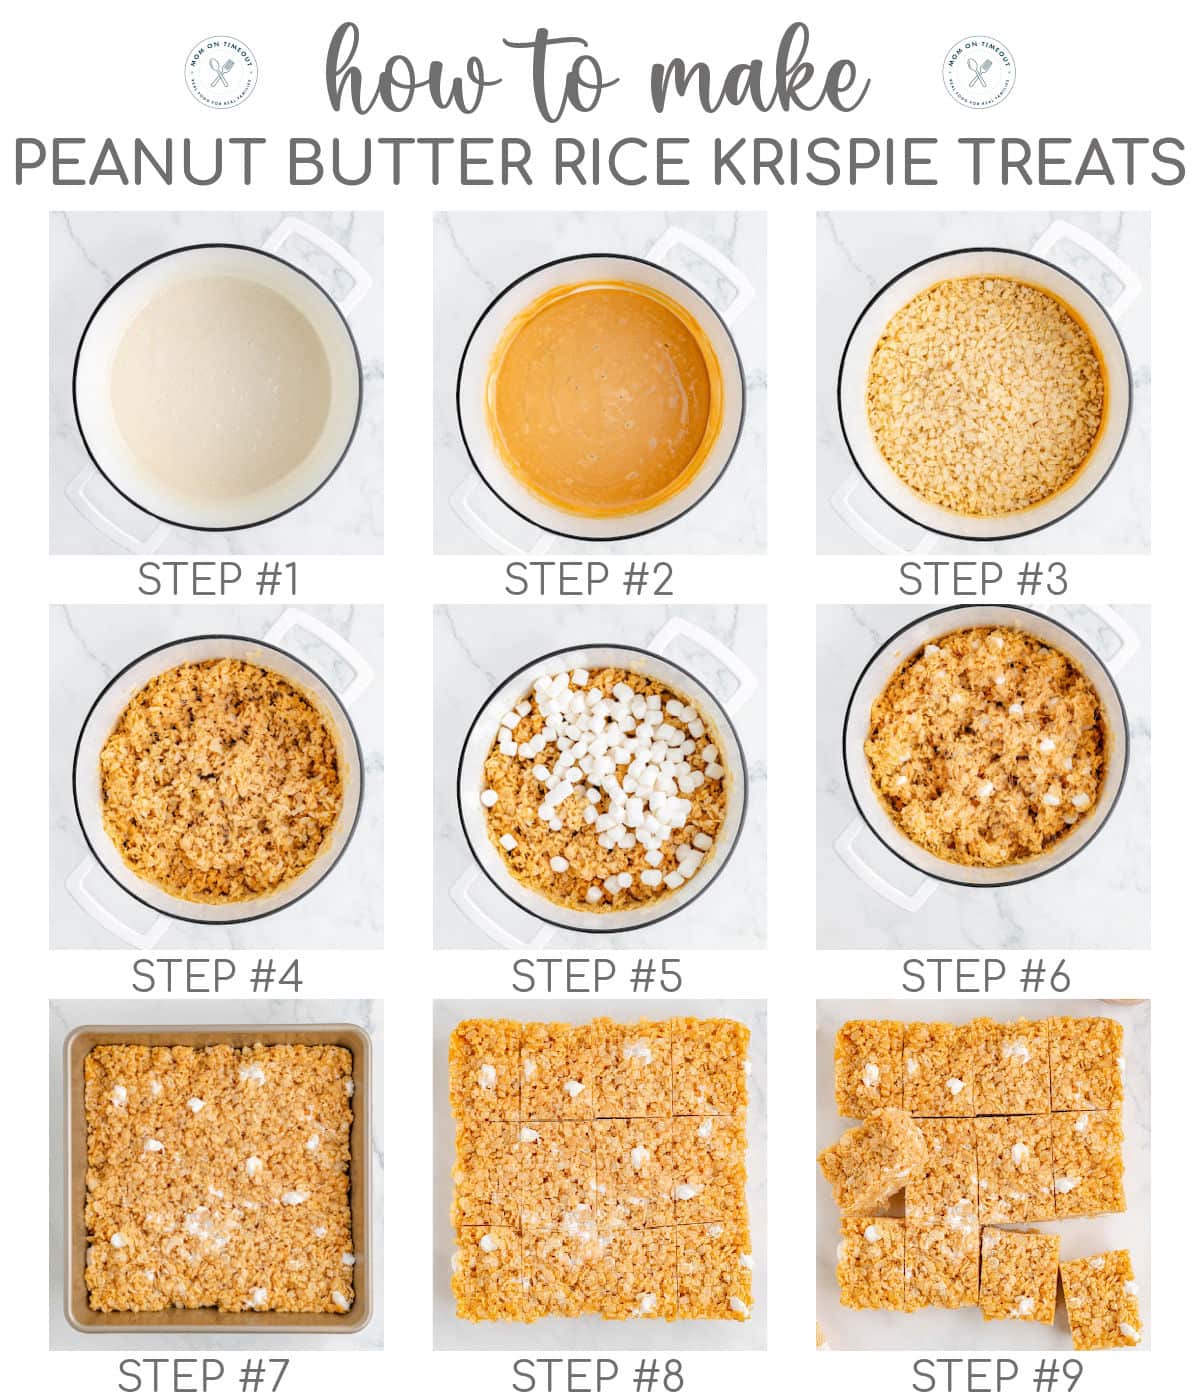
How To Make Peanut Butter Rice Krispie Treats
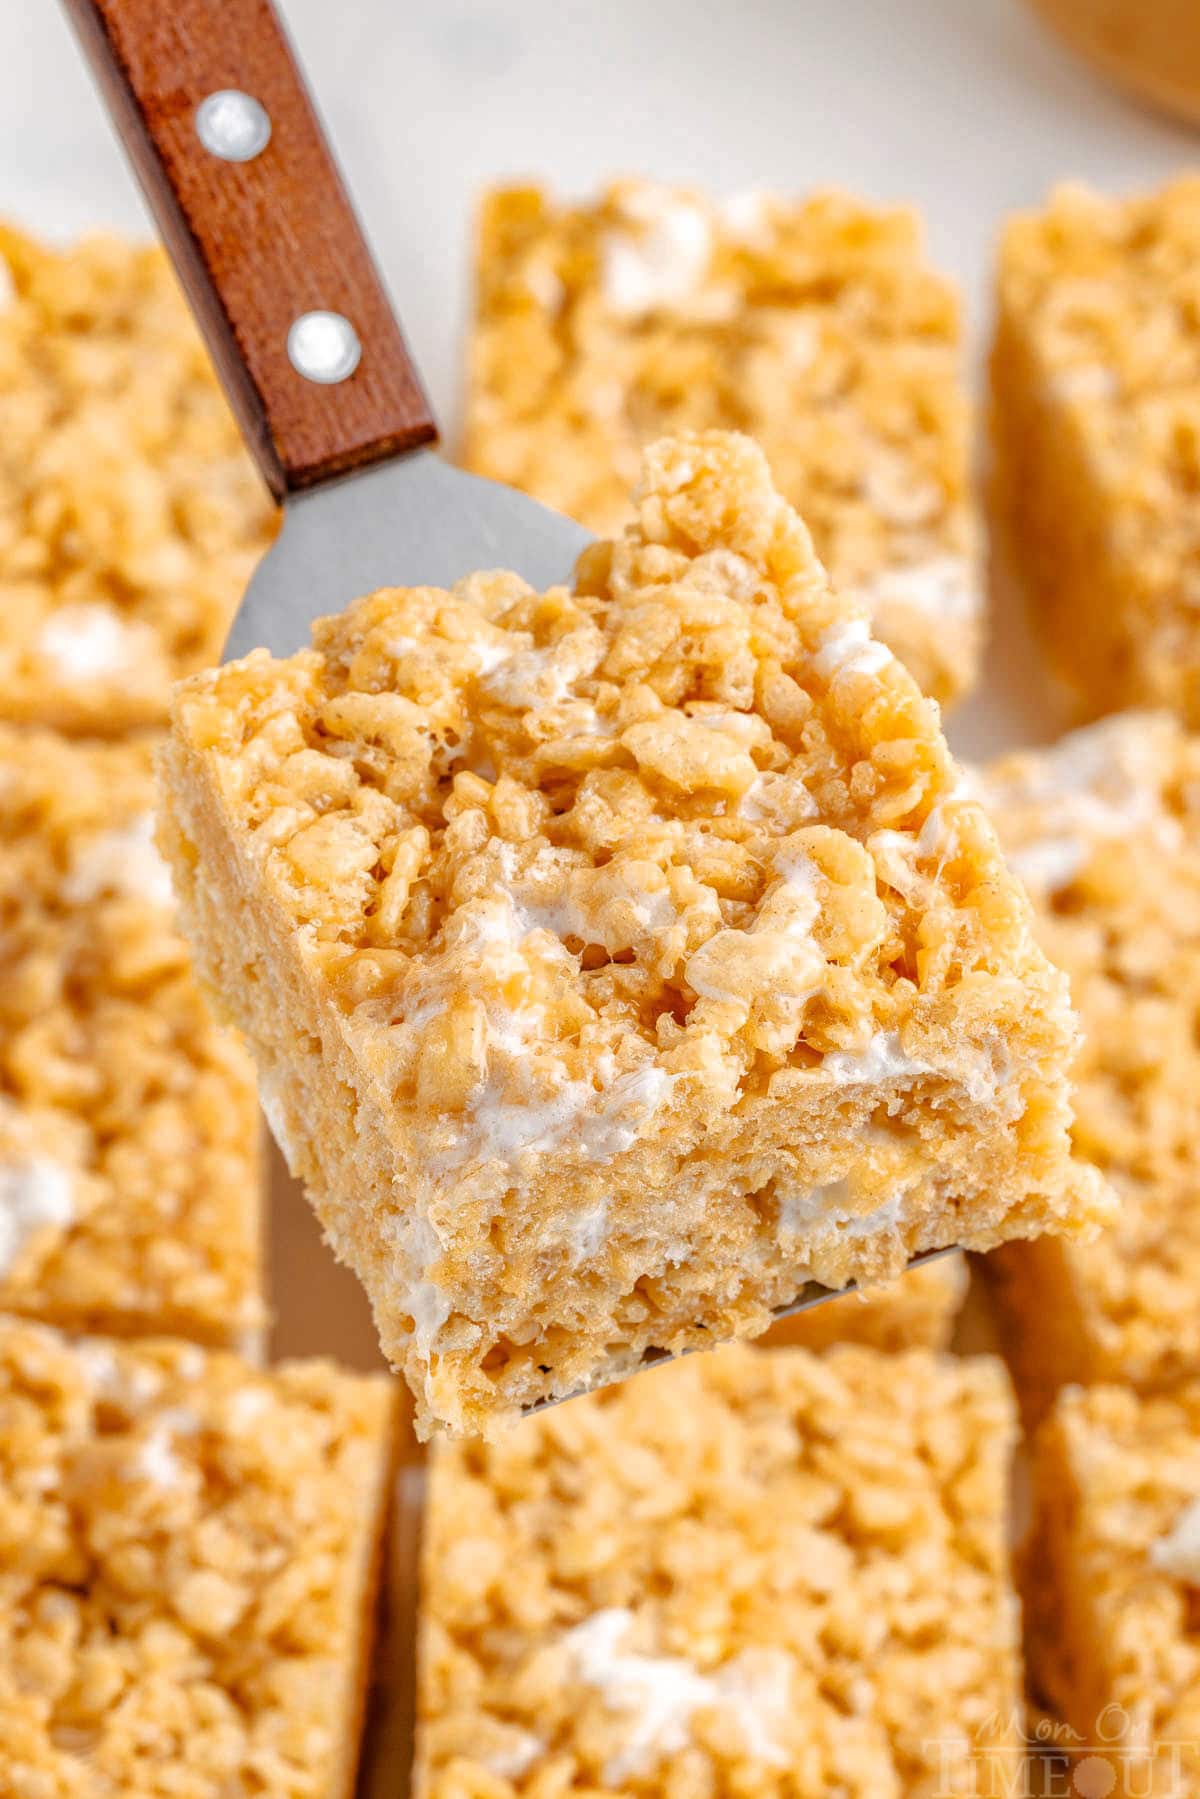
Chewy, gooey, and loaded with peanut butter flavor, these Rice Krispie Treats are the ultimate no-bake dessert! Made with just a handful of pantry staples, they come together in minutes for a sweet and simple snack everyone will love.
Let’s take a quick look at how to make this and, as always, you can find the full printable recipe in the recipe card at the end of this post.
- Melt butter and marshmallows over medium heat, stirring frequently.
- Stir in peanut butter, vanilla extract and salt.
- Add rice krispies to the pot.
- Fold in cereal until evenly coated.
- Add remaining marshmallows.
- Fold in for an extra gooey finish.
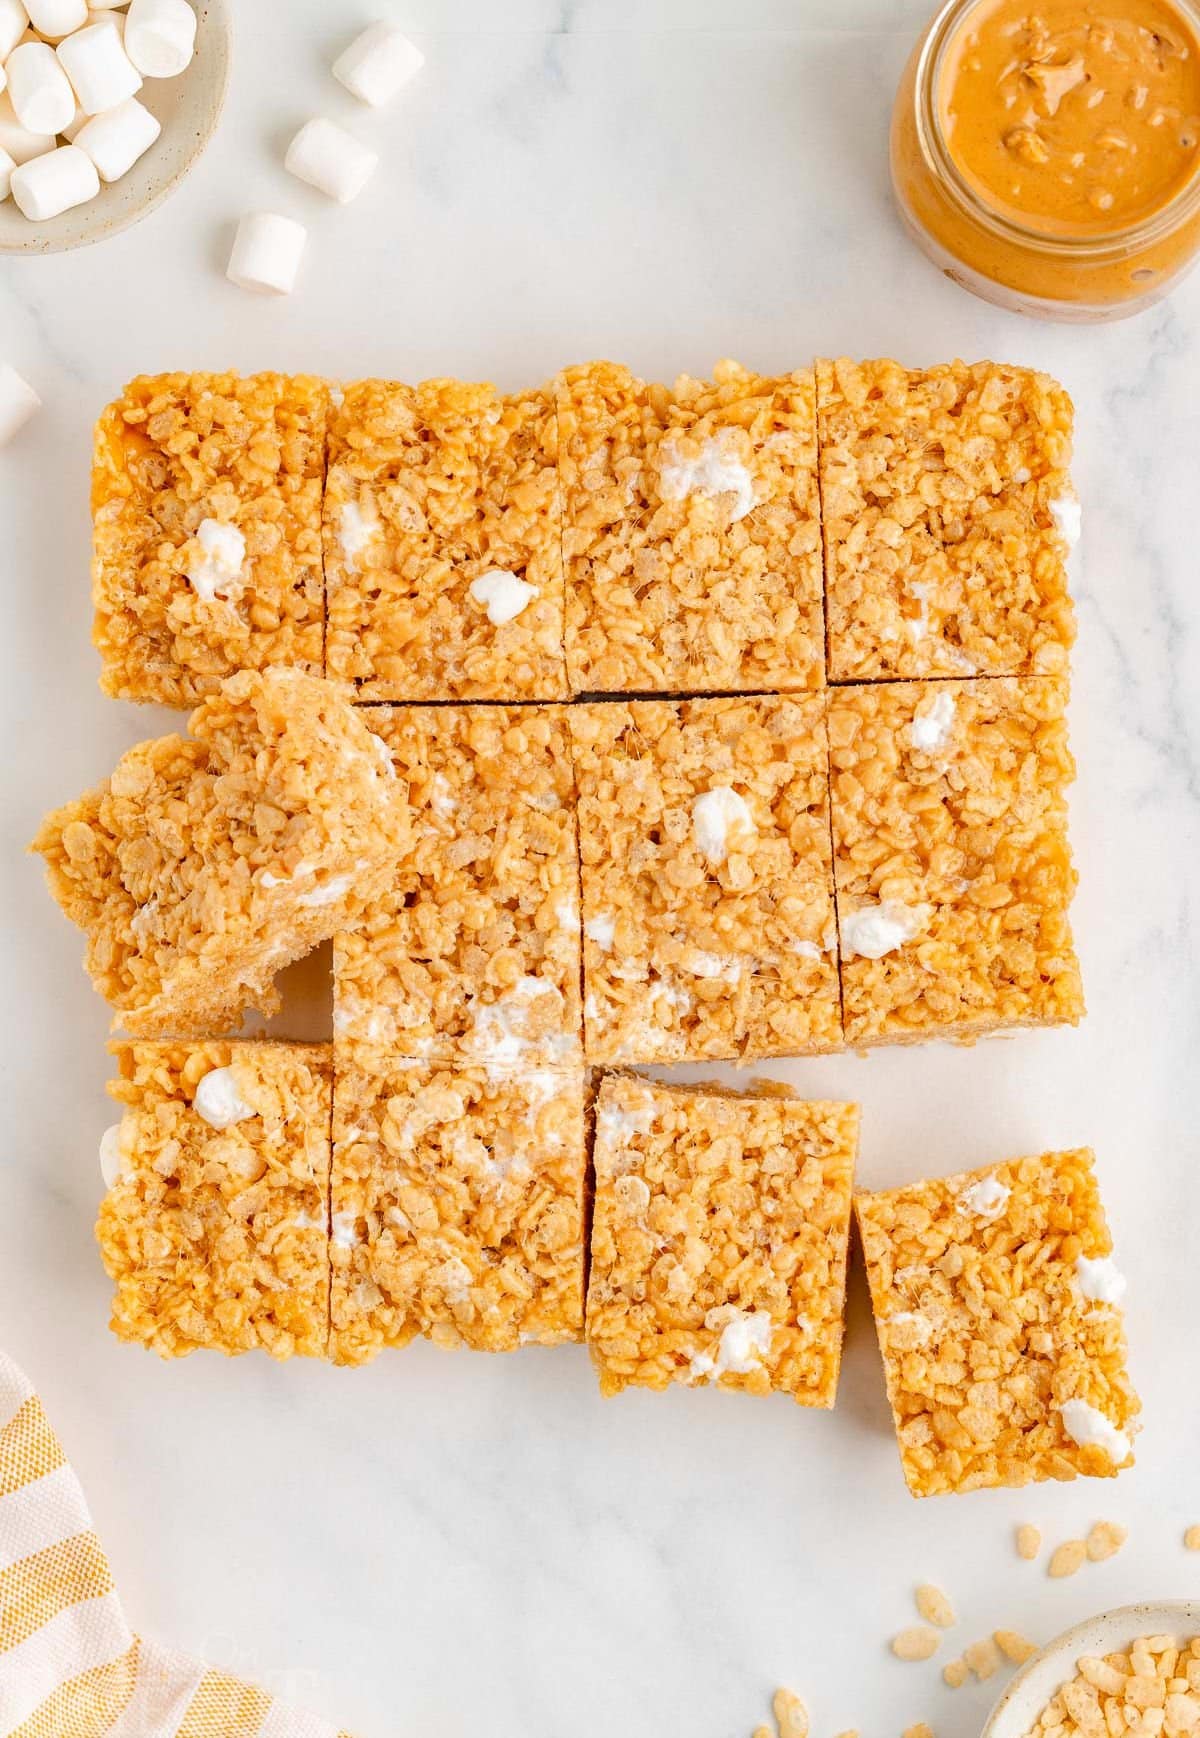
- Transfer to a greased 9 inch baking dish and press in gently.
- Cool at room temperature for at least one hour.
- Slice and serve.
Storage Information
- Room Temperature: Store the treats in an airtight container at room temperature for 3 to 4 days. Place a piece of parchment or wax paper between the layers to prevent them from sticking.
- Freezer: Wrap individual squares in plastic wrap and place them in a resealable freezer bag. They can be frozen for up to 6 weeks. When ready to enjoy them, let the treats thaw at room temperature for about 15 to 20 minutes.
Variations To Try
These rice krispie treats with peanut butter are delicious on their own but even more fun with these customizations:
- Dip cooled treats in melted chocolate and top with your favorite candy for a bakery-worthy finish.
- Mix in your favorite chopped nuts, sprinkles or candy for some added crunch.
- Use cookie cutters to customize these treats for holidays or parties.
Can I use crunchy peanut butter instead of creamy?
Yes, you can use crunchy peanut butter if you prefer a bit of extra texture in your treats. It will add small peanut pieces throughout the treats.
Can I use regular marshmallows instead of mini marshmallows?
Yes, you can use regular-sized marshmallows. Use about 40 regular marshmallows (approximately 10 ounces) instead of the mini marshmallows for melting. The extra 2 cups mixed in should be mini marshmallows for the best texture.
How do I keep my treats from becoming too hard?
Avoid pressing the mixture too firmly into the pan, as this can make the treats dense and hard. Also, be sure not to overheat the marshmallows and butter mixture, as this can also lead to firmer treats.
What can I do if my mixture is too sticky to press into the pan?
If the mixture is sticking to your hands or spatula, lightly grease your hands or the spatula with butter or non-stick spray to help press the mixture into the pan without sticking. You can also place a piece of parchment paper on top and press into the pan. Keep in mind that making rice krispie treats with peanut butter increases the stickiness factor.
Can I use a different size pan?
Yes, you can use a different size pan, but the thickness and texture of the treats will vary depending on the pan size. An 8×8-inch pan will produce thicker treats since the mixture will be more compact. You may need to press it down more firmly to ensure even thickness. A 9×13-inch pan will create thinner treats, which may be preferable for more servings or a thinner layer of treats.
Can I double the recipe?
Yes, you can double the peanut butter rice krispie treats recipe and use a larger pan (like a 9×13-inch pan) or two 9×9-inch pans. Just make sure the mixture is evenly distributed and pressed gently.
Trish’s Tips
- These treats are quick to make and quick to set up so make sure to have all the ingredients ready to go and work quickly and efficiently.
- Avoid pressing the treats into the pan too firmly as it can make the treats dense. Gently press using a spatula or lay a piece of parchment paper over the top and use your hands.
- Make sure to use fresh marshmallows as older marshmallows tend to not melt as smoothly and can affect the overall texture of the treats.
More Peanut Butter Favorites
- Peanut Butter Cheesecake
- Homemade Nutter Butter Cookies
- Peanut Butter Sandwich Cookies
- Fluffernutter Pie
- Peanut Butter Icebox Cake
Peanut Butter Rice Krispies Treats
Ingredients
- 4 tablespoons unsalted butter
- 10 ounces mini marshmallows
- ½ cup creamy peanut butter not natural peanut butter
- 1 teaspoon vanilla extract
- ½ teaspoon fine sea salt
- 6 cups Rice Krispies cereal
- 2 cups mini marshmallows optional, extra to mix in
Instructions
- Grease a 9-inch square baking dish with butter or non-stick spray and set aside.
- In a large pot over medium heat, melt the butter and 10 ounces of mini marshmallows, stirring until completely melted and smooth.10 ounces mini marshmallows, 4 tablespoons unsalted butter
- Stir in the peanut butter, vanilla extract and salt until fully combined.½ cup creamy peanut butter, 1 teaspoon vanilla extract, ½ teaspoon fine sea salt
- Remove the pot from the heat and gently fold in the Rice Krispies cereal until well coated with the marshmallow mixture.6 cups Rice Krispies cereal
- Gently fold in the extra 2 cups of mini marshmallows until evenly distributed.2 cups mini marshmallows
- Quickly transfer the mixture into the prepared baking dish. Use a spatula or wax paper to gently press the mixture evenly into the pan. Avoid pressing too firmly to keep the treats light and chewy.
- Let the treats cool at room temperature for about an hour or until set. Once cooled, cut into squares and serve.
Notes
- Room Temperature: Store the treats in an airtight container at room temperature for 3 to 4 days. Place a piece of parchment or wax paper between the layers to prevent them from sticking.
- Freezer: Wrap individual squares in plastic wrap and place them in a resealable freezer bag. They can be frozen for up to 6 weeks. When ready to enjoy them, let the treats thaw at room temperature for about 15 to 20 minutes.
Can I use regular marshmallows instead of mini marshmallows? Yes, you can use regular-sized marshmallows. Use about 40 regular marshmallows (approximately 10 ounces) instead of the mini marshmallows for melting. The extra 2 cups mixed in should be mini marshmallows for the best texture.
Can I use a different size pan? Yes, you can use a different size pan, but the thickness and texture of the treats will vary depending on the pan size. An 8-inch square pan will produce thicker treats since the mixture will be more compact. A 9×13-inch pan will create thinner treats, which may be preferable for more servings.
Tools and Equipment (affiliate links): 9 Inch Square Pan| Silicone Spatula | Dutch Oven – 8 qt or large pot
Please see post above for more information, step-by-step process photos, recipe tips and frequently asked questions.


Leave a Reply