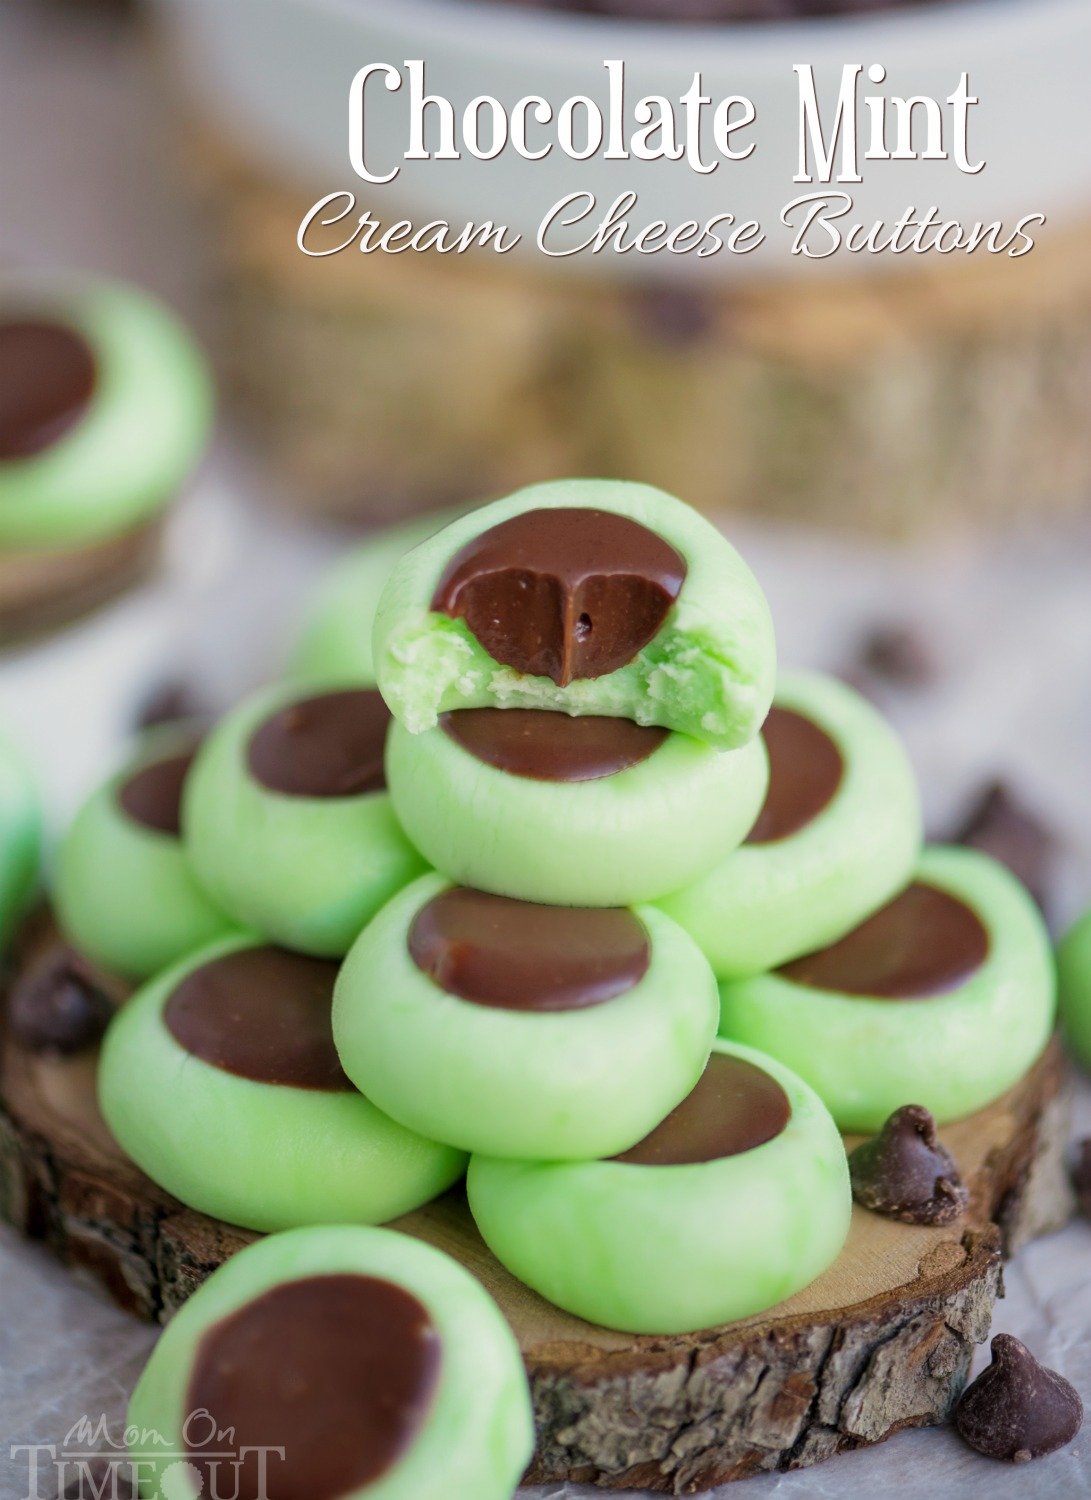
These Chocolate Mint Cream Cheese Buttons are perfect for all occasions! Lovely mint flavored cream cheese mints filled with a decadent chocolate ganache. Guaranteed to be a hit with your chocolate and mint loving friends and family!
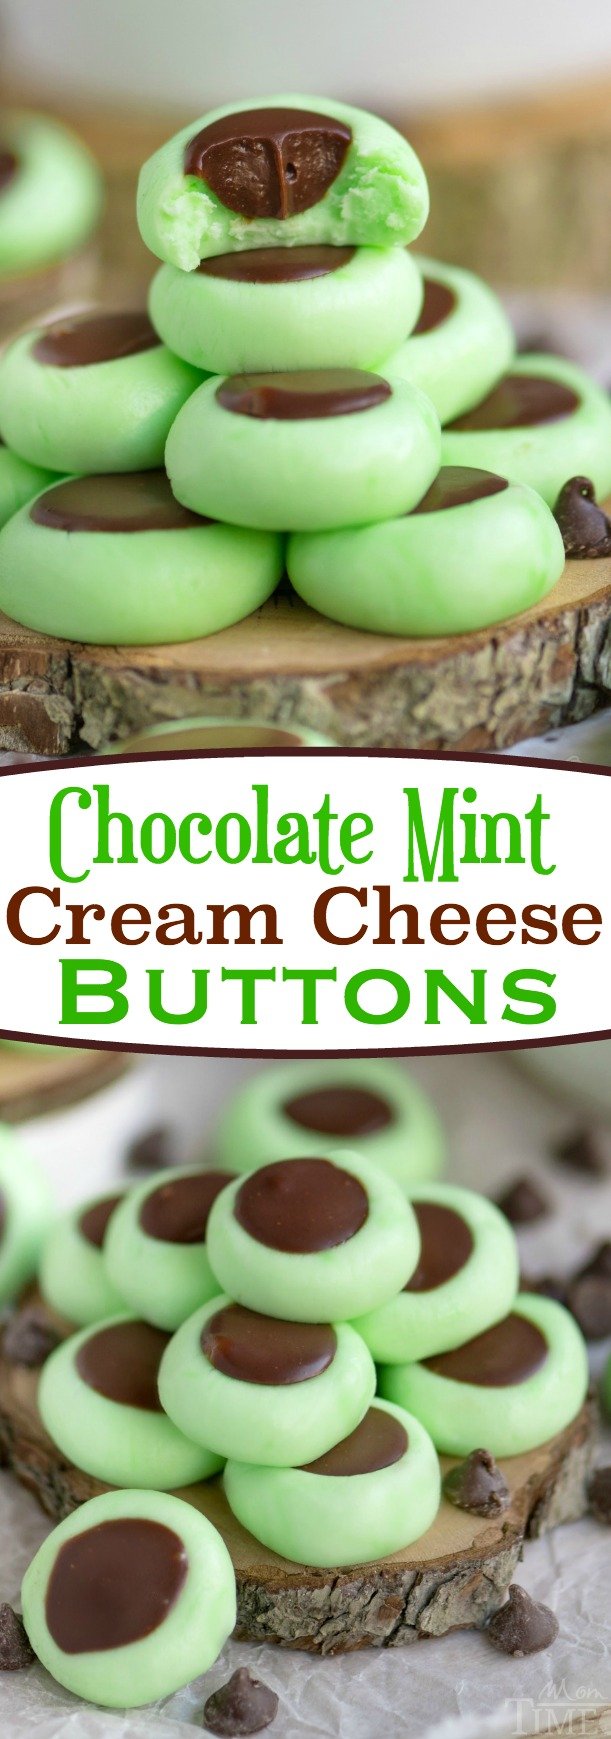
PIN IT NOW!
Every so often I get asked if I have a cream cheese mints recipe. I reply yes, but not on my blog. Super helpful, no? Well, I’m almost there. It’s coming in the next week or two 🙂
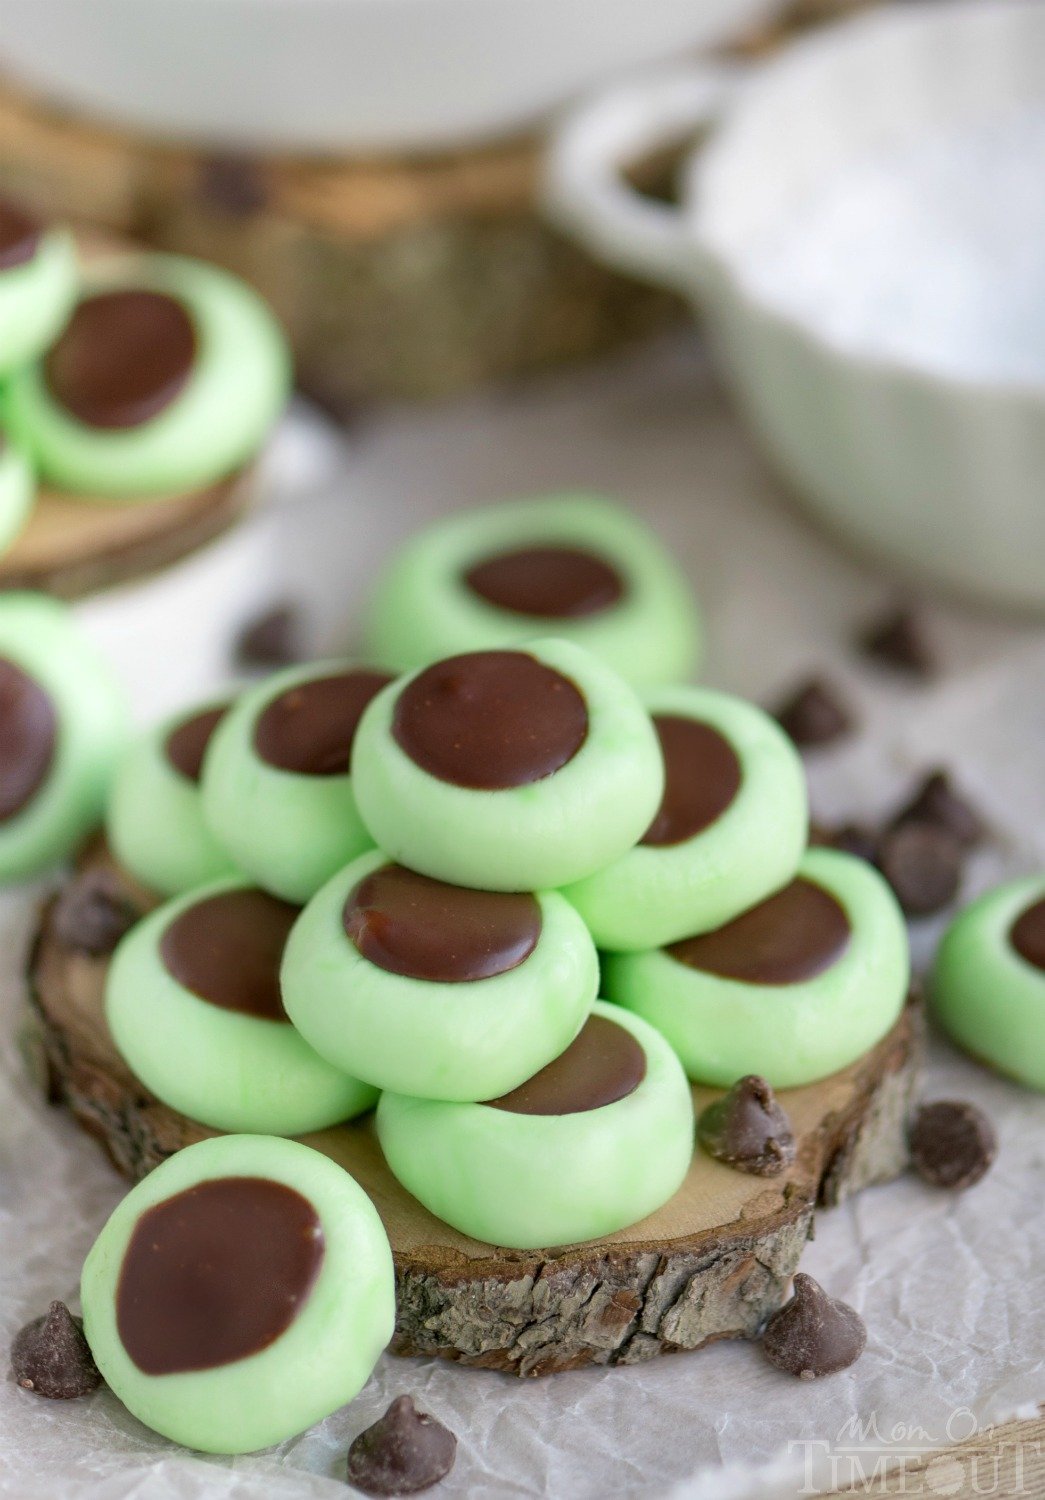
To tide you over, and in preparation for St. Patrick’s Day, I thought I’d share this easy candy recipe with you today. It’s a cream cheese mint filled with chocolate ganache. These little mints are a hit at parties and are crazy easy to make. This recipe makes a whopping 6 dozen candies so there’s plenty for a crowd.
I like to make them really small – bite-size really. I usually about a teaspoon of the dough for each mint. Scoop a level teaspoon to ensure the mints are all the same size.
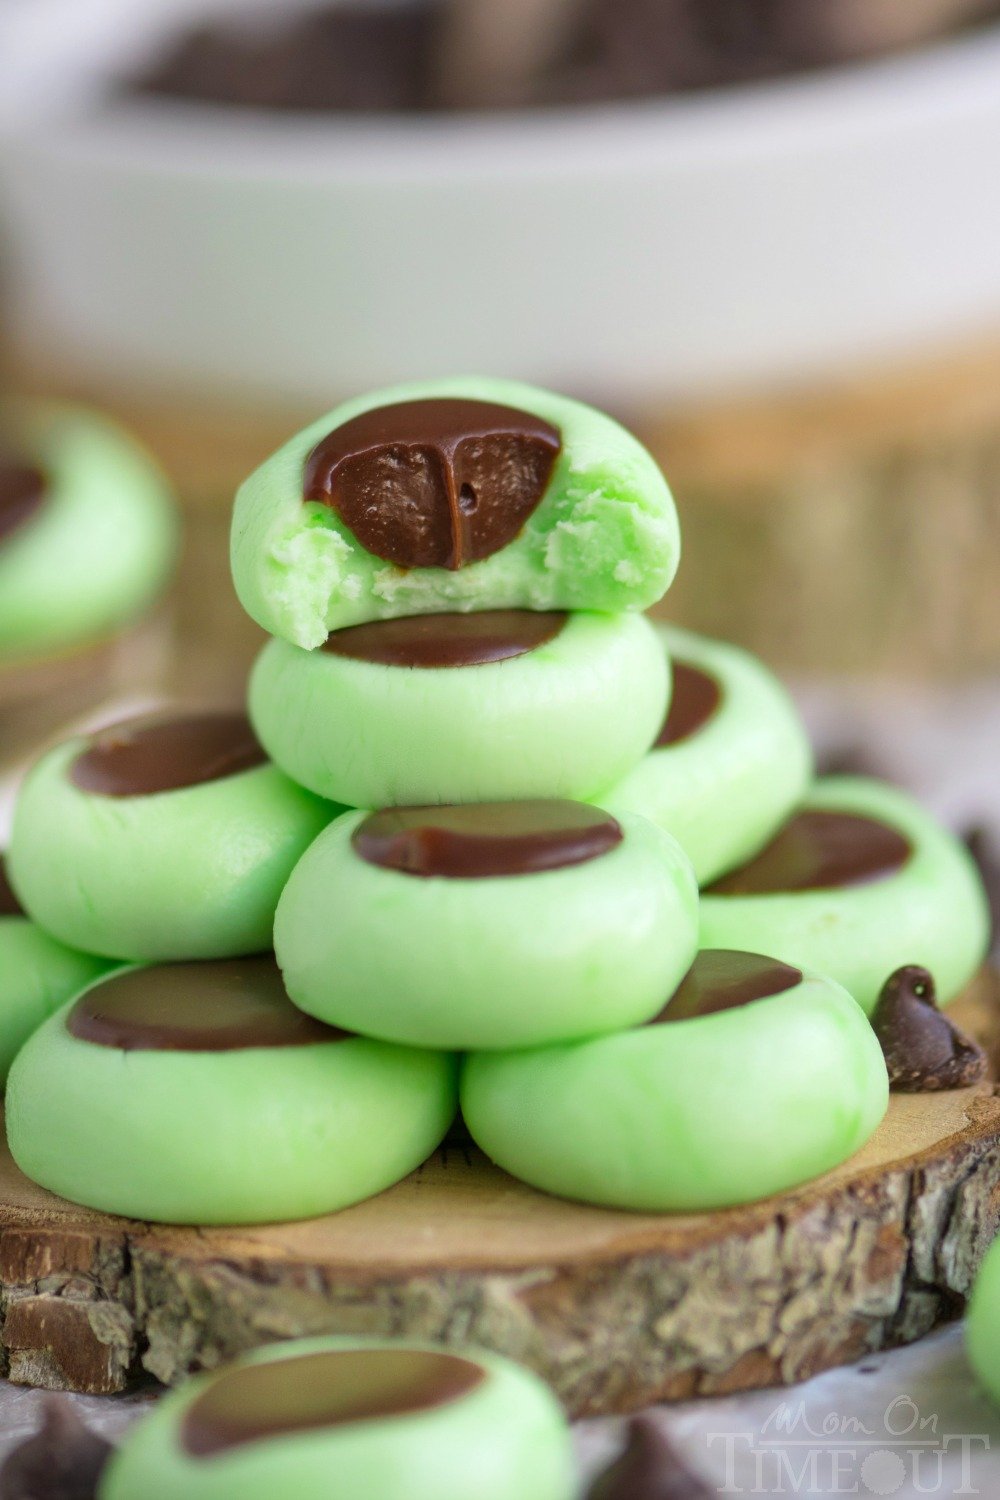
I’ve made these before and just popped a Hershey’s kiss in the center. Fun and easy. Even better, however, is this version where I make a little indention and then fill it with ganache.
I mean, everything is better with ganache, amiright?
You could keep the mints white if you prefer to not use food coloring. I like to make them green so my guests know that they are mint-flavored. I don’t go overboard though. Gel food coloring is best here because it doesn’t add too much moisture to the dough.
Speaking of mint flavored, I do mean MINT, as in spearmint. Not peppermint. I’ve done that before and in those cases, I color the candies pink. I’m a stickler like that.
I’ve made a quick video to show you just how easy they are to make! You can check it out here. Super fun and the kids can help too!
(I had several requests for a link to the measuring spoons I used in this video… Disney, of course 🙂 Here it is: Disney Measuring Spoons )
I am totally in love with all mint and chocolate flavored treats – they’re my favorite! Make sure to check out some more recipes with this awesome flavor combination like these Chocolate Covered Mint Patties or these Chocolate Mint Brownies or perhaps this Mint Chocolate Chip Cheese Ball.

Chocolate Mint Cream Cheese Buttons
Ingredients
- 4 oz cream cheese softened
- 4 1/2 cups powdered sugar
- 1/2 teaspoon mint extract
- several drops of green gel food color
- 1 cup heavy whipping cream
- 10 oz semi-sweet chocolate chips
Instructions
- Combine cream cheese and one cup of powdered sugar in a large bowl and use a stand mixer or hand mixer to combine.
- Add the extract and gel food color and mix until combined.
- Gradually add the rest of the powdered sugar and mix until combined, scraping down the sides of the bowl as needed. Use your hands to combine the ingredients if your mixer is not up to the task. (I usually end up using my hands because it’s faster.)
- Line a large baking sheet with parchment paper.
- Scoop out a teaspoon of the dough and form into a ball using the palm of your hands. Place it on the prepared baking sheet. Repeat with the rest of the dough.
- Use the end of a wooden spoon or a small measuring spoon to create indentions in each bowl. Dust the measuring spoon with powdered sugar if it sticks at all.
- Chill the mints until firm, about 1 hour.
- Place chocolate chips in a heat-proof bowl or large measuring cup.
- Bring heaving whipping cream just to a simmer and then pour over the top of the chocolate chips. Stir once or twice and then let sit for 2 minutes.
- Continue stirring until the chocolate is fully melted and incorporated.
- Transfer the ganache to a ziploc bag and let it set for 30 minutes or so until it has thickened up – think yogurt consistency. You can speed up this process by placing it in the refrigerator but keep an eye on it or it will get very firm.
- Cut the corner off of the bag and pipe the ganache into the center of each mint.
- Chill for about an hour, or until the ganache has set up.
- Store in refrigerator.
Video


Gabriel says
New here, these chocolate mint cream cheese buttons don’t get baked? Just use a raw dough?
Trish - Mom On Timeout says
Correct!
Rona says
I see the error of my ways! I left a post earlier. If I would have read the (ounces) on the cream cheese package instead of assuming it was a whole package…it is only a half package of the size I usually use!,
Jeanne says
Has anyone tried any other flavor/color combinations?
123 Wedding Anniversary says
These look incredible!
Pamela G. says
Can these chocolate mint cream cheese buttons be frozen. If they can, how long do you think they could be frozen? I’m thinking of the holidays of making items in advance or really for any occasion if trying to work ahead.
Trish - Mom On Timeout says
A month in advance would be fine and yes, they can be frozen.
Jesse says
So I have tried 3 times, and every time I go to mix the powdered sugar the batter comes out way to creamy and I cannot roll into balls. First time I used a mixer and had it at a high setting. Second time I used mixer at lowest setting, and 3rd time I did all by spoon. Each time when I was done adding all the sugar it was so creamy I could not roll into balls, just smeared all over my hands. Any idea what I am doing wrong?
Trish - Mom On Timeout says
Sounds like the measurements might be wrong. Have you tried adding a bit more powdered sugar? I usually make these by hand or with a food processor and either way they turn out fine so I’m not sure what else it could be.
Jesse says
hmm, I have only been doing 3 cups powdered sugar cause it wasn’t looking like it was all mixing together, would more powdered sugar make it more rollable? I have made oreo balls before and never had a problem rolling those into balls so at a loss of why these are coming out creamy every time other than the powdered sugar
Lorita says
Are you using the soft cream cheese that comes in the small tubs rather than the bricks? I wonder if that would make a difference. Does anyone know? I and my daughters have made these for years and never had any trouble. We have never seen them done with the chocolate centers and we need to give that a try. They sound so good!
Rona says
Mine are also way too soft to roll so I increased the sugar to 6 cups, now I can roll but they are very sweet, cannot taste the cream cheese. In contrast when I make cream cheese frosting I o ly use 1 cup of sugar per box of cream cheese.
Amanda says
You may have used too much cream cheese and/or not enough powdered sugar.
Sara V. says
Also wondering if they can be frozen. My sister’s sweet treat baby shower is in 3 week and I want to make them ahead of time. 🙂 Thanks!
Tonya says
I was also wandering if you could freeze them? I made some as a trial run dud them purple with vanilla rum to see if we liked them for wedding. They were awesome..
Trish - Mom On Timeout says
Sure! They can be frozen. Love the idea of a rum extract – yummy!
Chota Bheem app says
Brilliant idea for upcoming holidays!! I can’t wait to try these..Thank you ❤❤
Trish - Mom On Timeout says
Thank you!
Kate says
This looks incredible!
Niki says
Can these be frozen? I need them this weekend for a baby shower and possibly for Easter in 3 weeks. Don’t think they will last that long in the fridge
Mary says
First it’s incredibly sticky and messy, i had two boys with globs of sticky mess on their fingers, as i added the rest of the powdered sugar, it slowly dried up and looked more crumbly. I started to worry there was too much sugar to cream cheese ratio, however, as you continue to work it just like playdough, it becomes a beautiful soft doughy consistency. Very pretty with the green coloring.
Mary says
Just keep working the cream cheese/sugar mixture, it will combine as the sugar dissolves, i promise!!
Virginia says
Exactly what I did. Made sense to me to add the flavorings about halfway into adding the powdered sugar. Worked out well. I have a powerful hand mixer and it did the job.
Carolyn says
The video helped a ton! Took these to work and my coworkers loved them.
Trish - Mom On Timeout says
Awesome! That’s what it’s there for!