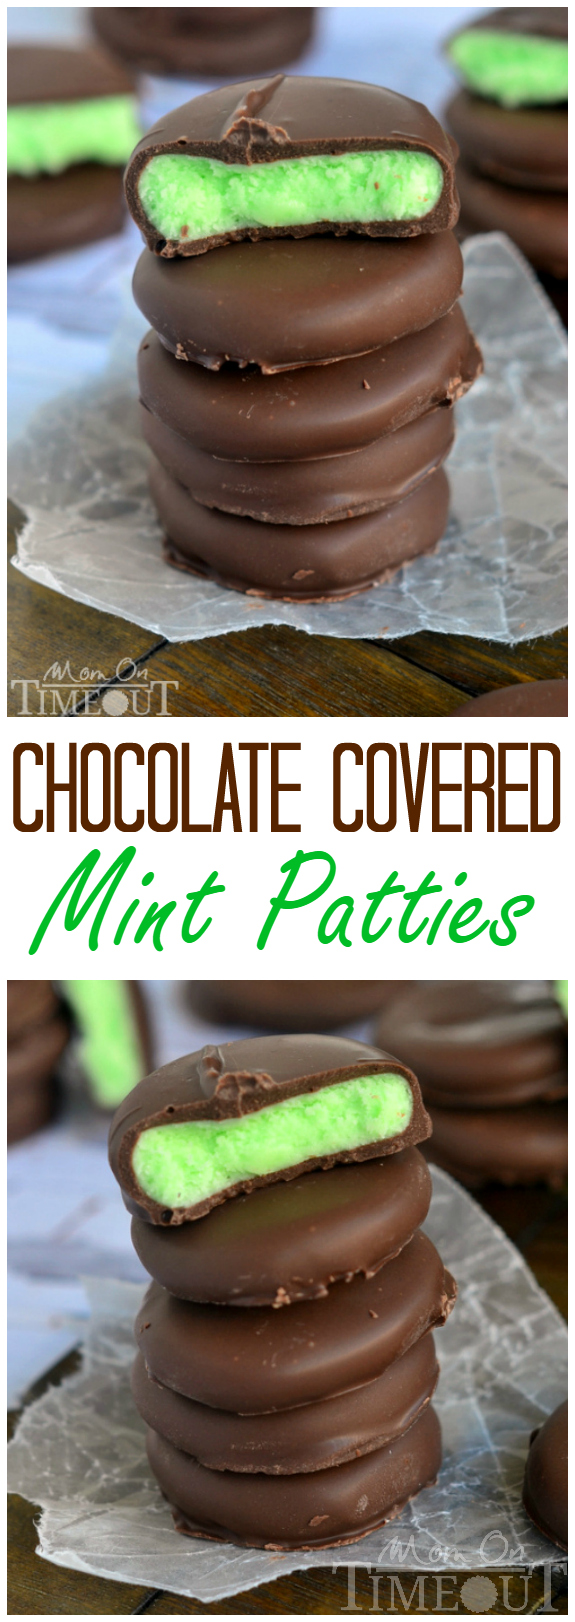
Rich and creamy, these Chocolate Covered Mint Patties are so easy to make and are incredibly scrumptious!

Chocolate Covered Mint Patties
This week is a no TV week in our home. I know, I’m totally mean. BUT, sometimes it’s nice to just kind of detach and remind the boys that they have LOTS of toys to play with. Plus, the weather has been beautiful – far too nice to miss while watching TV.
Of course, no TV means I need to be on top of my game. I have to be hands on all afternoon – no breaks. It’s harder than it sounds 🙂 Actually, these weeks are my favorites. I’m “forced” into being more active with the boys and getting them involved with my routine.

The boys have always loved helping in the kitchen. Some days that’s great…others, not so much. I figured out a meal plan for the week in advance and incorporated some recipes that I knew they could help with.
These Chocolate Covered Mint Patties are one of them. Recipes don’t get any easier than this and if you’ve never dipped candies before, patties are the perfect candy to start with. No balls rolling off of forks here! It’s fun and great for kids.

Sure, your patties may not be exactly the same size…but who cares! It’s fun and the rewards are these unbelievable patties! Smooth, refreshing mint centers surround by sweet, decadent chocolate. It just doesn’t get any better.

As much as I love peppermint, there is a very special place in my heart for mint. It’s like a breath of fresh air. Two breaths if you’re like me 🙂 This is one recipe I urge you to try. You honestly can’t mess it up and you are just going to go crazy for these fabulous mint patties!

More Mint Treats
- Cream Cheese Mints
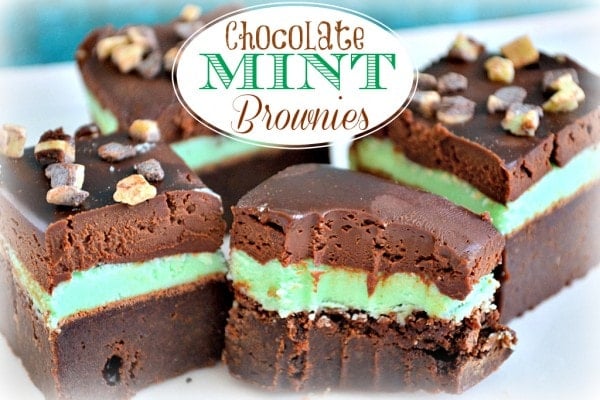
- Chocolate Mint Brownies
- Mint Chocolate Chip Snowball Cookies
- Chocolate Mint Cream Cheese Buttons
How To Make Chocolate Mint Patties

Chocolate Covered Mint Patties
Ingredients
- 1/3 cup light corn syrup
- 5 Tbls butter softened
- 1 1/2 tsp mint extract
- 1/2 tsp salt
- green food coloring start with a couple drops and add more until desired color is achieved
- 4-5 cups powdered sugar
- 10 oz chocolate candy coating I used CandiQuik
Instructions
- Combine corn syrup, butter, extract, salt, and food coloring in a medium size bowl. Stir until well combined.
- Stir in 1 cup of powdered sugar at a time until mixture is too stiff to stir.
- Add more powdered sugar and knead mixture until it no longer sticks to your hands, adding more powdered sugar as necessary.
- Roll into 1-inch balls and place on trays or baking sheets lined with waxed paper.
- Flatten with a flat-bottomed cup or your hand.
- Cover with another sheet of waxed paper and refrigerate for 60-90 minutes or until firm.
- Melt chocolate candy coating according to package directions.
- Dip the candies into the melted chocolate with a fork, tap off the extra, and place back on the waxed paper.
- Repeat until all candies have been coated.
- Let candies set up until chocolate is firm before storing in an airtight container.
- Candies can be frozen in single layers separated by waxed paper if desired.
Video
Nutrition
More refreshing mint recipes:
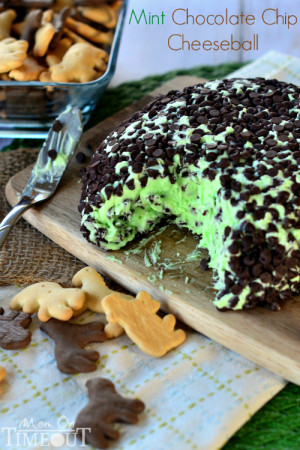
Mint Chocolate Chip Cheese Ball


For all lunch recipes, go HERE.
For all dessert recipes, go HERE.
Sign up to get emails when I post new recipes!
For even more great ideas follow me on Facebook – Pinterest – Instagram – Twitter – Bloglovin’.


Leave a Reply