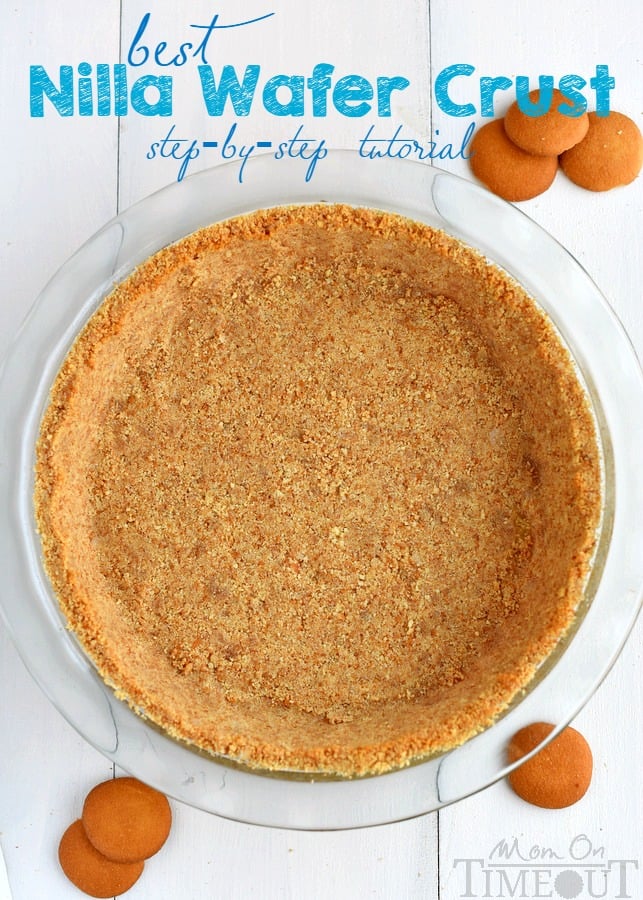
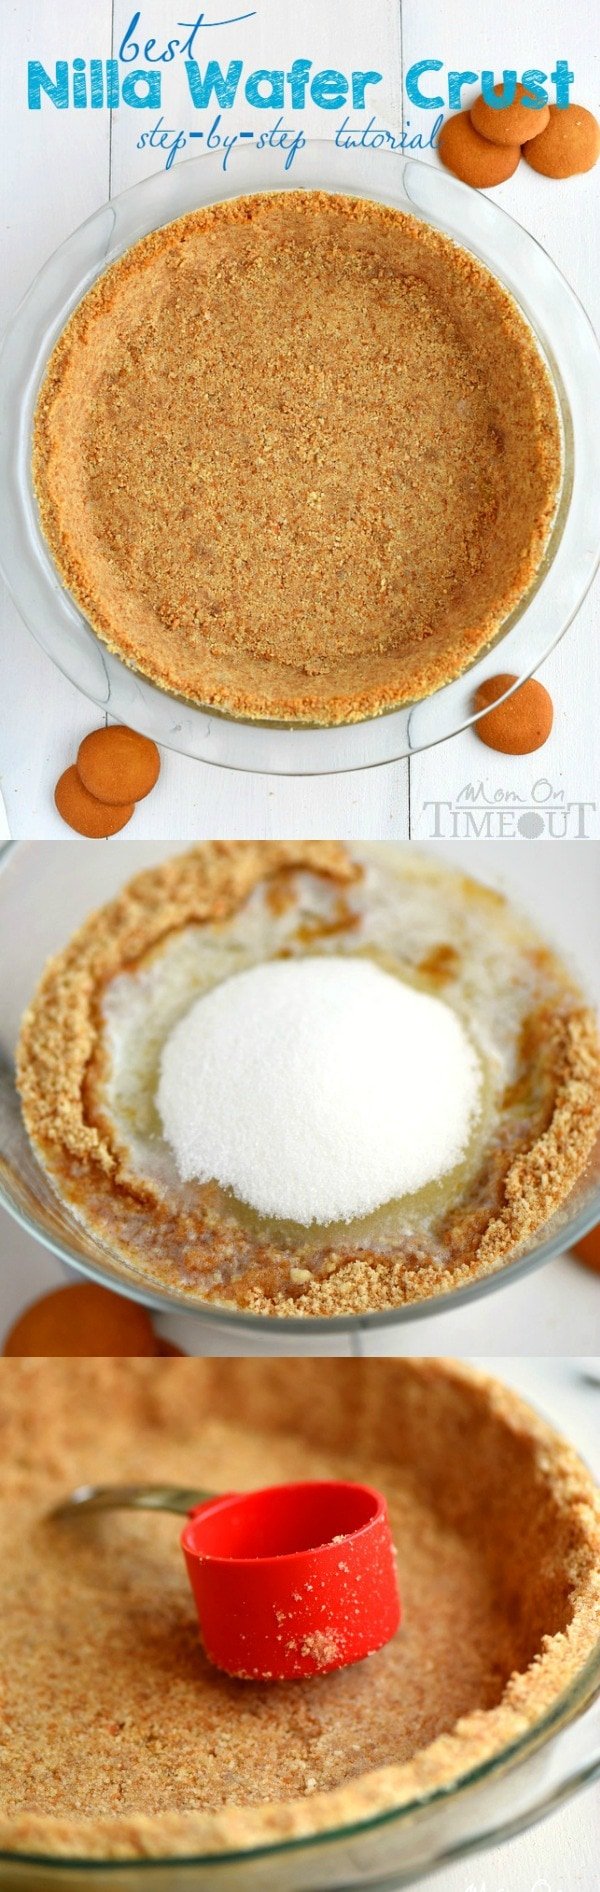
A step by step tutorial to your new favorite pie crust recipe! This is the BEST Nilla Wafer Pie Crust ever and so easy too!
Let’s be friends! Sign up to get my new recipes in your inbox! Follow me on Facebook and Instagram too!
PIN IT NOW!
PIN IT NOW!
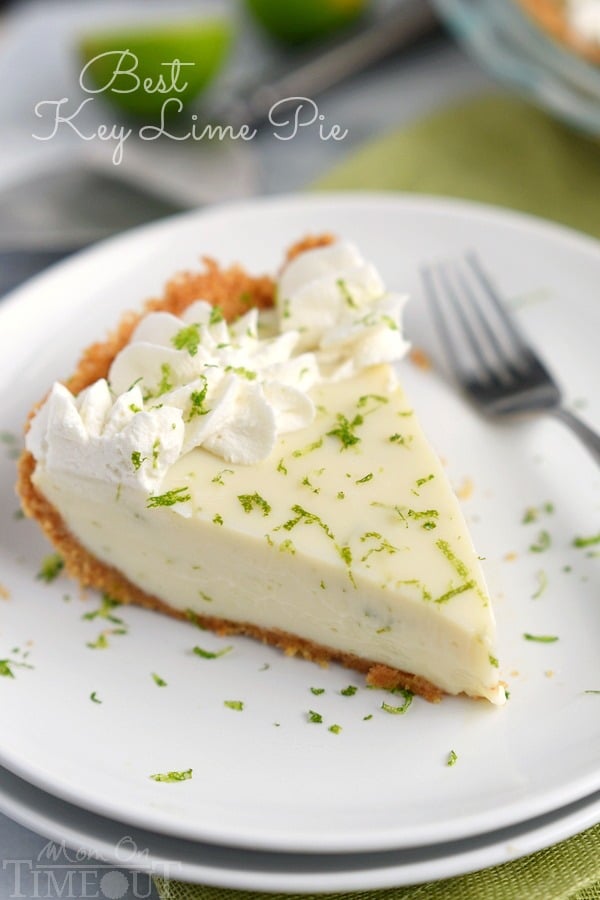
With summer quickly approaching I thought now would be a good time to share one of my favorite pie crusts with you – a Nilla Wafer Crust. I love how pretty this crust is and it’s so incredibly versatile. You can use it with fresh fruit pies, custards, puddings, no-bake cheesecakes and so much more.
The crust is so easy to make and I’m going to take you through it step by step right now.
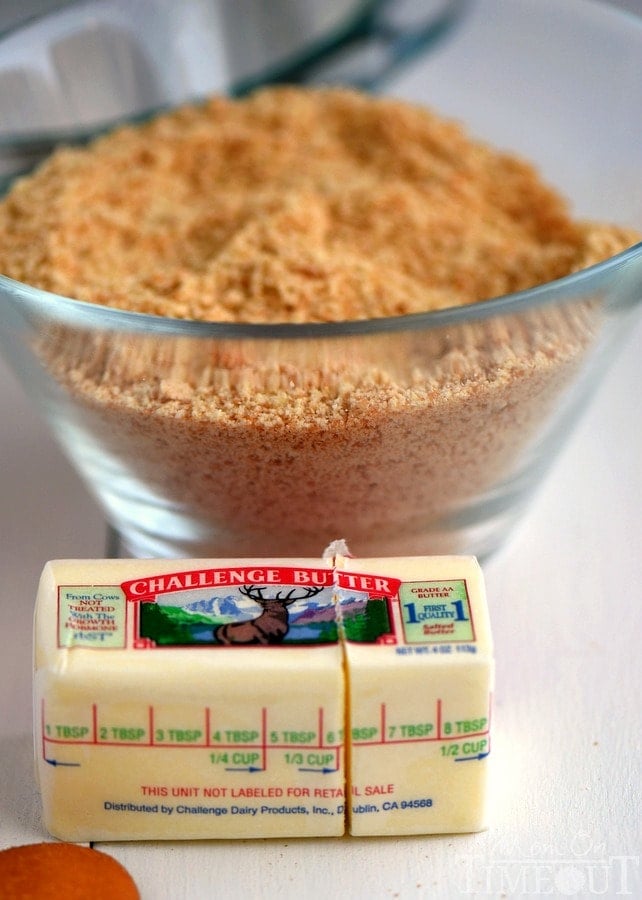
The first step is breaking down those Nilla wafers into crumbs. I use a food processor to do this but a ziploc bag and a rolling pin will work equally well. One you have the crumbs, pour them into a medium size bowl.
The next step is adding the butter and sugar. I use one-third cup butter for this pie crust. It’s the perfect amount to “glue” the crumbs together without resulting in a “greasy” pie crust.
The final ingredient is sugar. The Nilla wafers are already fairly sweet so I don’t like to go too crazy with the sugar. Just enough to keep the pie crust nice and sweet but not overwhelmingly so.
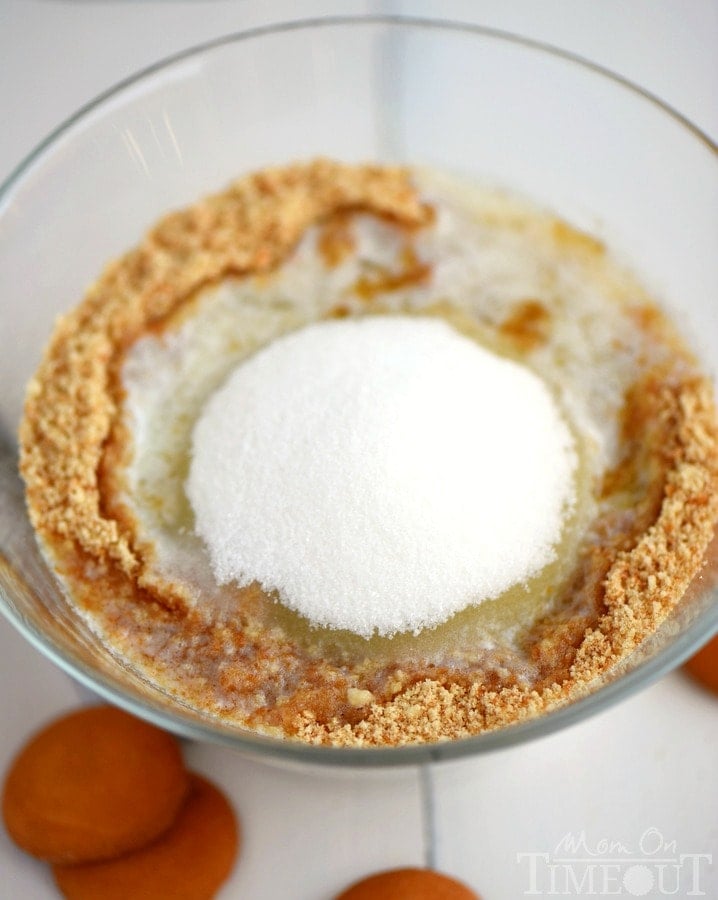
Now it’s time to mix these ingredients with a fork. You just want to mix until all the crumbs have been moistened with the butter and the sugar has been evenly distributed.
Dump everything into your pie plate. This recipe will work for any pie plate from 8 inches up to 9.5 inches.
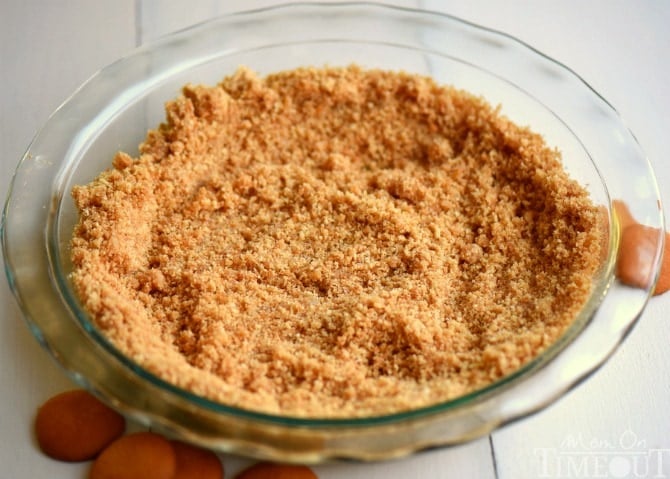
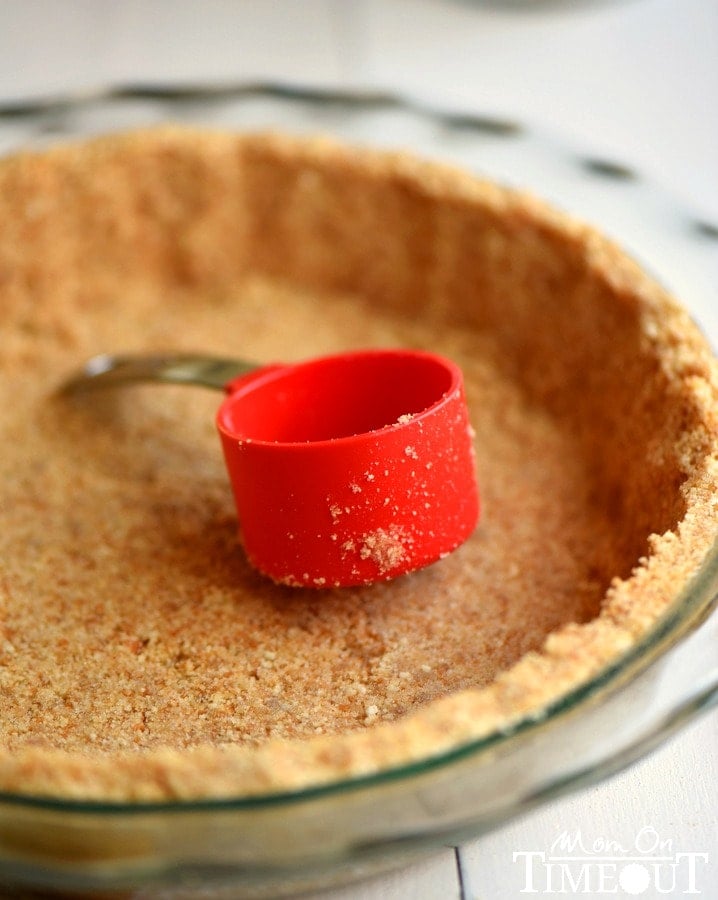
You will need something flat to compress the crumbs into the bottom of the pie plate and up the sides. I like using a small measuring cup to do this part. It’s important to really press down hard so that the crust won’t fall apart when you’re serving your pie.
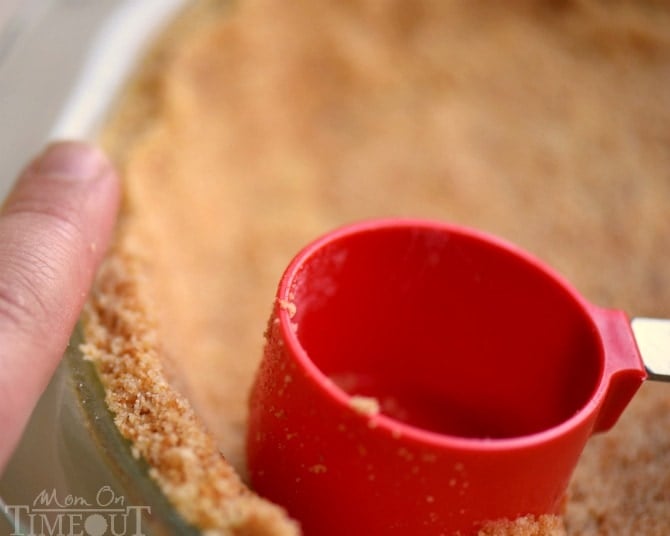
To make the sides of the pie crust nice and even, if you’re into that sort of thing, just use your finger as a stopping point. Press the measuring cup up against the side of the pie plate with your finger along the top. This keeps the crumbs in their place and helps achieve that “perfect” looking slice of pie. Also? Rustic is totally beautifully and a whole lot easier if you’re trying to save time 🙂
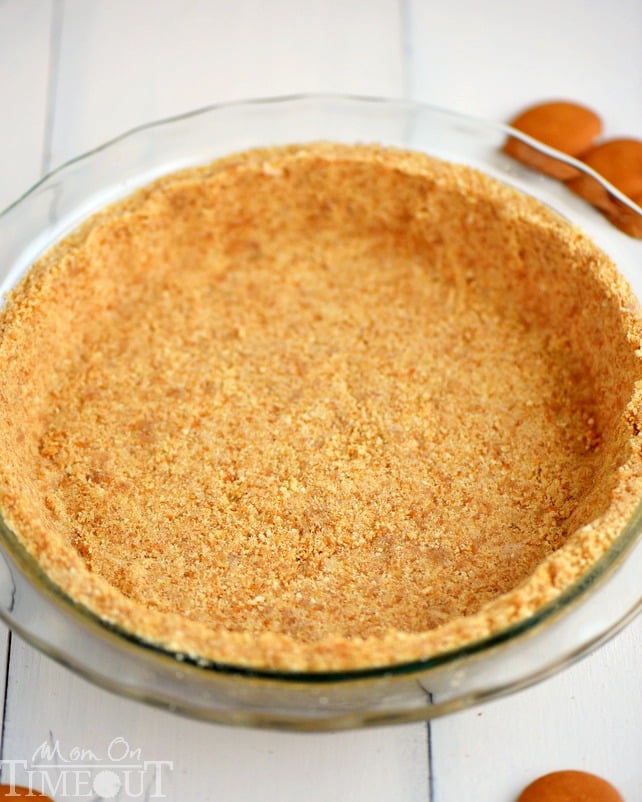
The pie crust gets baked for about 10 minutes. Let it cool completely before filling. Don’t have time to bake it? That’s okay too. Make sure the pie crust is refrigerated before filling or it will fall apart when you cut the pie. Unbaked will definitely result in a more crumbly crust but remember that discussion we had previously about rustic being beautiful? Yeah, that applies here too.
PIN IT NOW!

Best Nilla Wafer Crust - A Step by Step Tutorial
Ingredients
- 60 Nilla wafers
- 1/4 cup granulated sugar
- 1/3 cup butter melted
Instructions
- Preheat oven to 350F. Lightly spray a pie plate with cooking spray and set aside.
- Place Nilla wafers in a food processor and pulse until only crumbs remain. (You can also crush in a large ziploc bag)
- Transfer crumbs to a medium size bowl and stir in sugar and melted butter.
- Pres the crumbs firmly into the pie plate and up the sides.
- Bake for 10 minutes or until edges are just starting to turn golden brown. Let cool completely on a wire rack before filling.
Nutrition
Pie please!
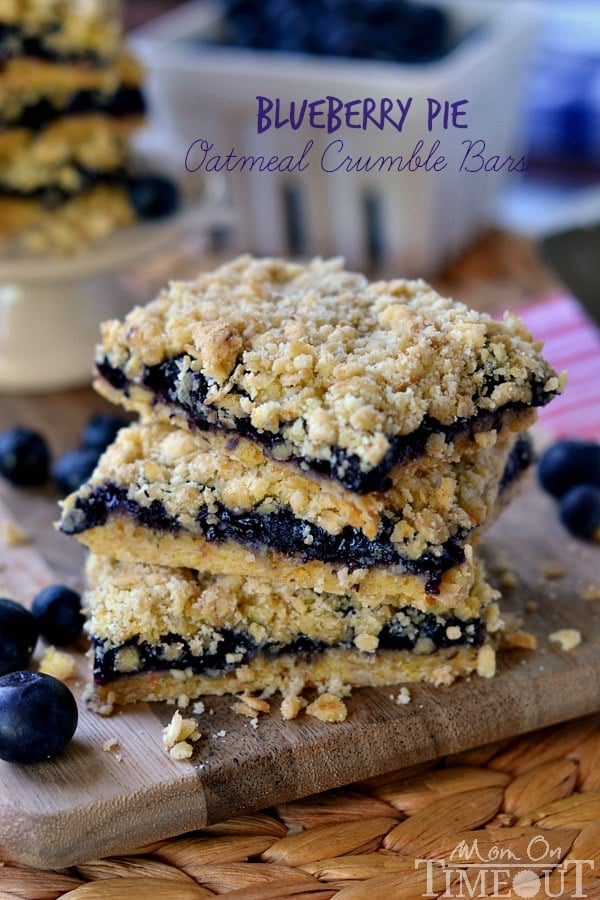
Blueberry Pie Oatmeal Crumble Bars

For all pie recipes, go HERE.
For all dessert recipes, go HERE.
Sign up to get emails when I post new recipes!
For even more great ideas follow me on Facebook – Pinterest – Instagram – Twitter – Bloglovin’.


Leave a Reply